|
|
|
|
|
|
|
|
|
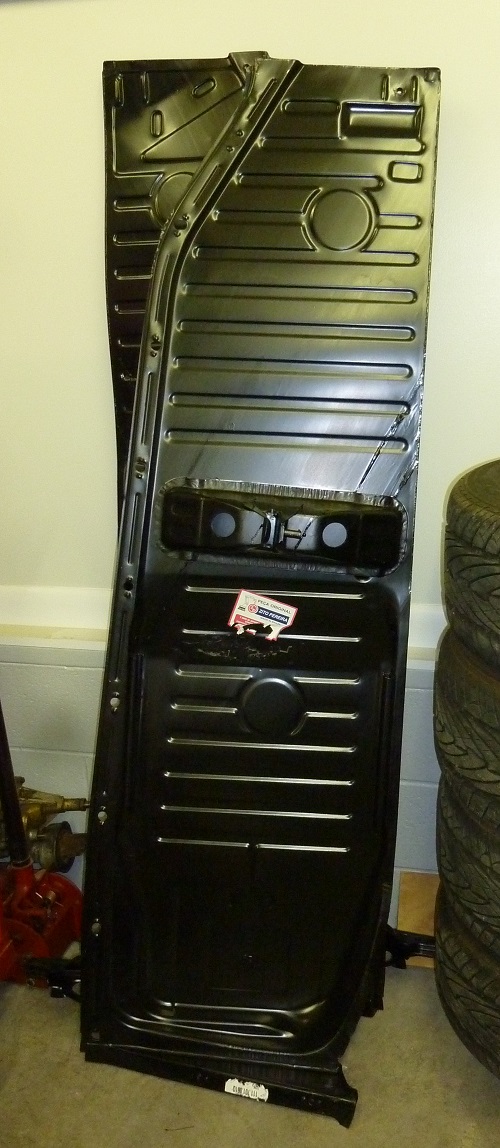
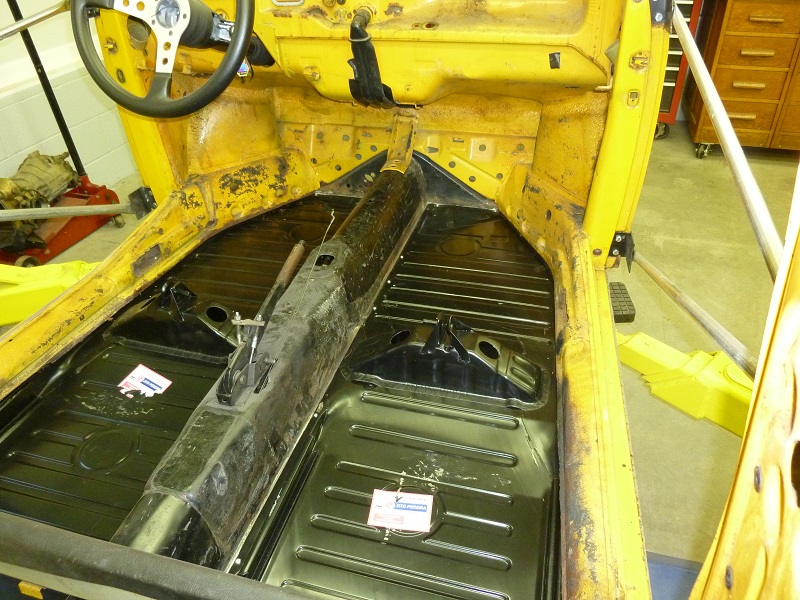
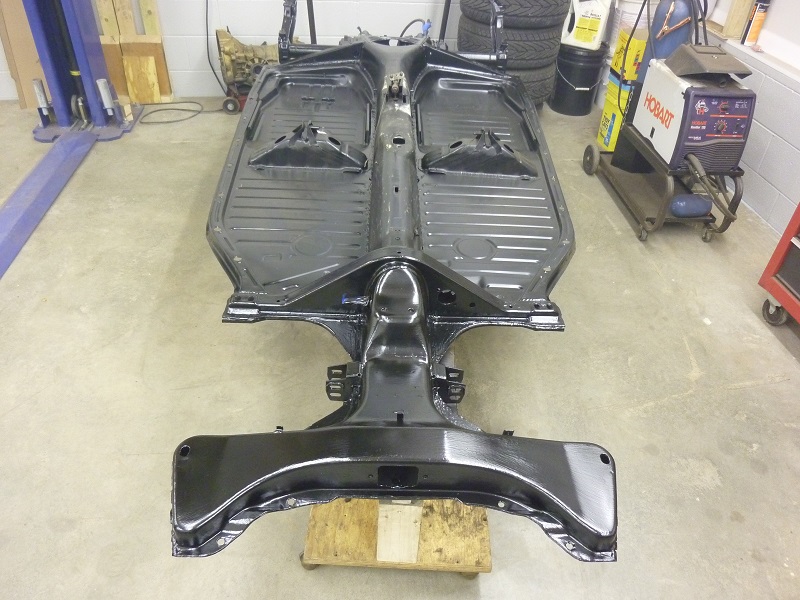
Now we will see how these new floor pans fit to the body.
|
|
|
|
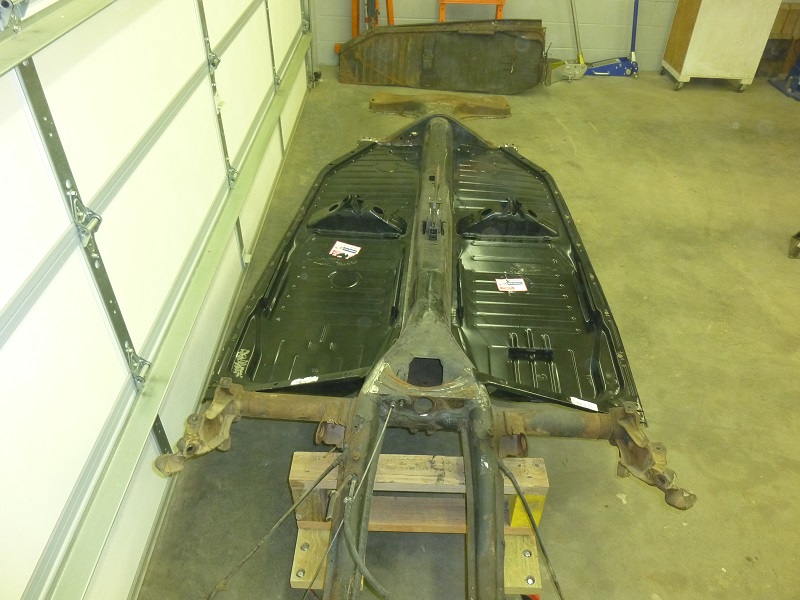
So far so good ! |
|
|
|
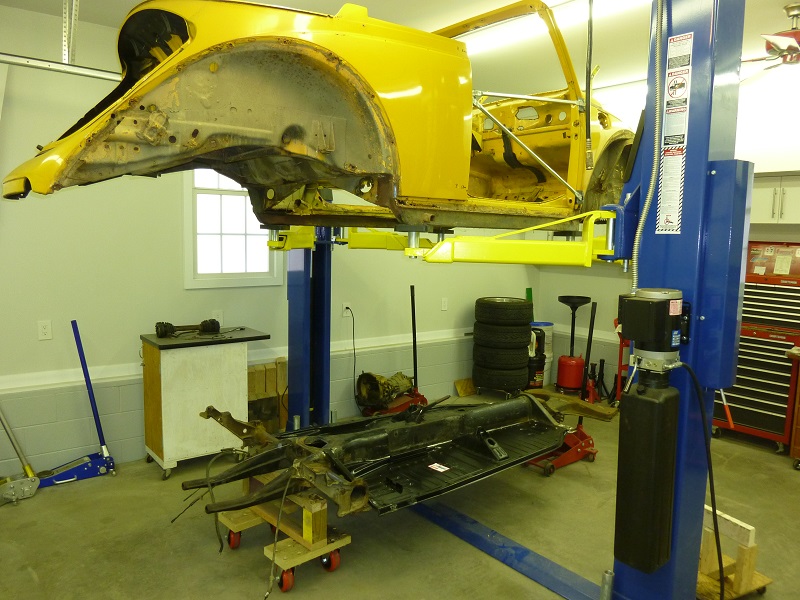
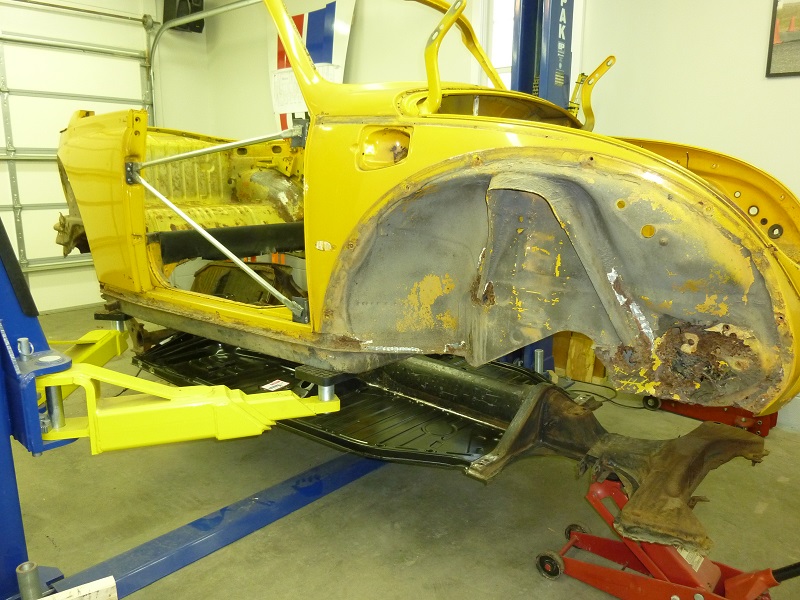
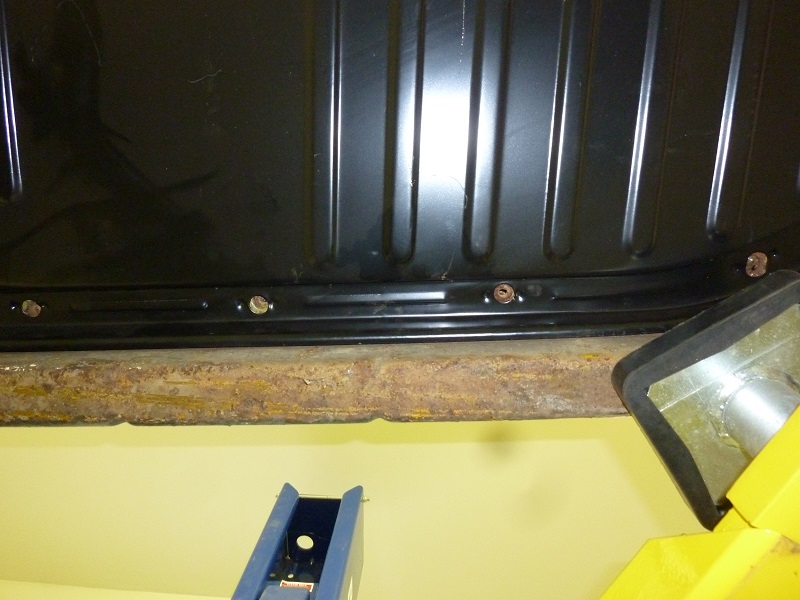
Bottem side looks good as well. |
|
|
|
The mounting holes line up nice, so this is good to go for welding.
|
|
|
|
There it is all welded in complete.
|
|
|
|
Now applying seam sealer and primer.
|
|
|
|
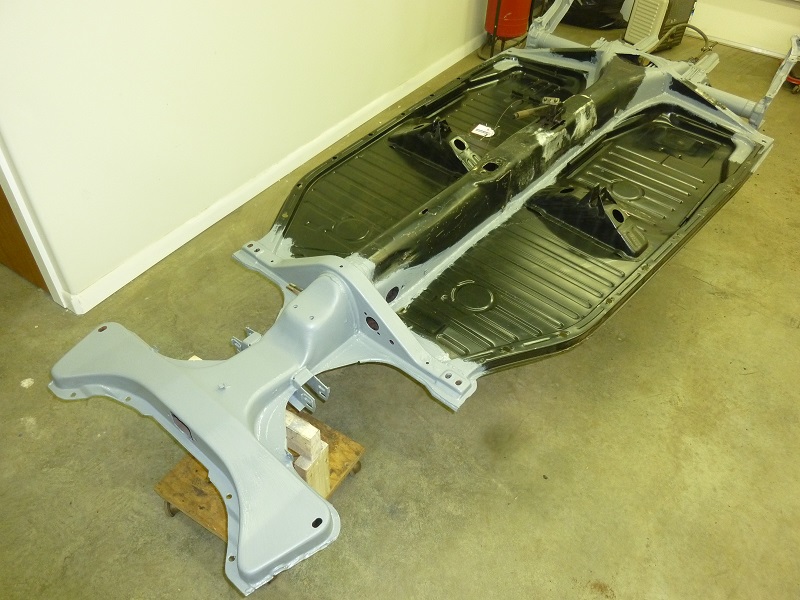
The bottom side is painted with satin black.
|
|
|
|
And the top is now good to go.
|
|
|
|
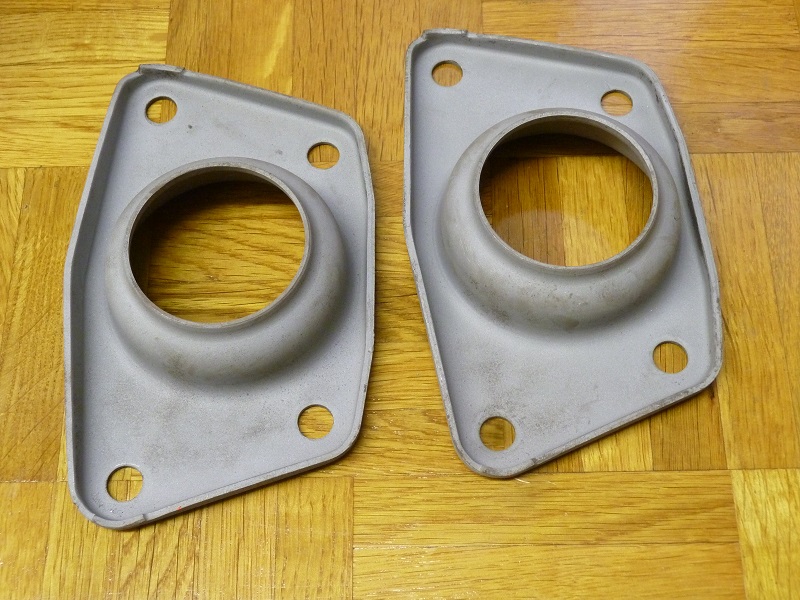
Media blasted some parts to be powder coated.
|
|
|
|
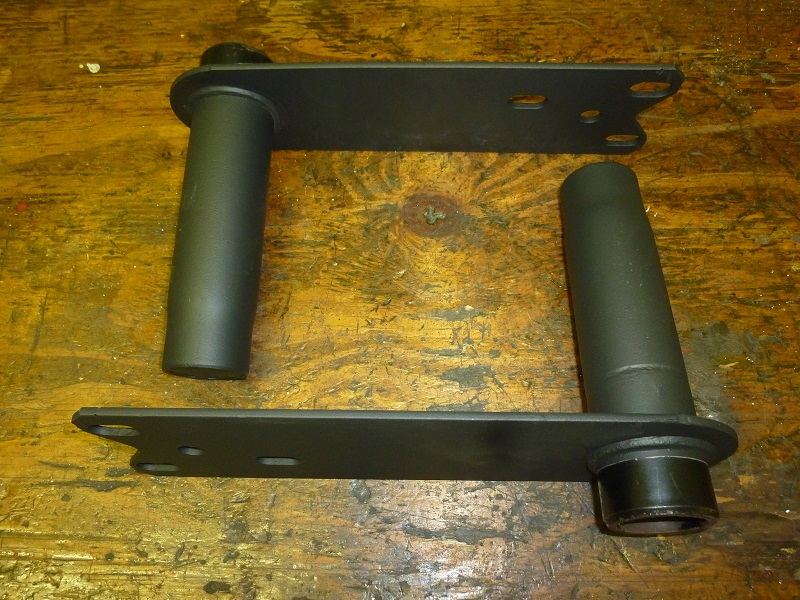
Here are the spring plates finish powder coated black satin.
|
|
|
|
I painted the control arms, since they are to large for my oven.
|
|
|
|
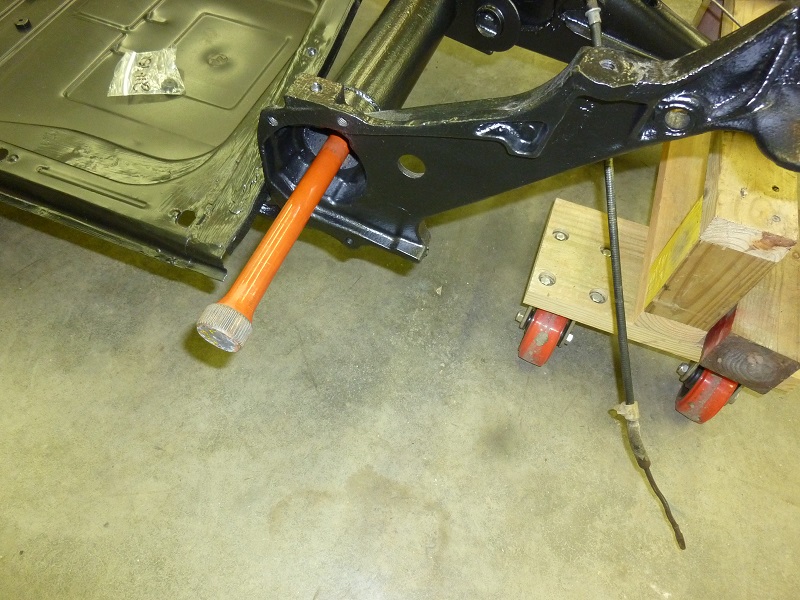
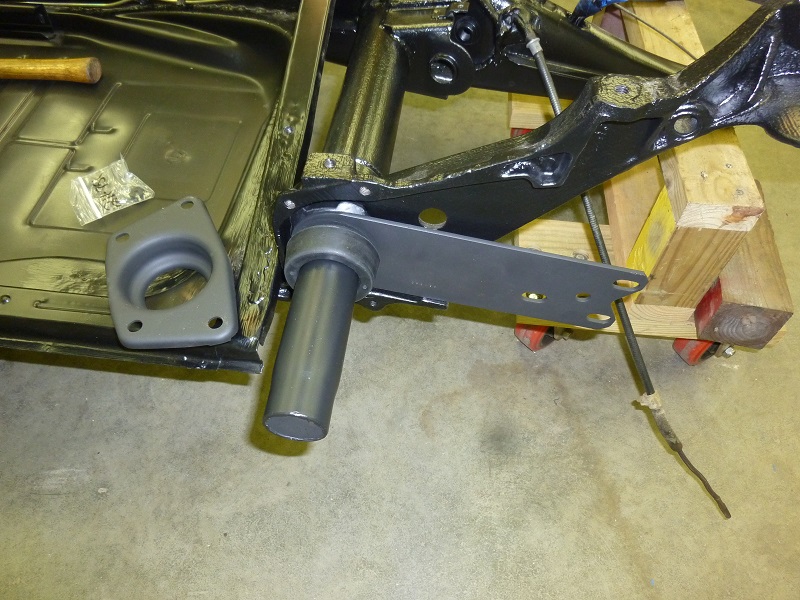
Start to assembly of the rear suspension.
|
|
|
|
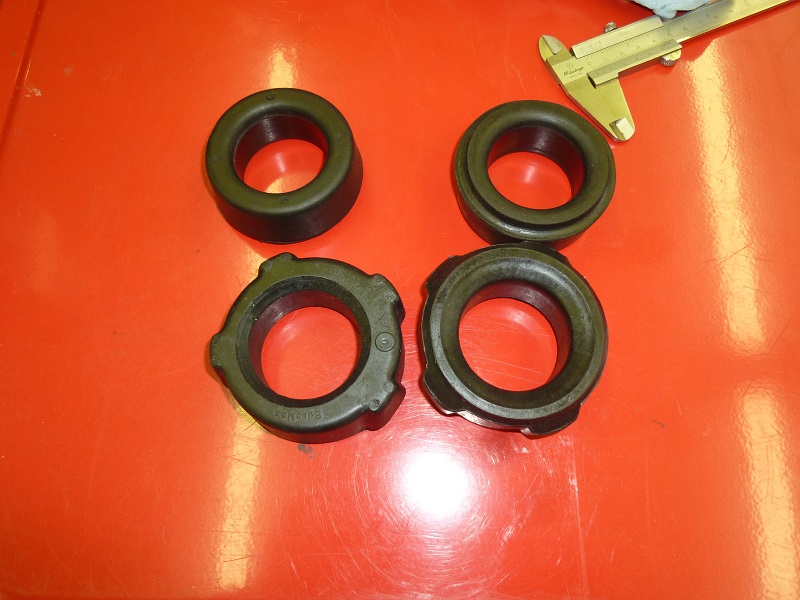
New bushings for the spring plates.
|
|
|
|
These will need to be adjusted once I see the ride height.
|
|
|
|
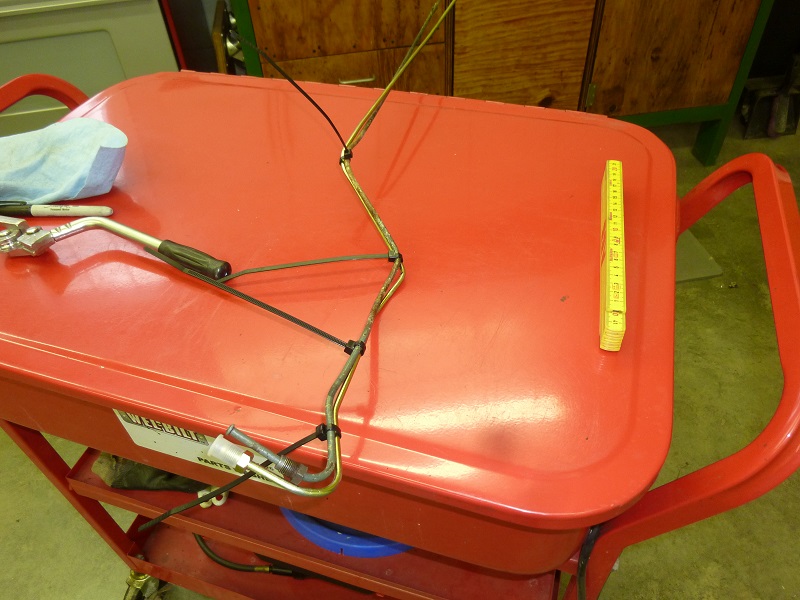
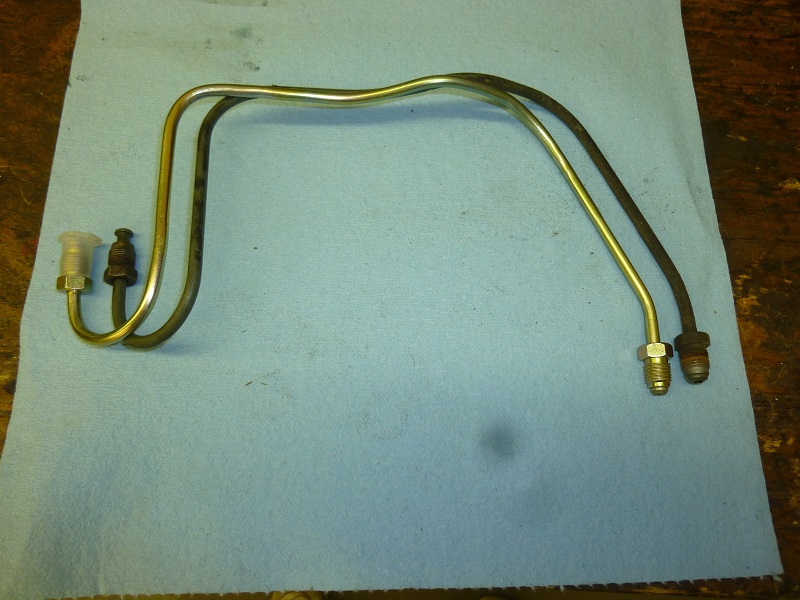
Starting to bend the new brake lines.
|
|
|
I purchased the finished lines, this way I just had to bend them.
|
|
|
|
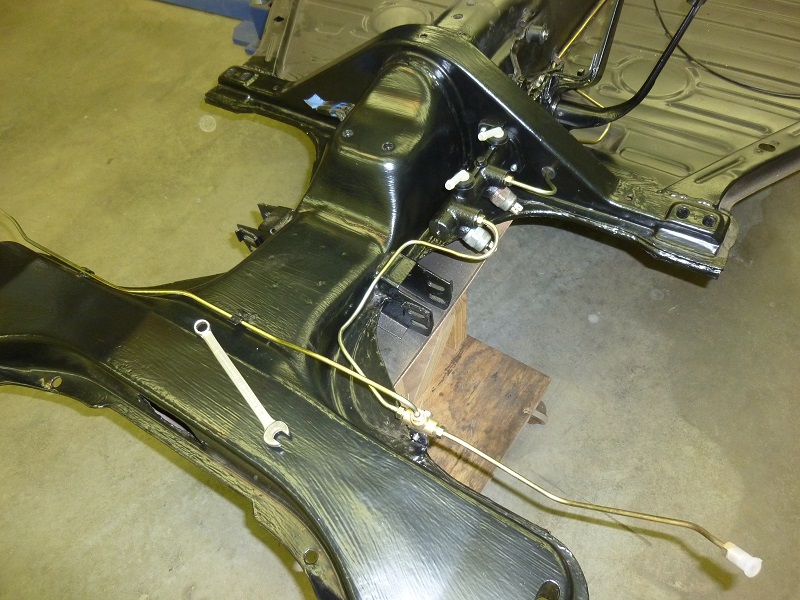
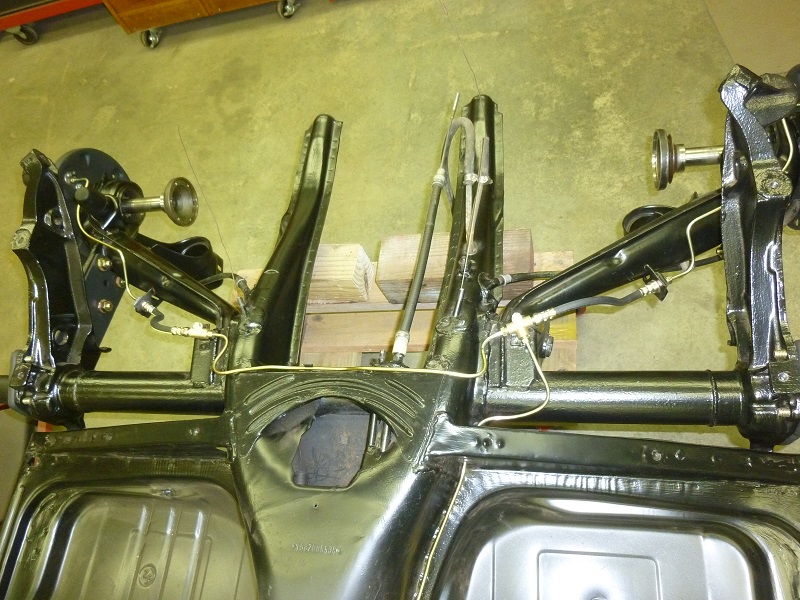
Installed the master cylinder and the front brake lines and the line to the rear brakes.
|
|
|
|
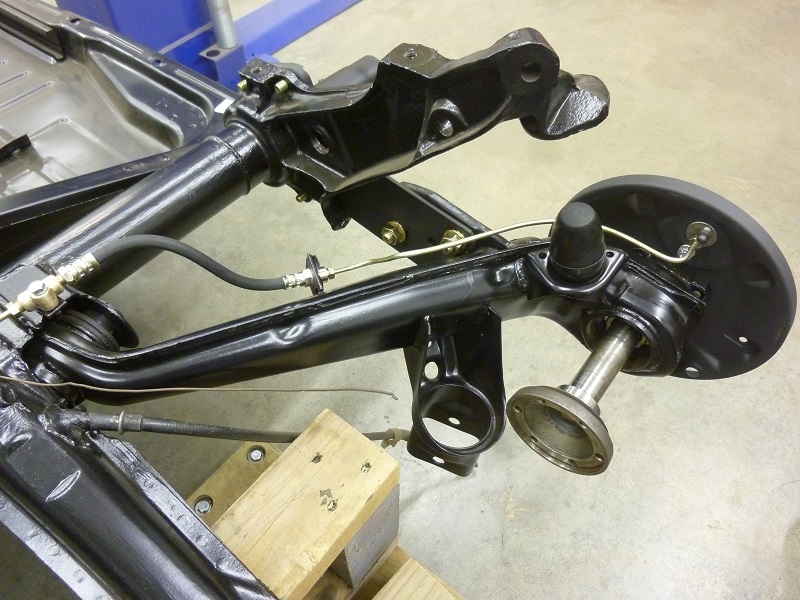
The rear wheel cylinders and the brake lines.
|
|
|
|
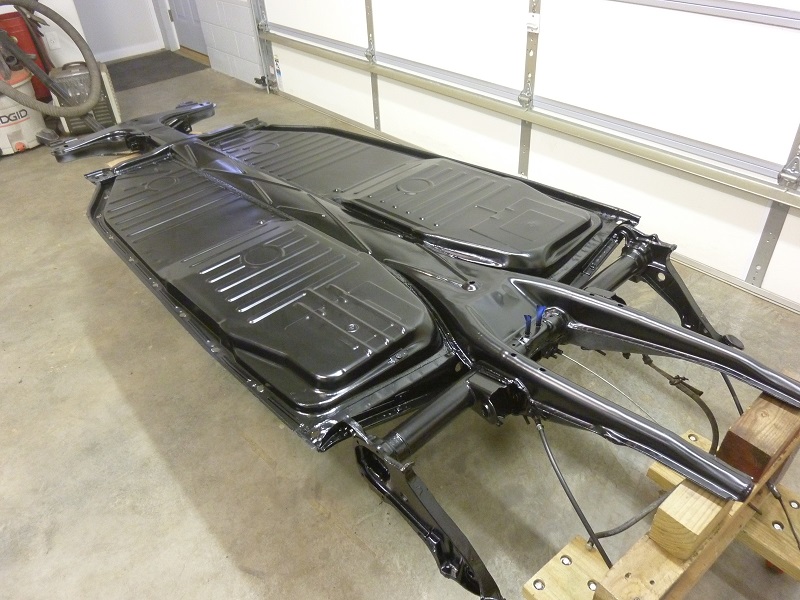
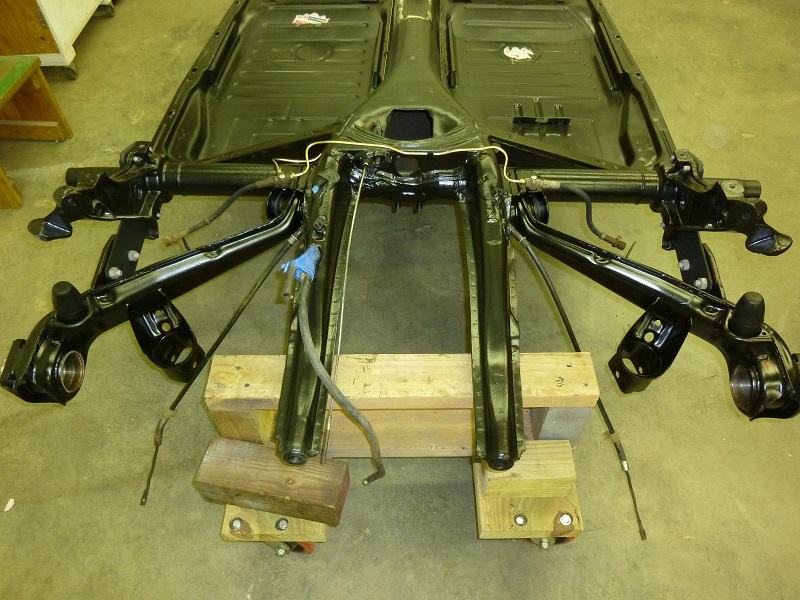
Here it is, all new brake lines.
|
|
|
|
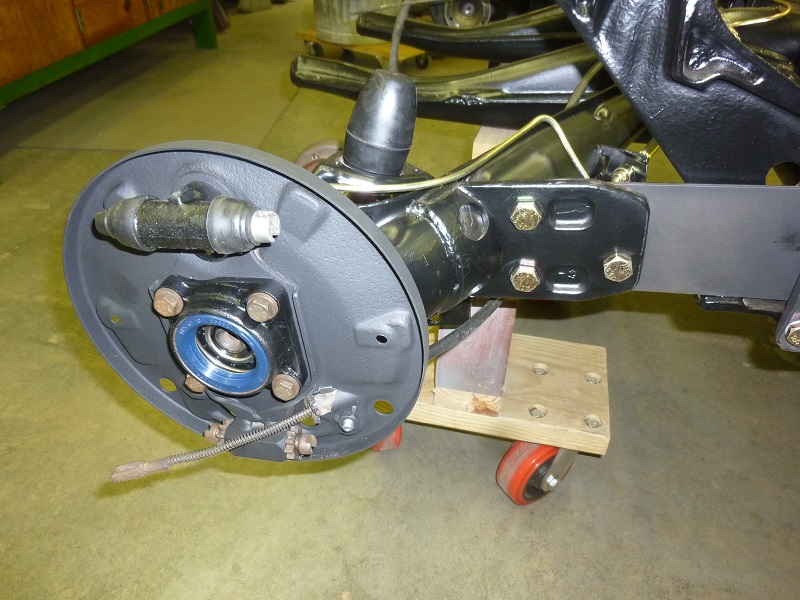
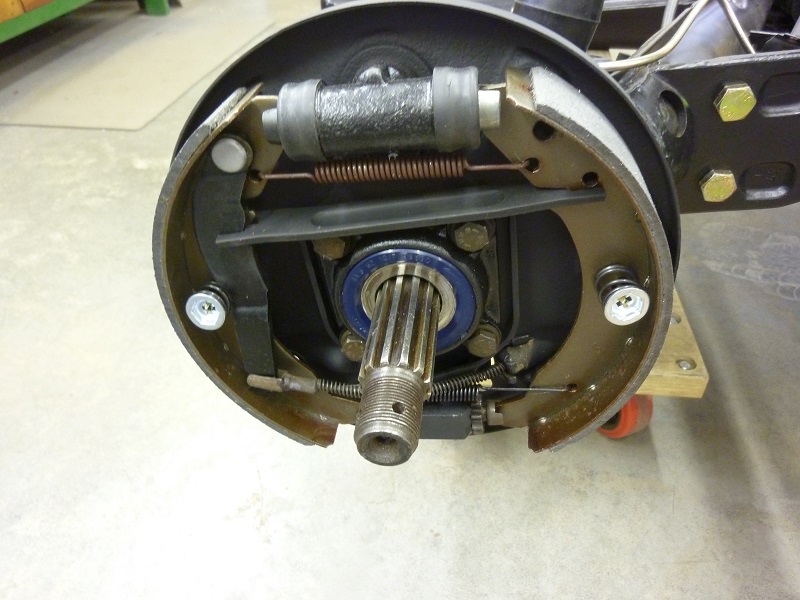
Brake shoe's installed.
|
|
|
|
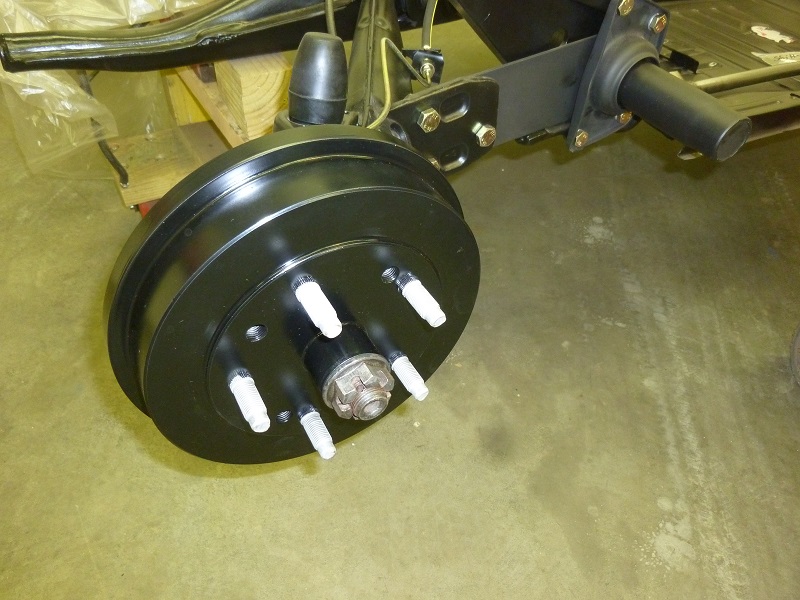
And now the drumms. Now I can park the chassis and move to the body work.
|