|
|
|
|
|
|
|
|
|
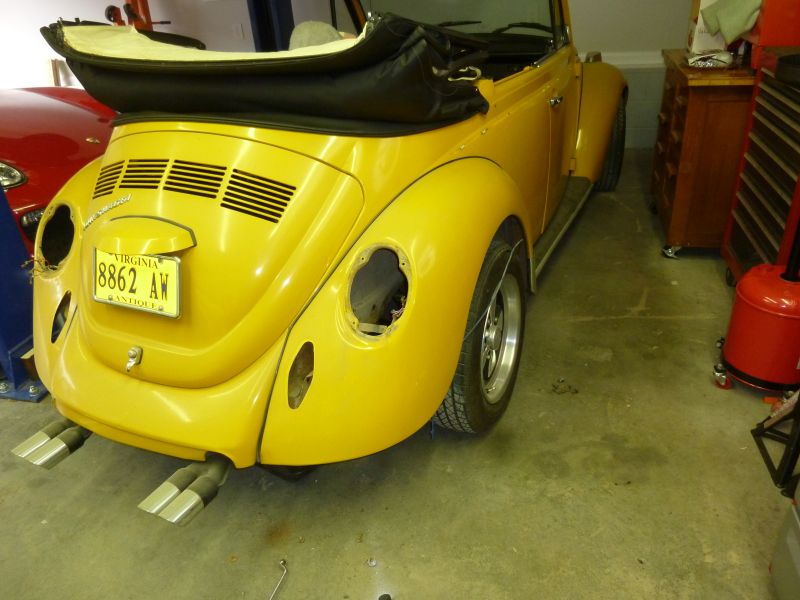
The engine lid is gone.
|
|
|
|
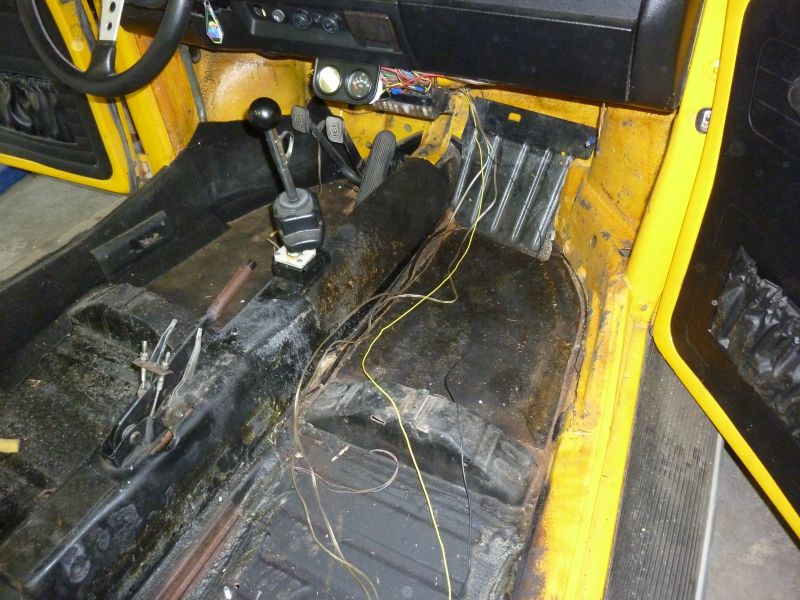
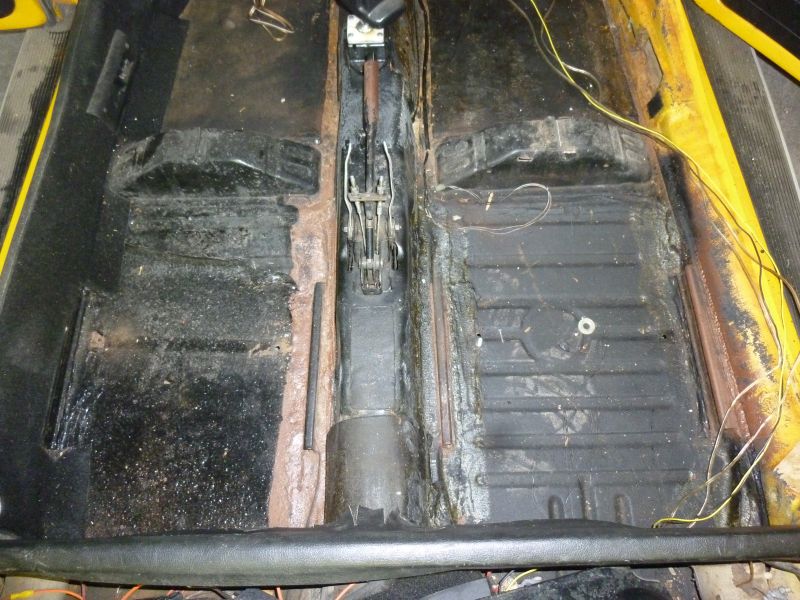
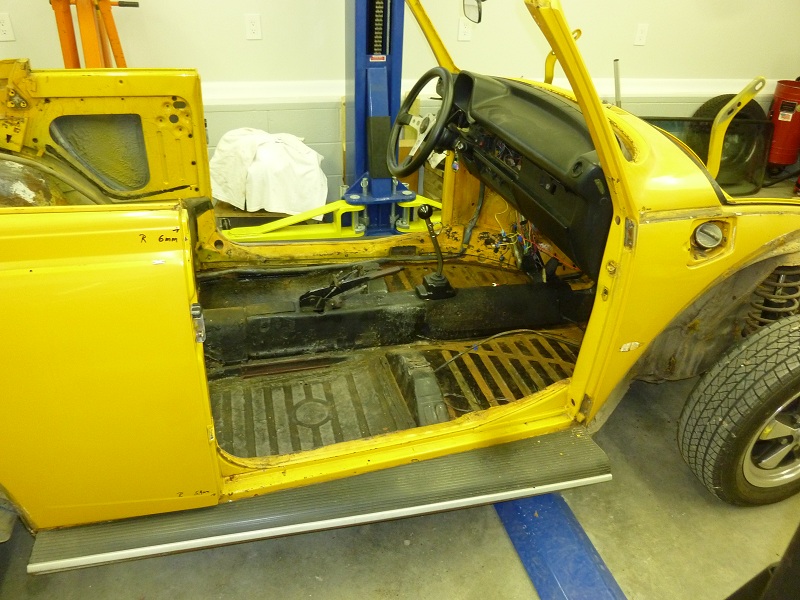
The interior parts are all removed. |
|
|
|
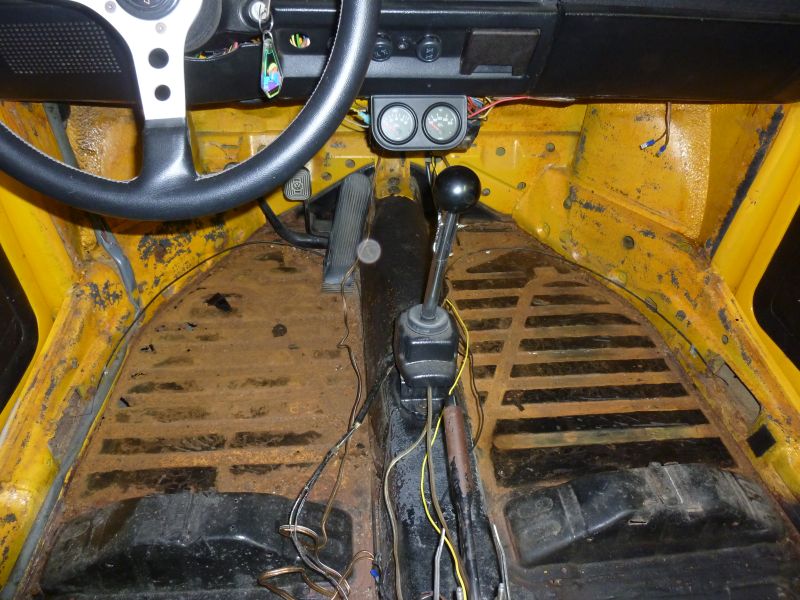
The floor looks like swiss cheese at some places. |
|
|
|
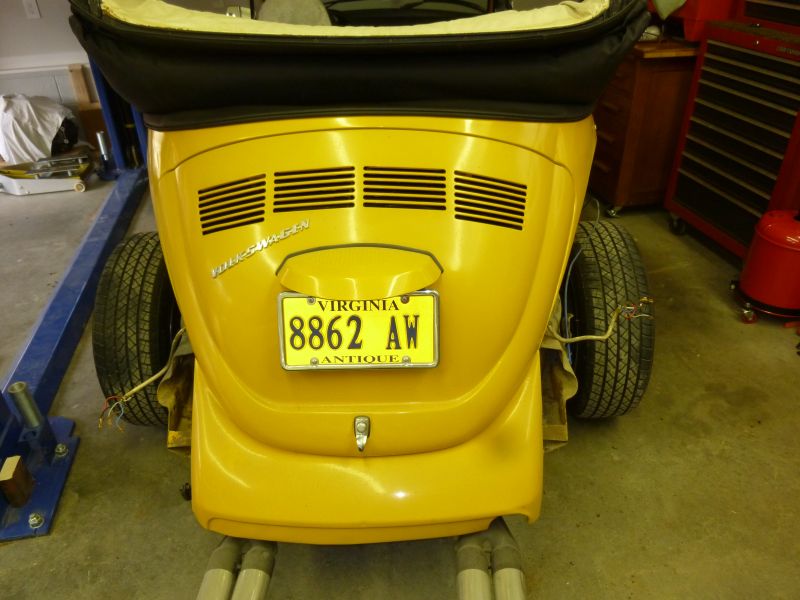
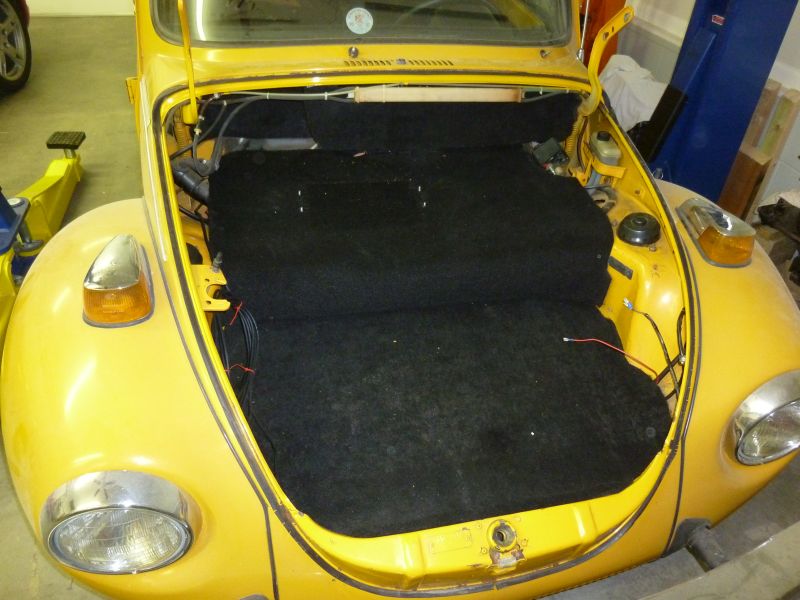
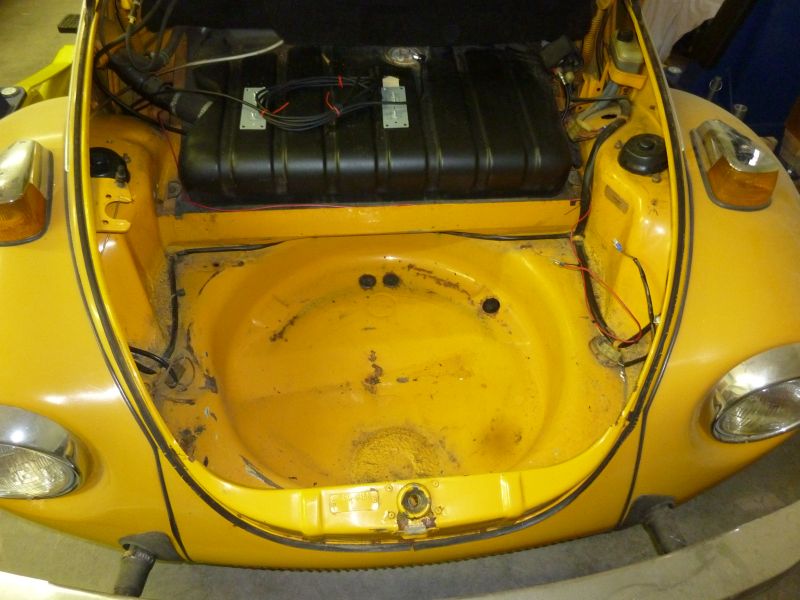
Next is the trunk.
|
|
|
|
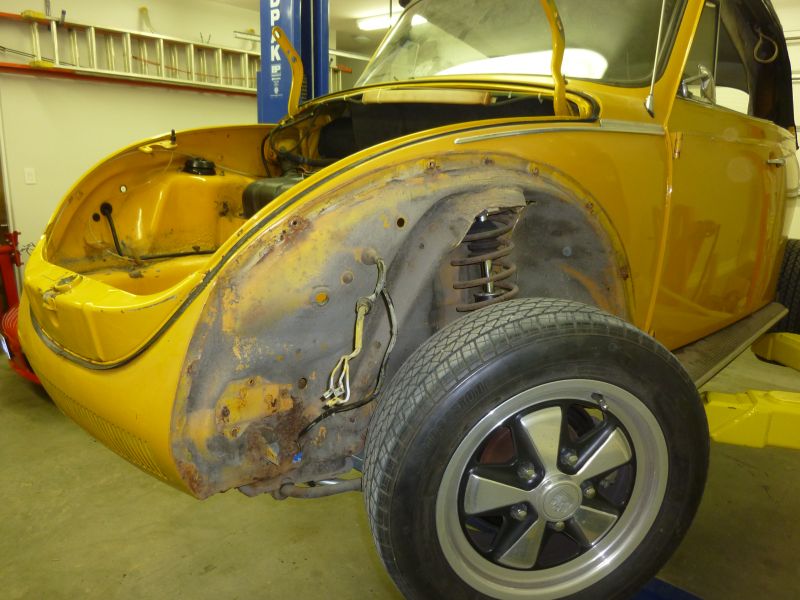
Next the front bumper and fenders.
|
|
|
|
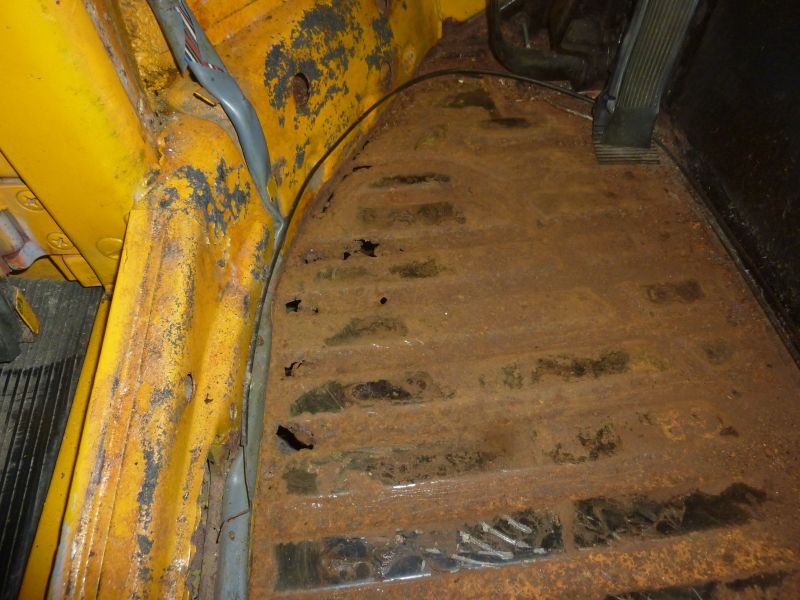
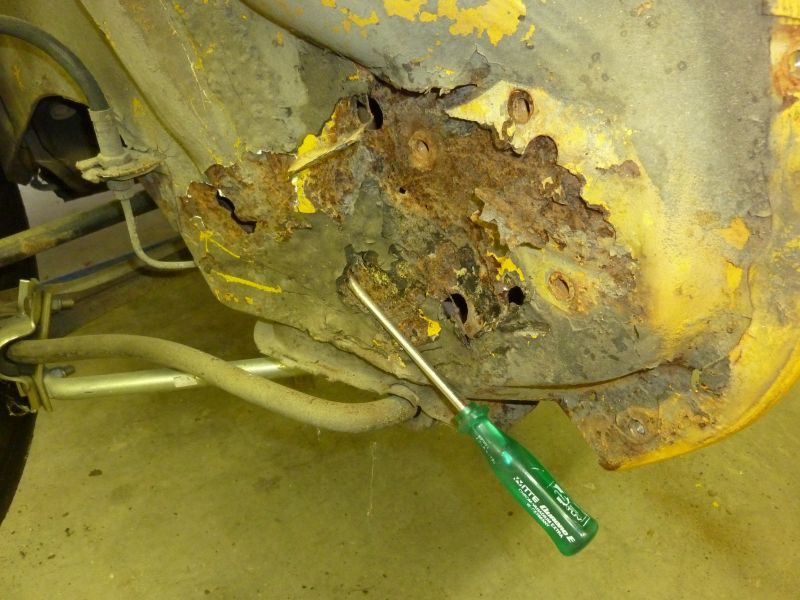
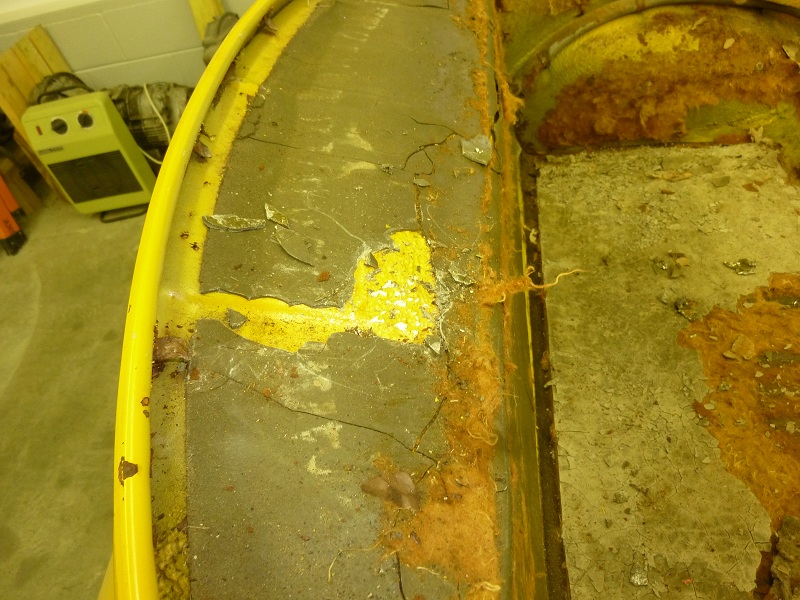
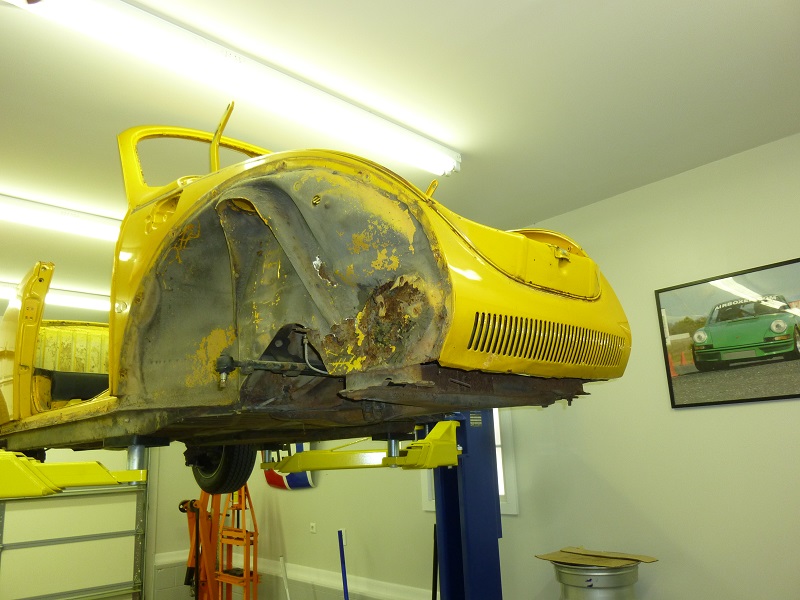
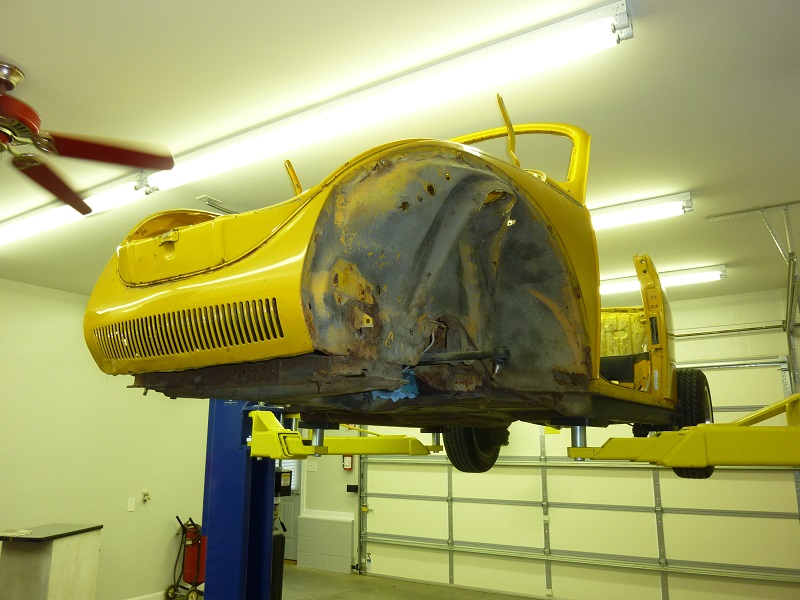
Now, here we have the first critical section of rust.
|
|
|
|
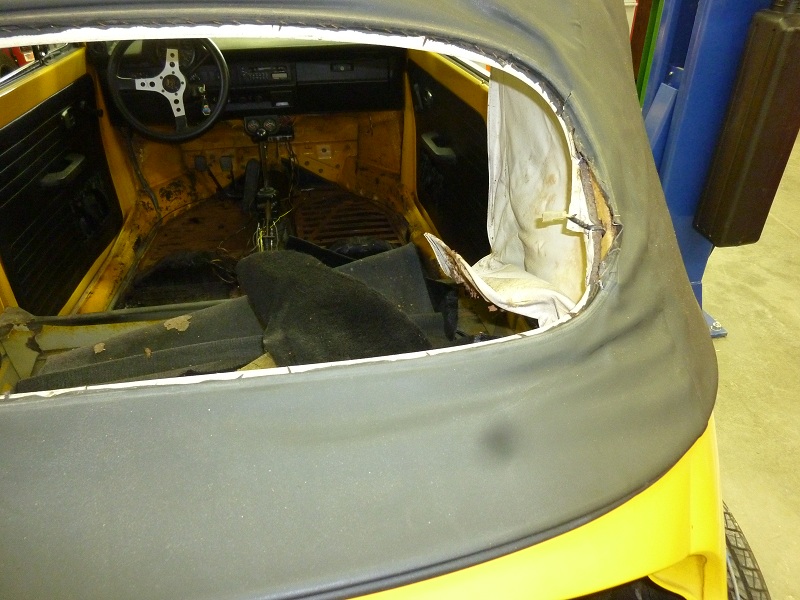
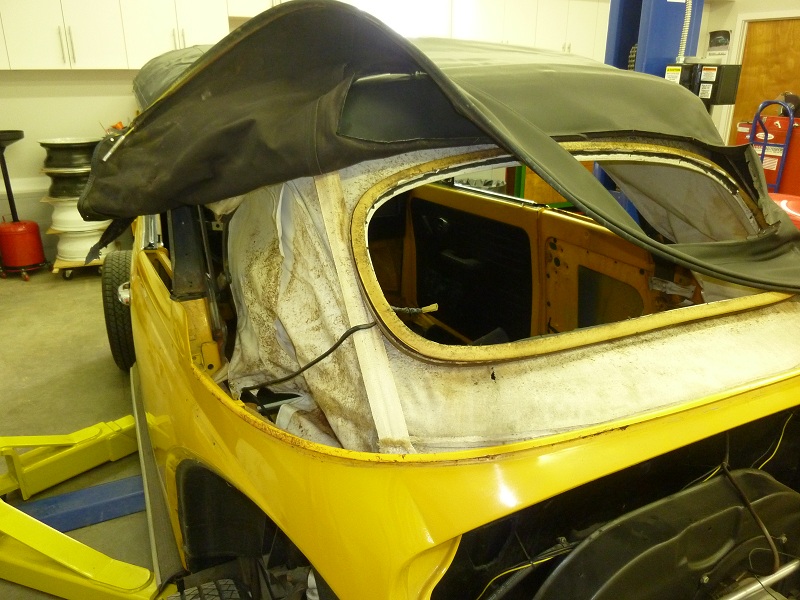
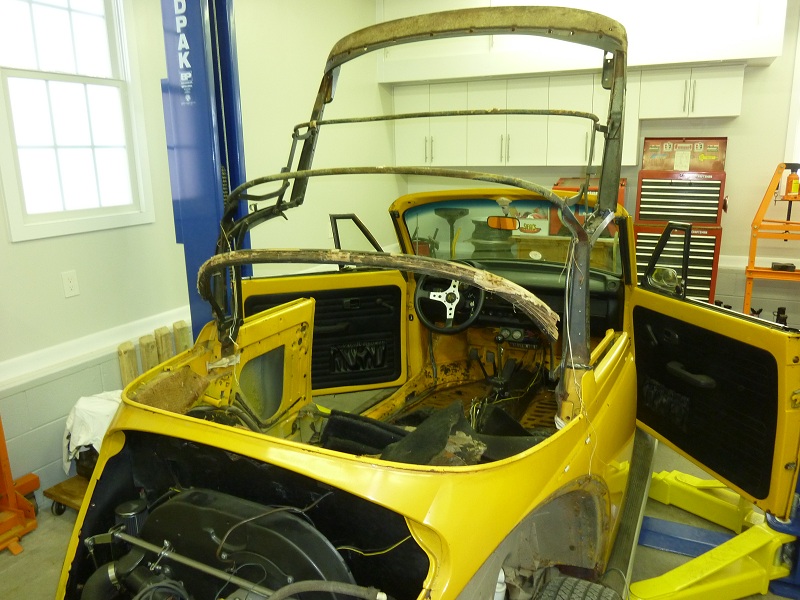
Next thing to remove is the convertible top and frame.
|
|
|
|
With the rear window removed, I moved on to the top, I will need a new one as well the padding and the inner liner.
|
|
|
|
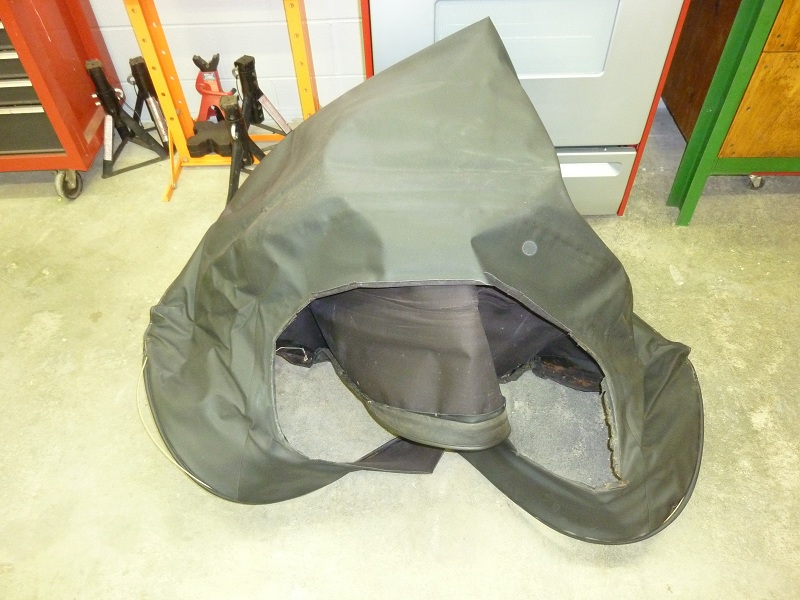
Here it is, the top outher skin is gone and history.
|
|
|
|
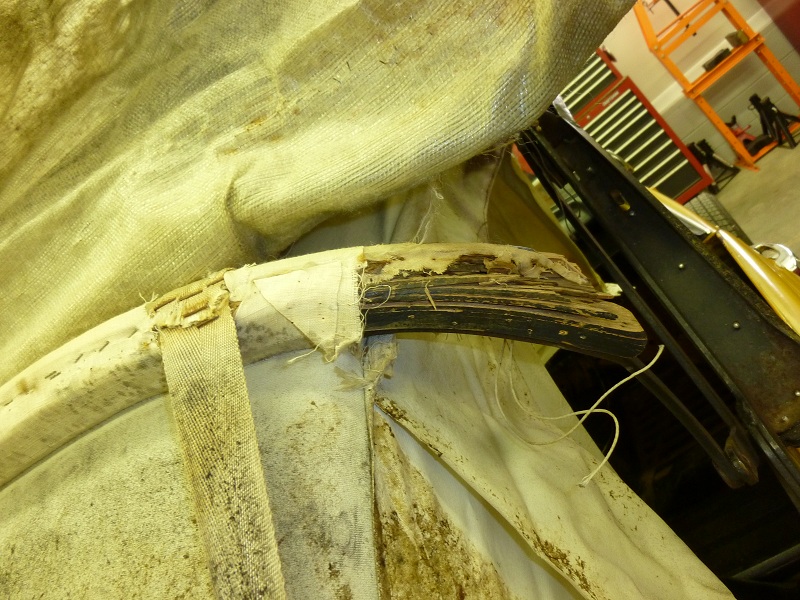
Here we got some rotten wood.
|
|
|
|
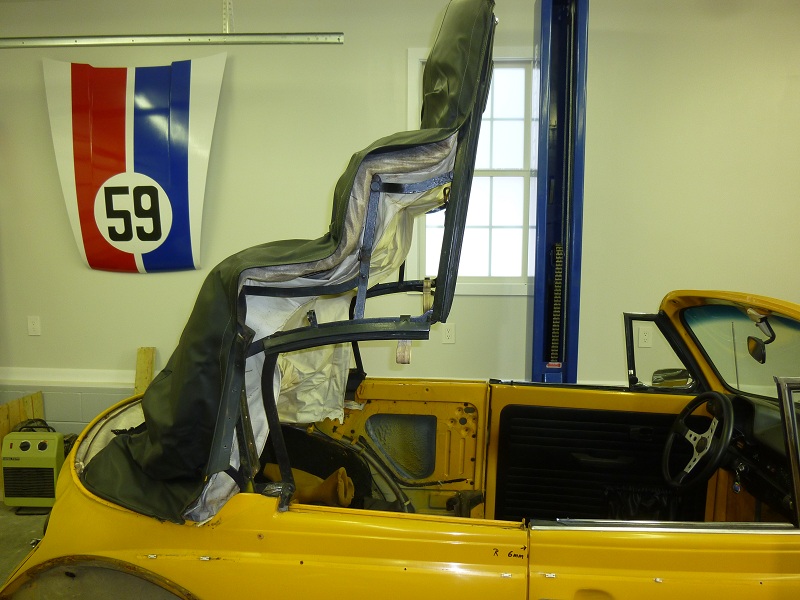
Now we have the naket frame.
|
|
|
|
After the convertible top frame was removed, I moved on to remove all the dampening matts in the inner rear area.
|
|
|
|
All the matts removed. Some section came off easy, however, others didn't.
|
|
|
|
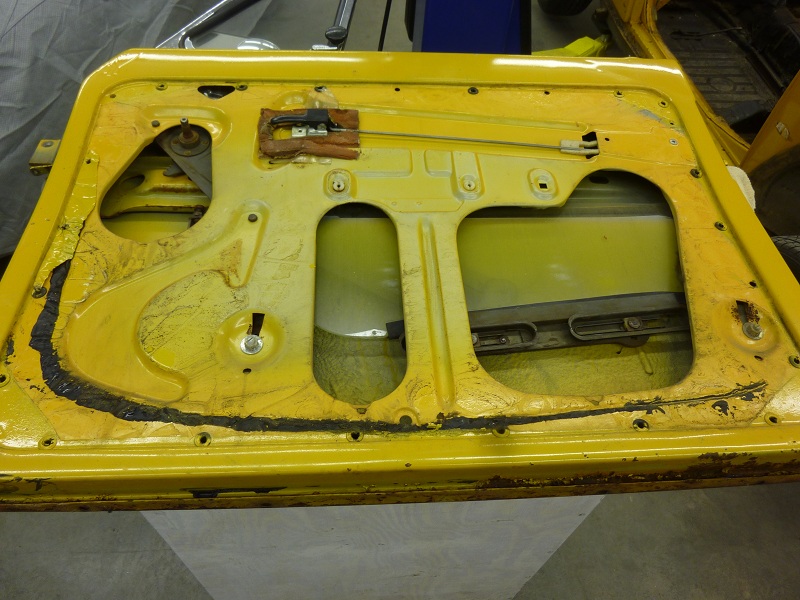
Now we are moving to the doors. They have some rust at the bottom, details later.
|
|
|
|
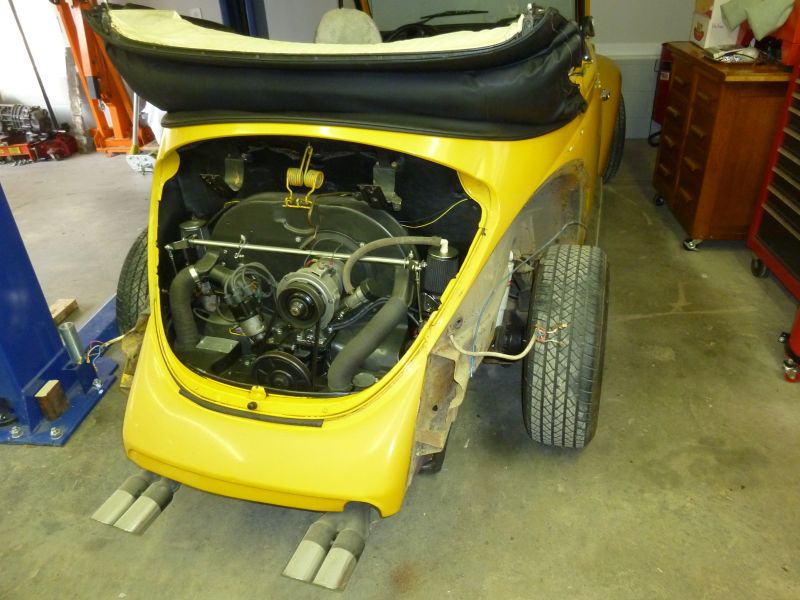
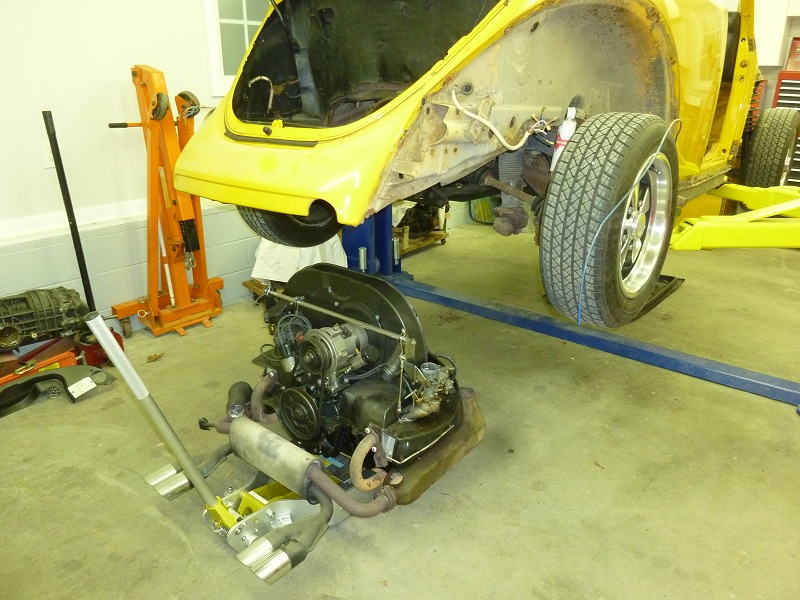
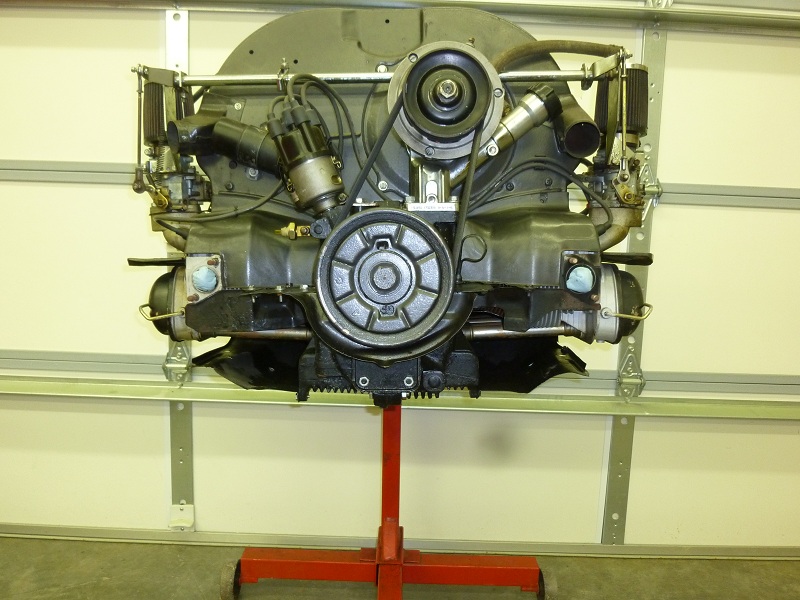
The engine is next.
|
|
|
|
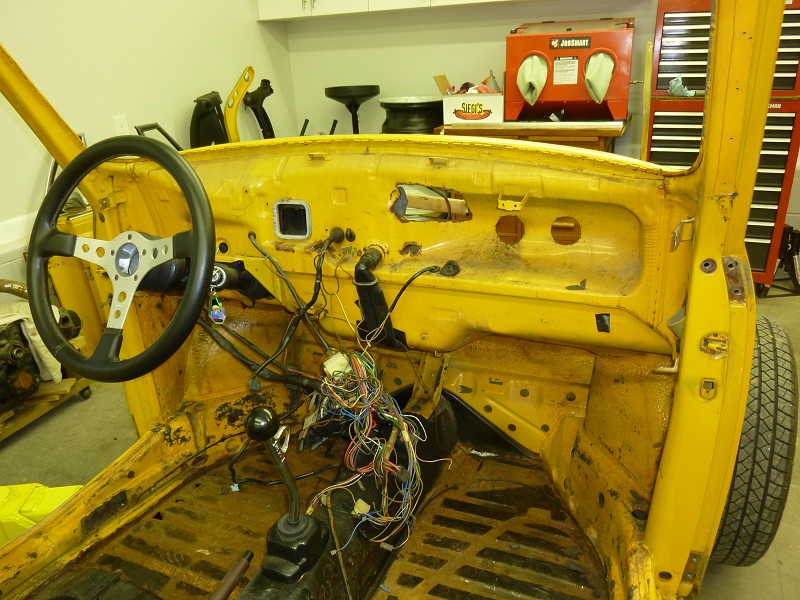
The dash is gone, the wire harness from the fuse box to the rear end as well, and the windshield.
|
|
|
|
Removed the rest of the wire harness. What happen to this car ????
|
|
|
|
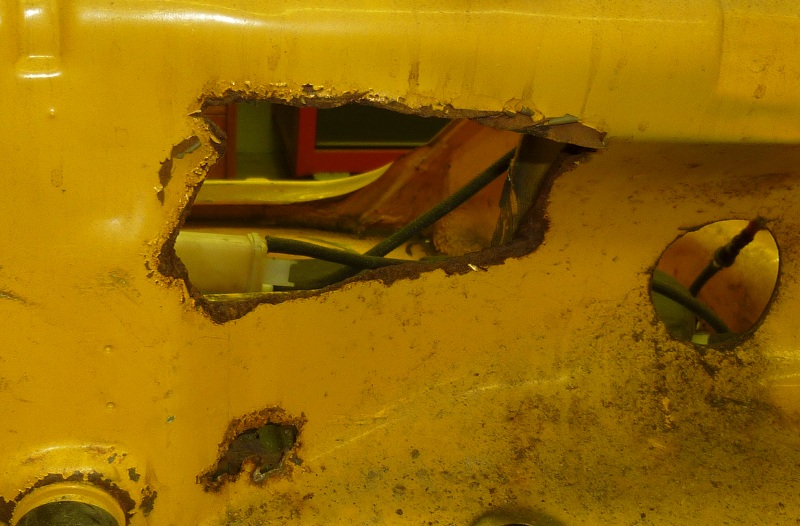
Why does it have a hole, and it looks like somebody cut it out with a chainsaw. Looks like some AC retrofit.
|
|
|
|
Disassembled the doors.
|
|
|
|
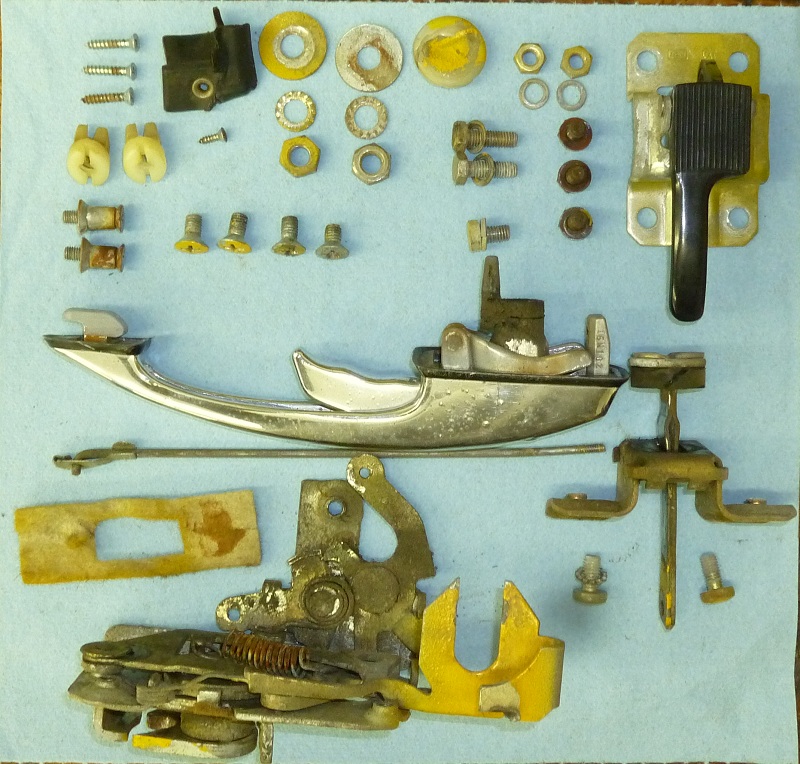
Here is some door hardware art.
|
|
|
|
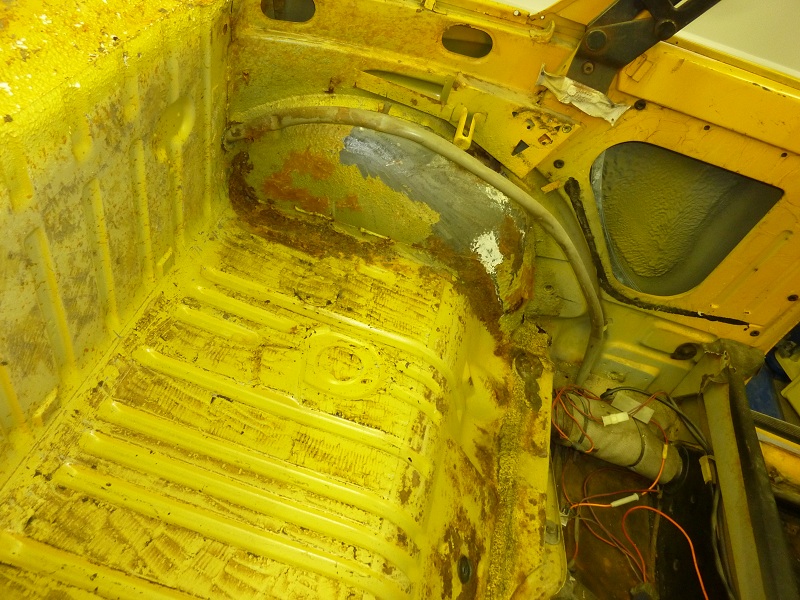
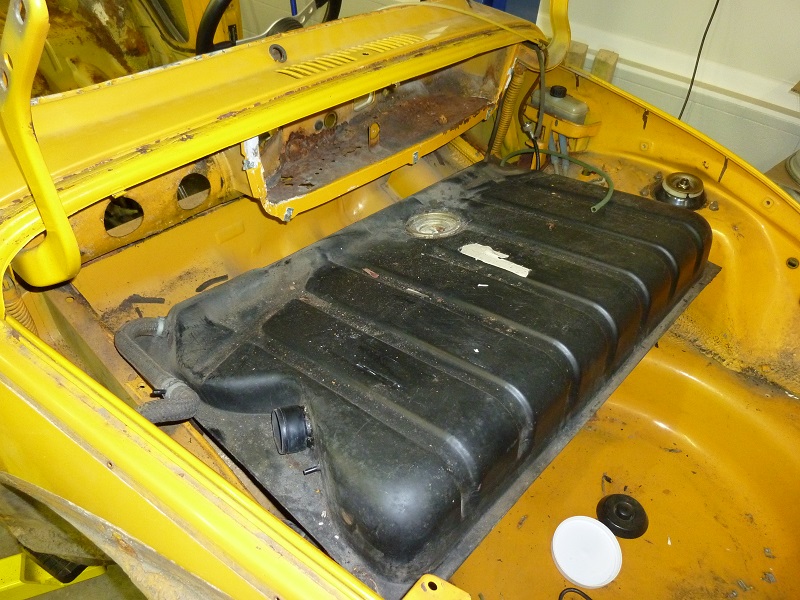
Now we are moving on to the gas tank.
|
|
|
|
This car must have being sitting outside in his earlier life, and water leaked in. More about the rusted sections later.
|
|
|
|
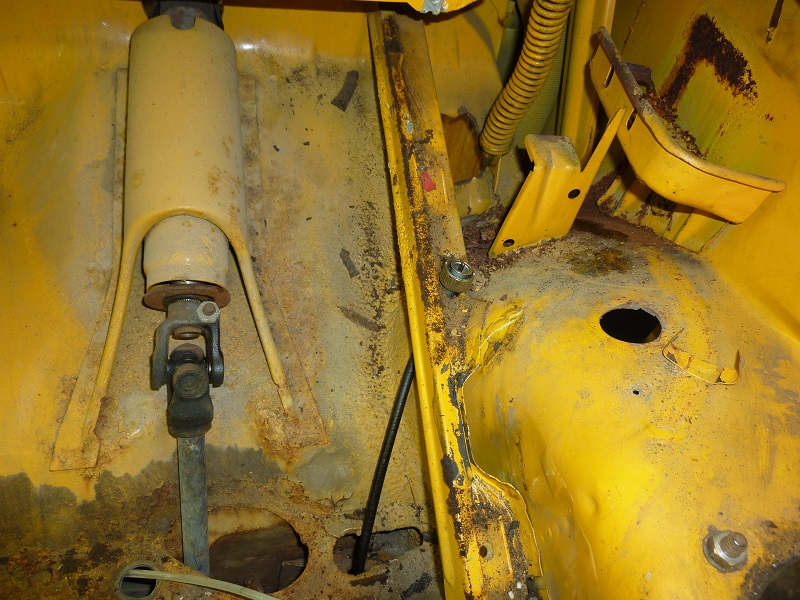
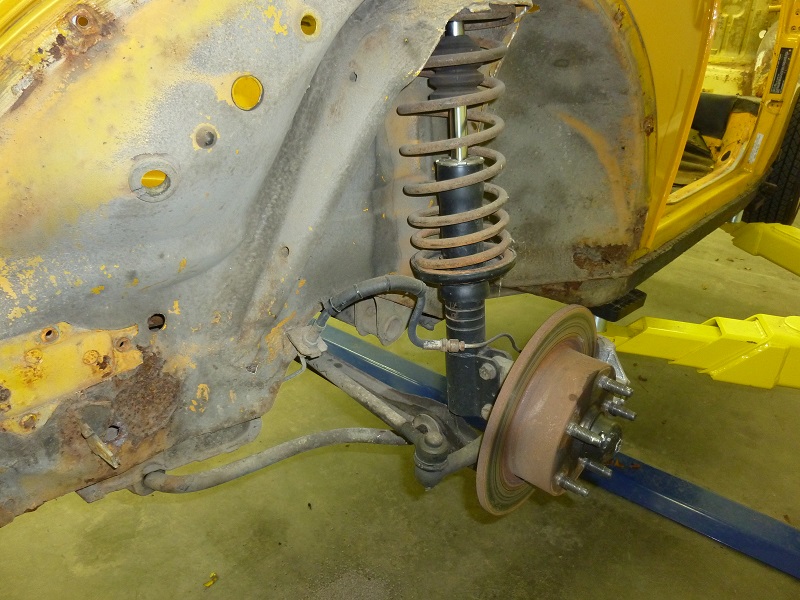
Front suspension is next.
|
|
|
|
The suspension is gone, just the steering rack is left to be removed.
|
|
|
|
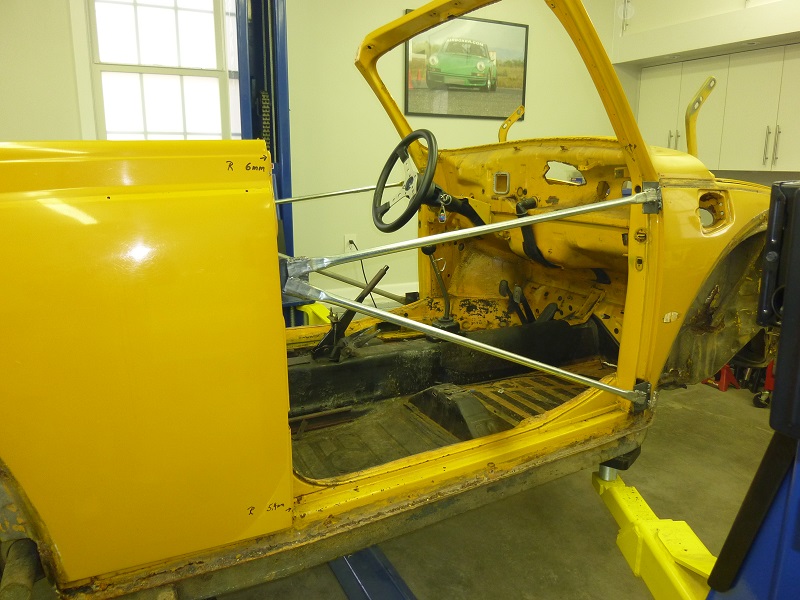
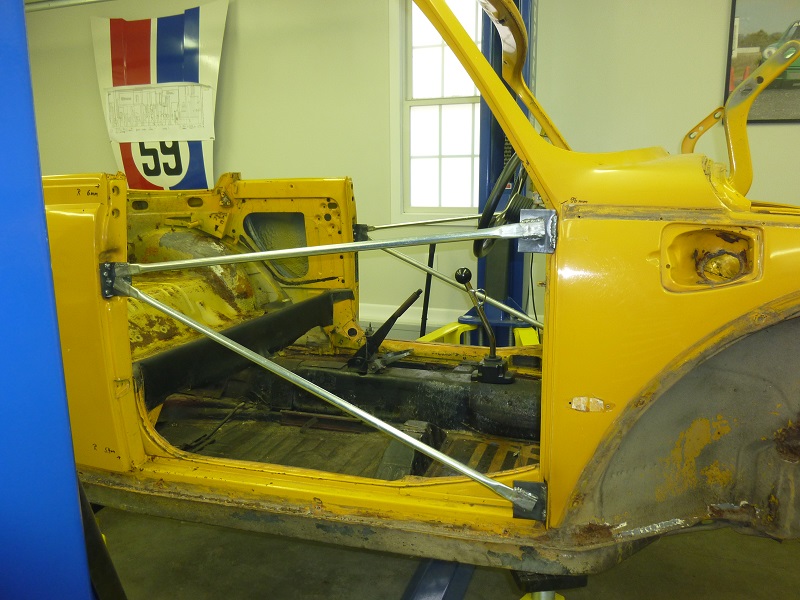
Getting ready to separate the upper and lower parts. I made some braces to stabilize to body.
|
|
|
|
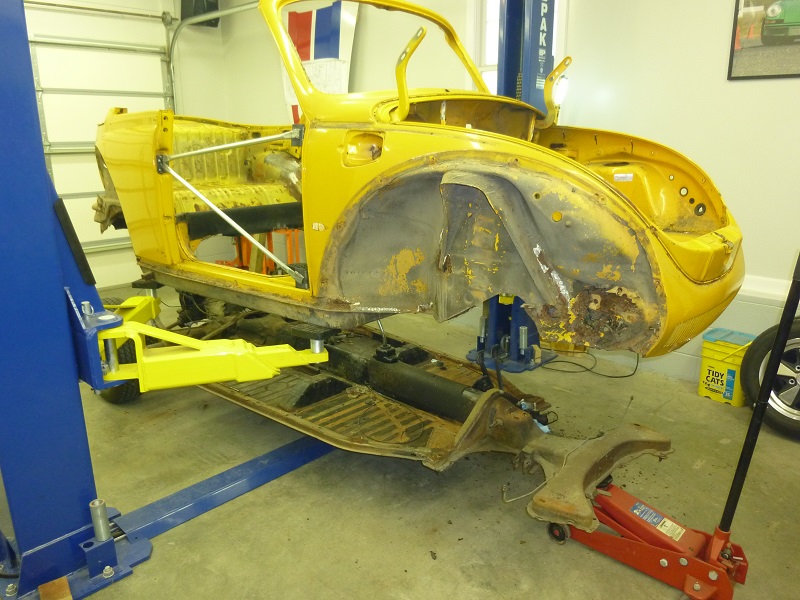
We have lift off.
|
|
|
|
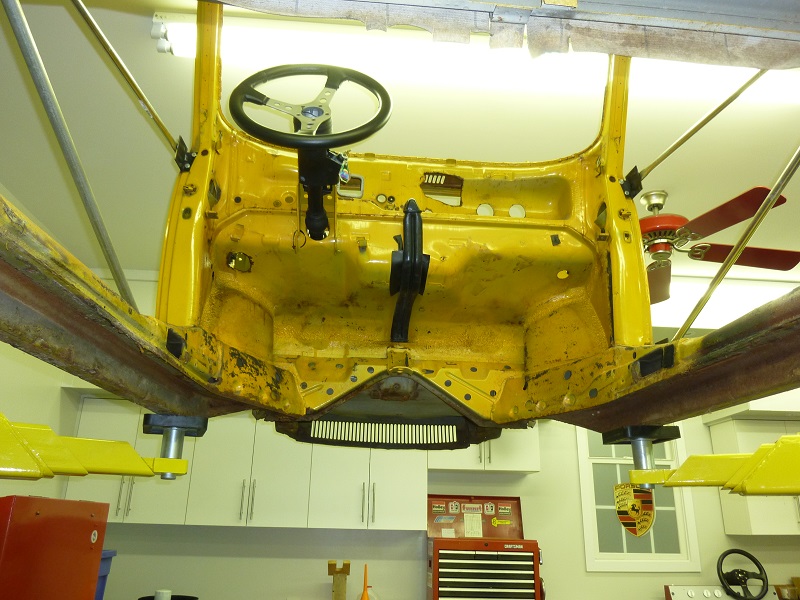
Looks like it's up in the air.
|
|
|
|
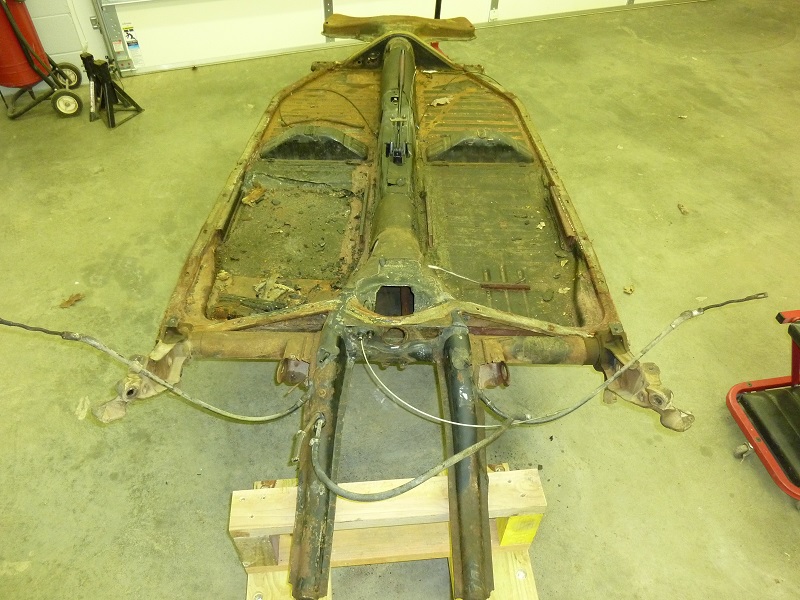
Disassembling the chassis.
|
|
|
|
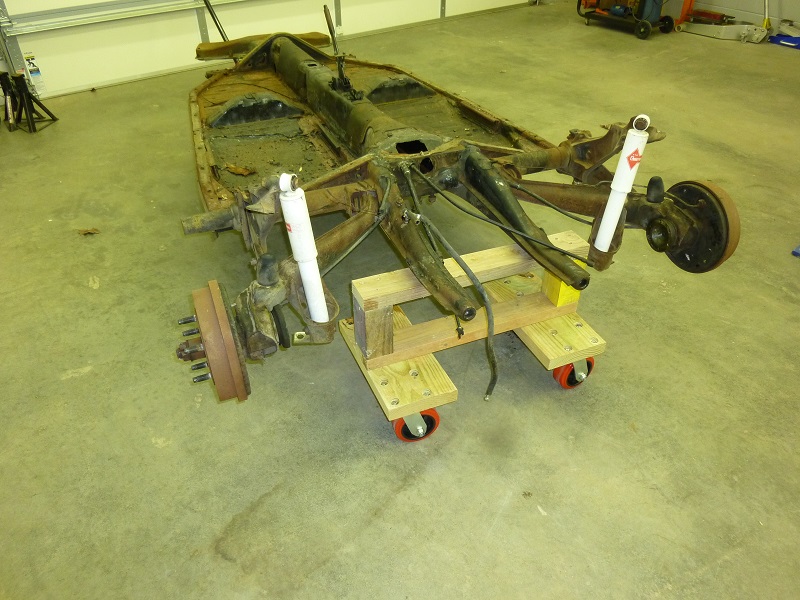
Removed the rear suspension.
|
|
|
|
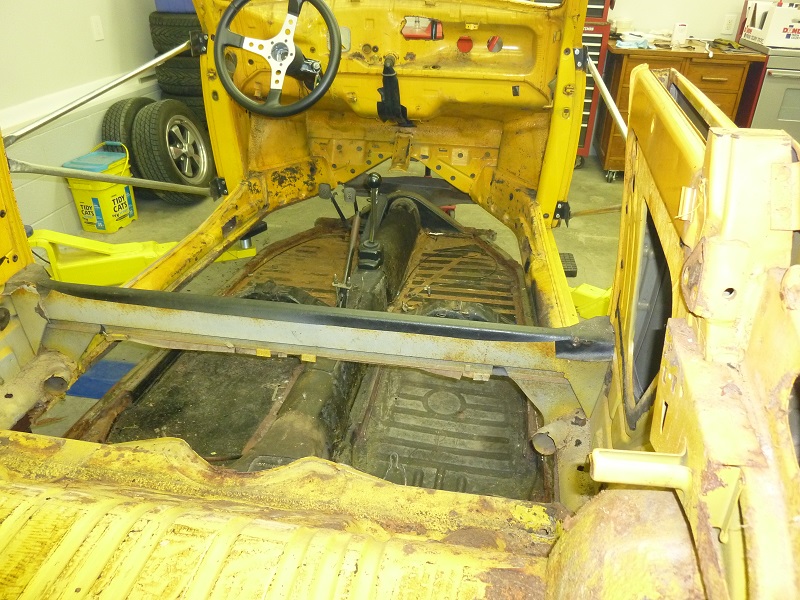
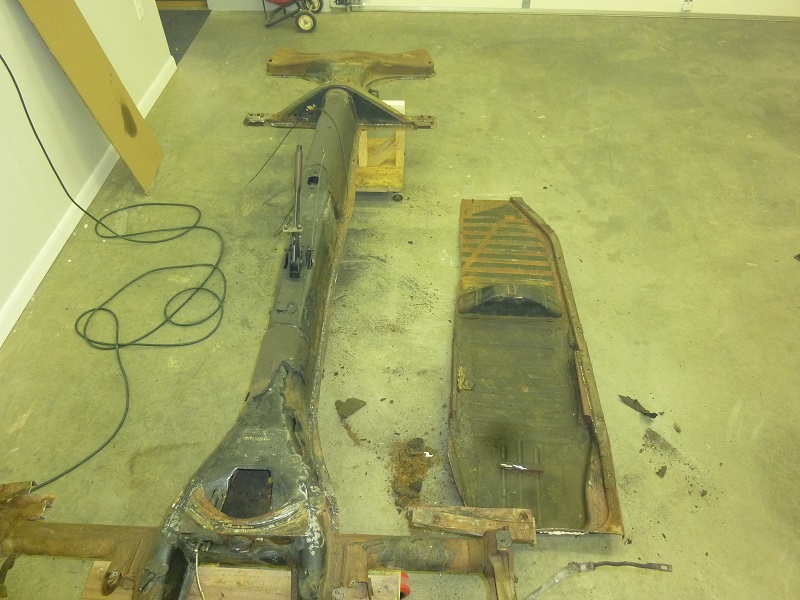
Removed both floor pans.
|
|
|
|
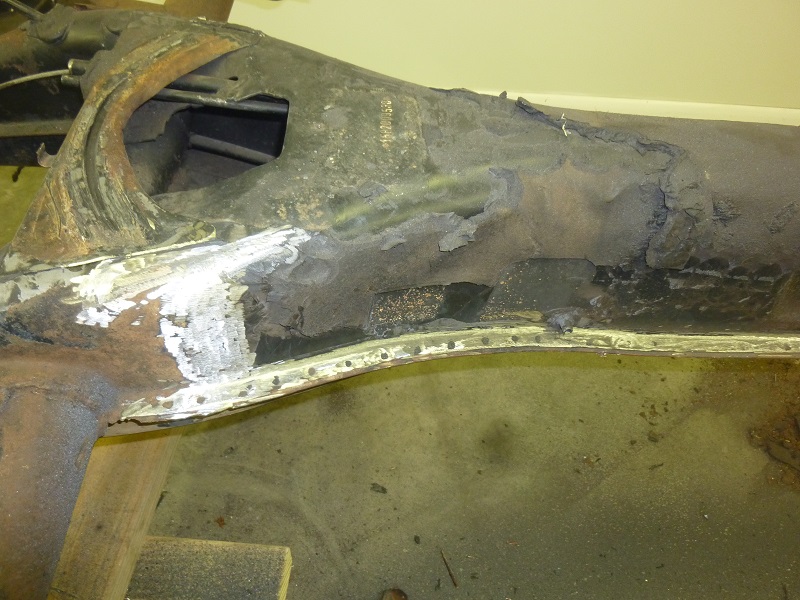
Clean up time. Grinding off all old welds.
|