1970 Porsche 911T - Metal Work
October 2015
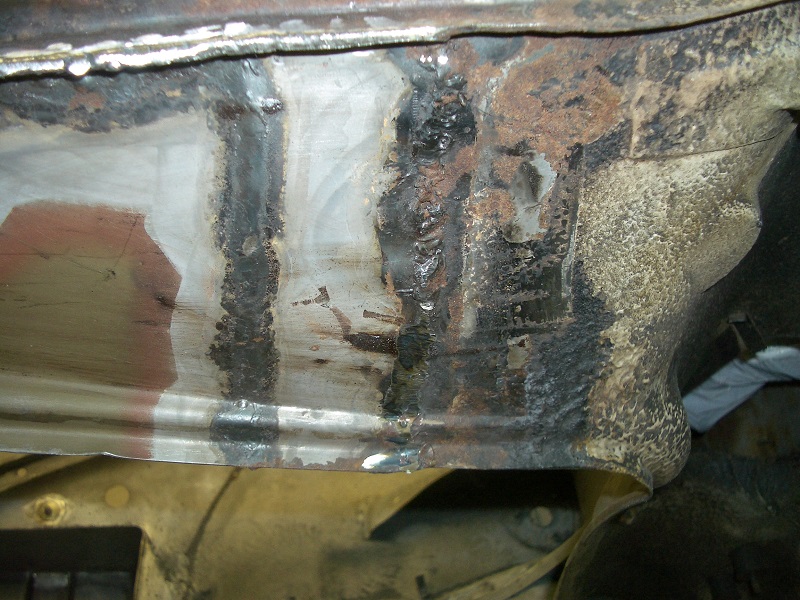
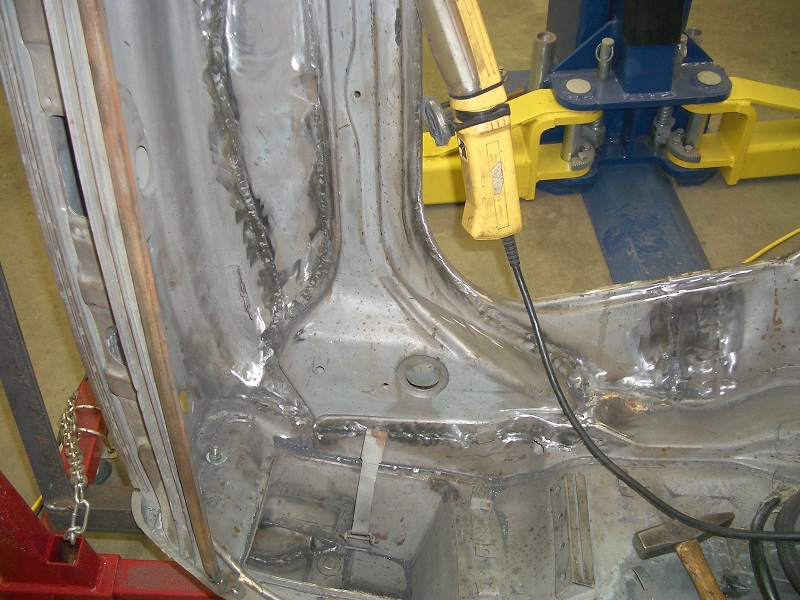
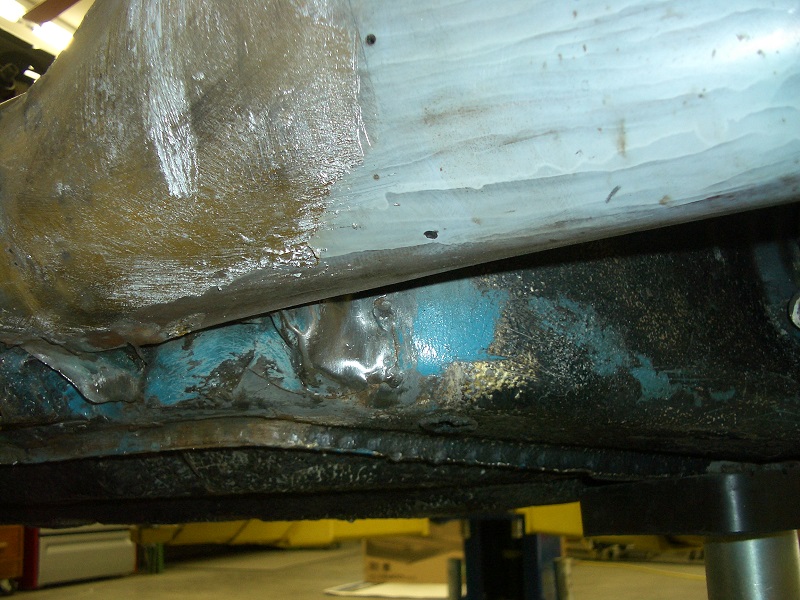
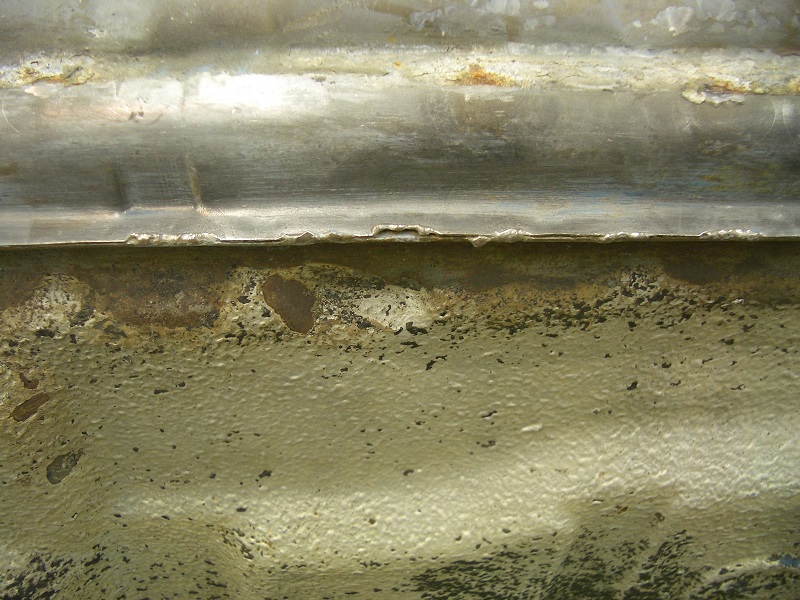
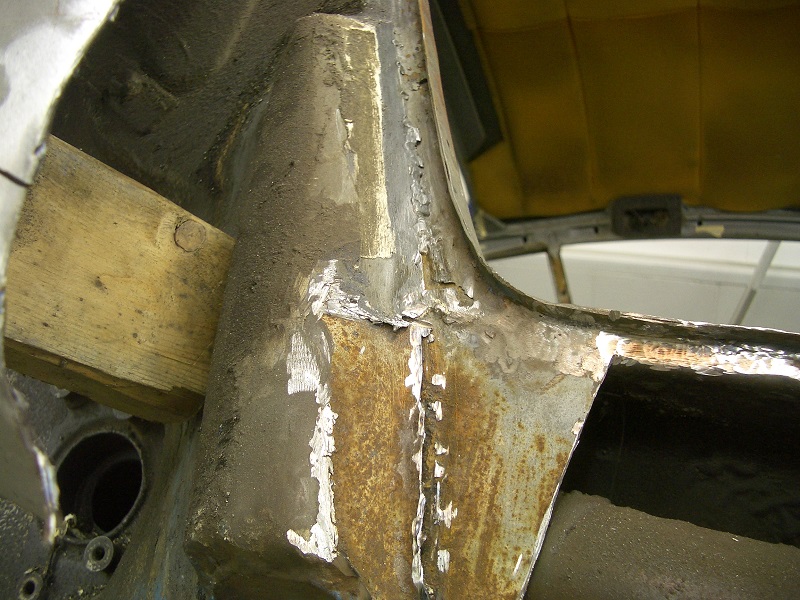
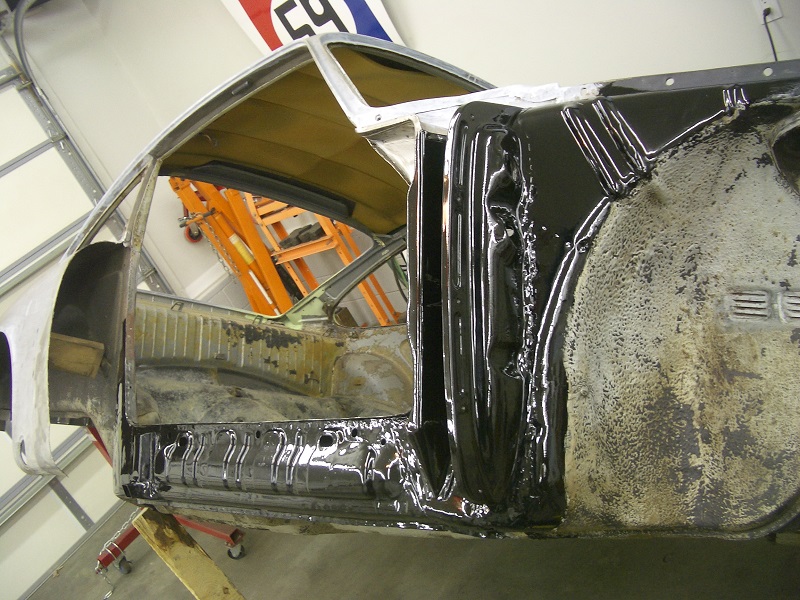
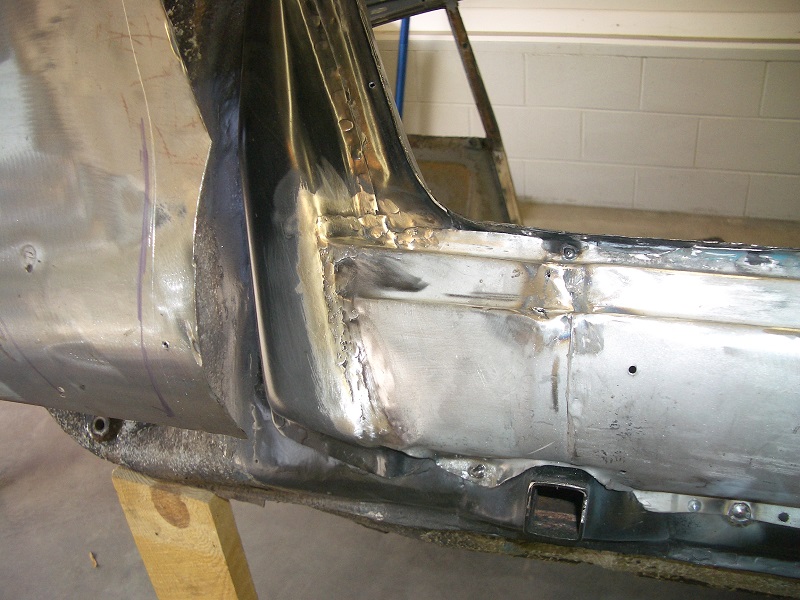
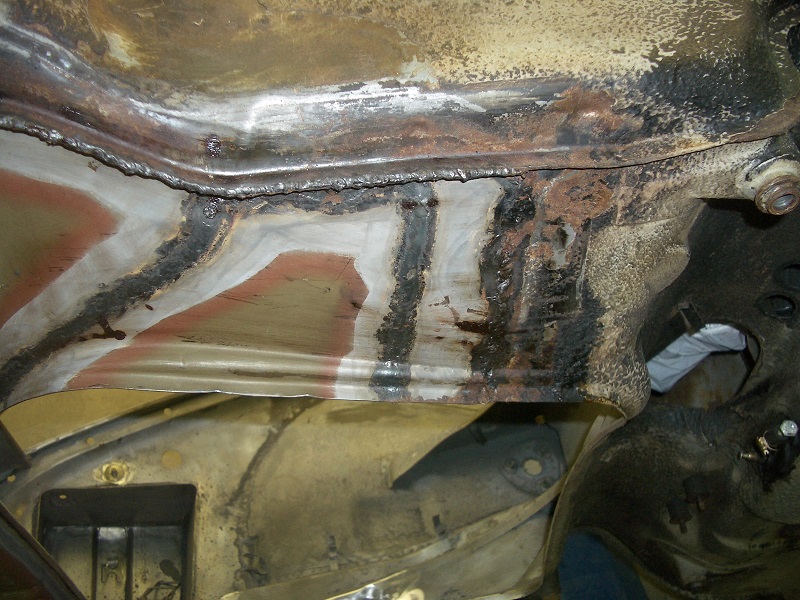
I started on the welds of the front suspension pan. Where the new pan connects to the old piece it was overlapped about 2.5" and welded on both sides.
Another look at the same section
I started careful to grind of the bottom layer. It already had some surface rust in between.
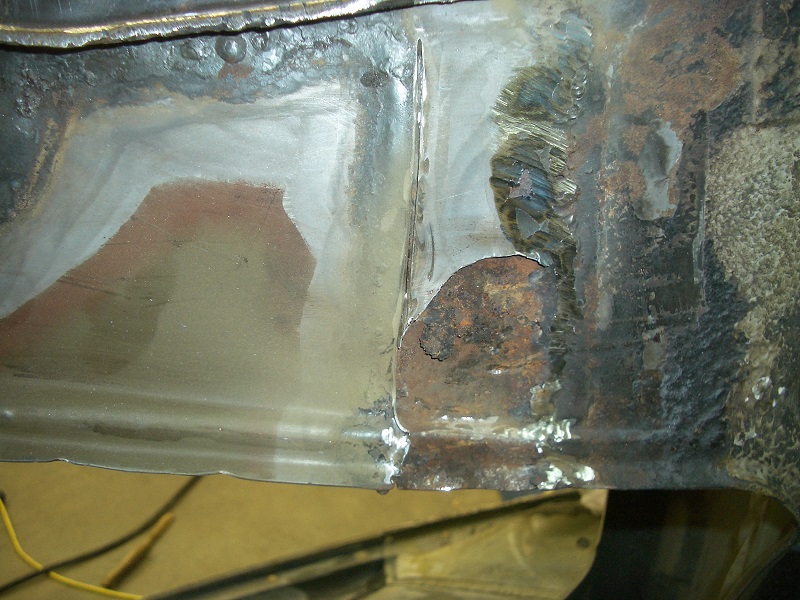
I was able to clean it up and re-weld as needed.
From the inside, and more welds to grind, re-weld and grind.
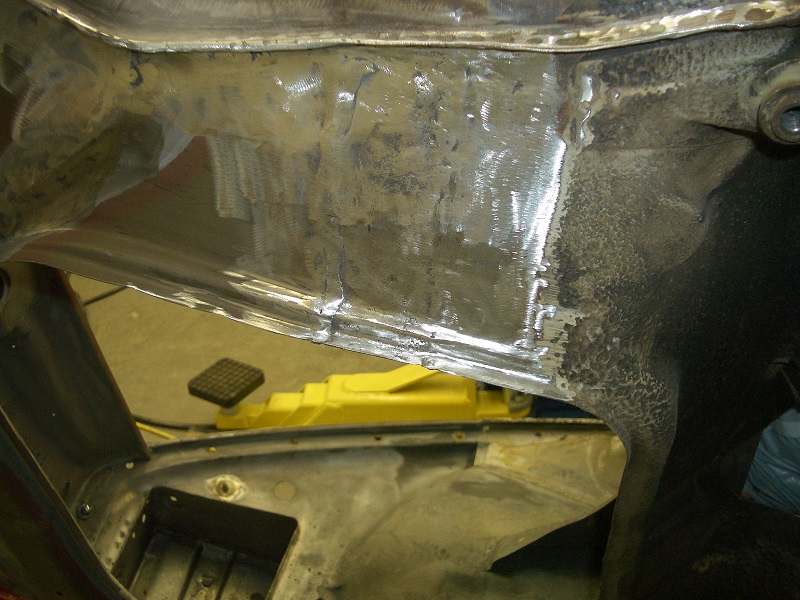
Here partial done.
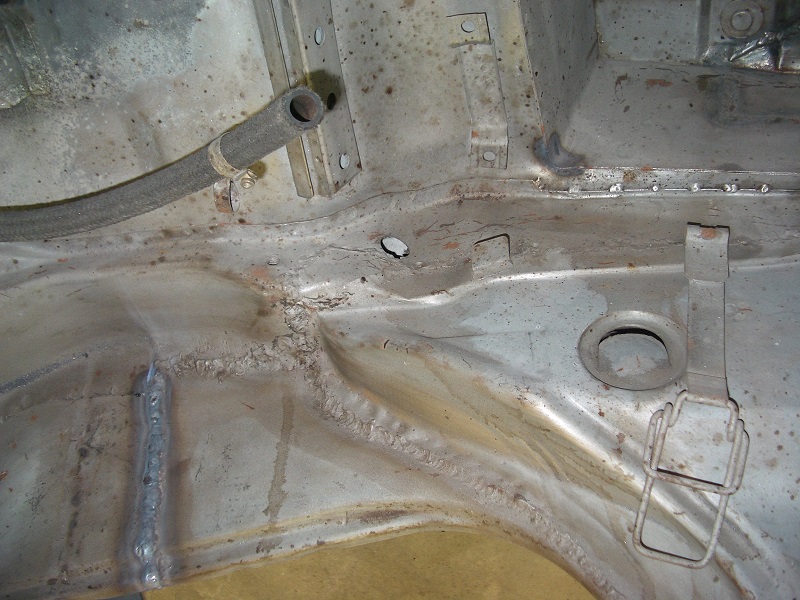
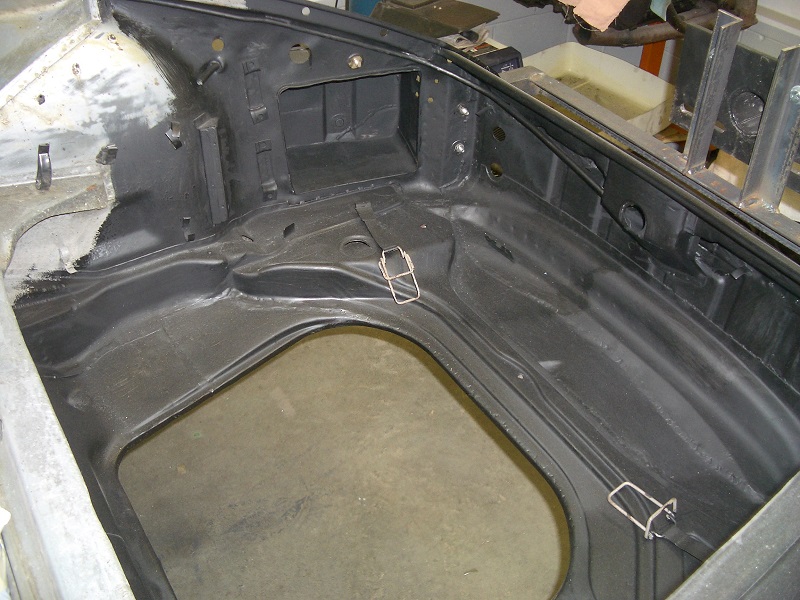
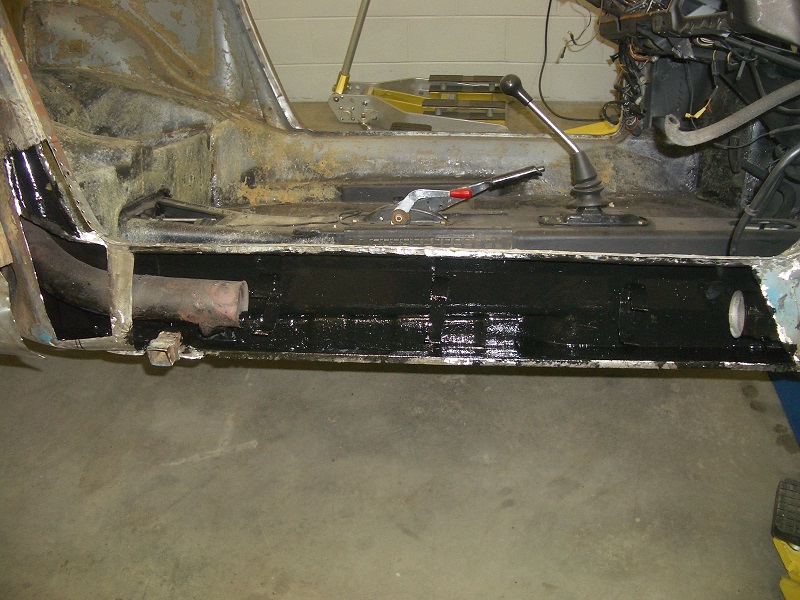
And here after I got it all cleaned up, and a coat of POR15. Next some primer and seal sealer, and after that the Chip Guard, or goes the chip guard first and then the primer ??
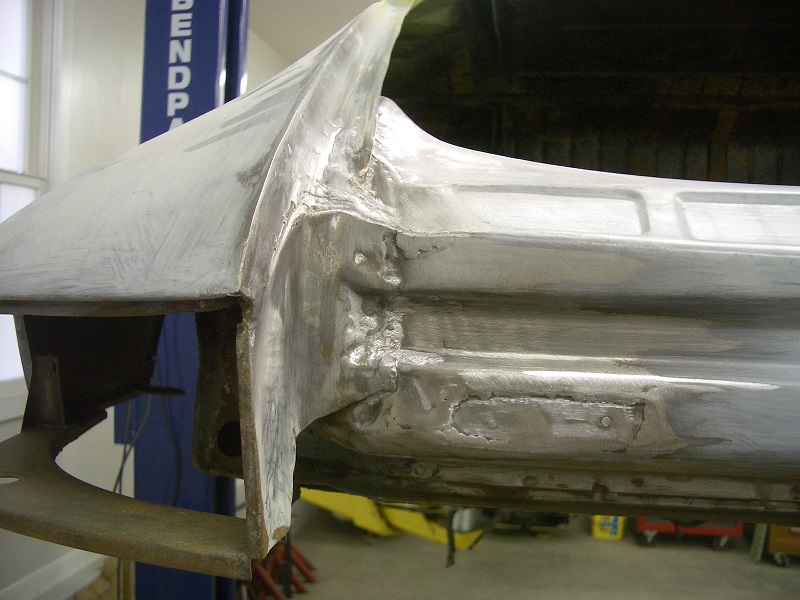
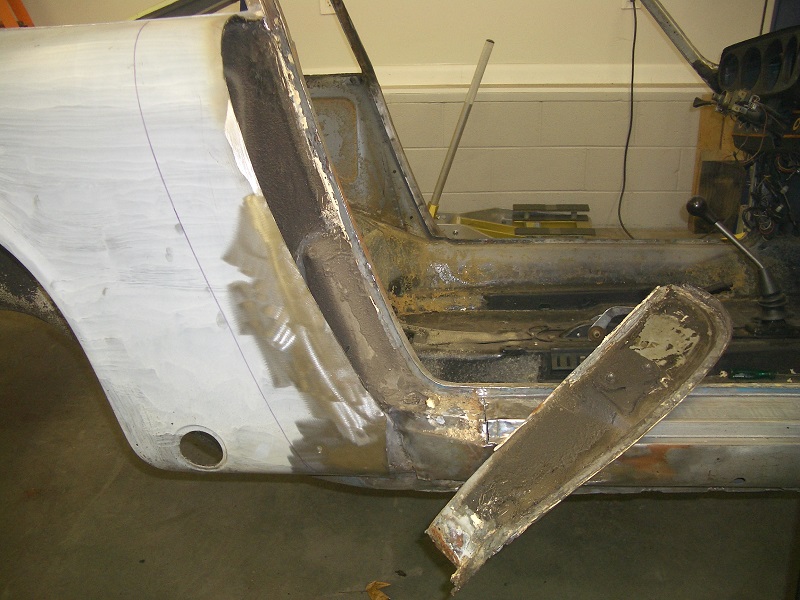
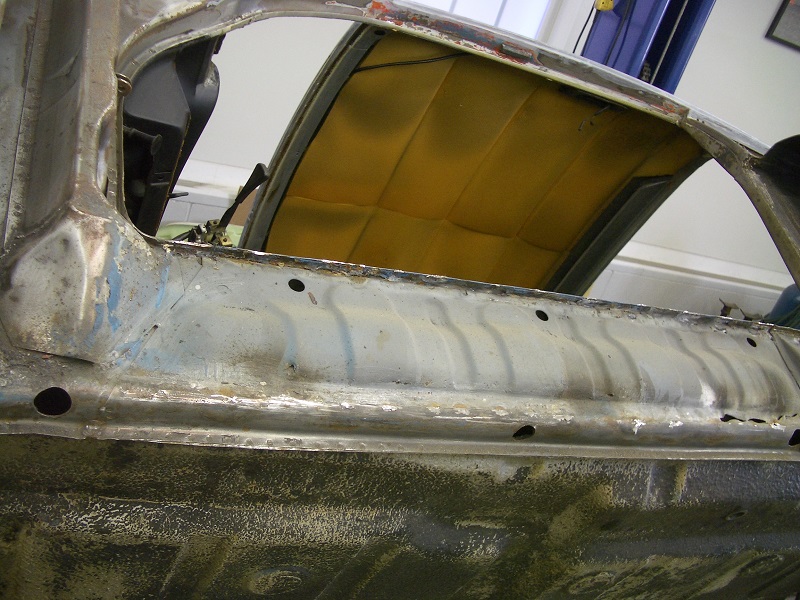
Moving to the Rockers. I was not sure what's under the lead filler, so I decided to remove it.
Another find I didn't like to see.
Basically the same thing on the other side. The door posts were replaced and the overlap from the quarter panel is very thin and has some holes. Also it is dented in at the rocker section.
At the left side some repairs were done to rocker support. It must have being pounded in with a hammer or so.
I'm thinking to get a new section for the left and right side for the quarter panel. there is a 6" section available, and once open, I can also replace the rocker support.
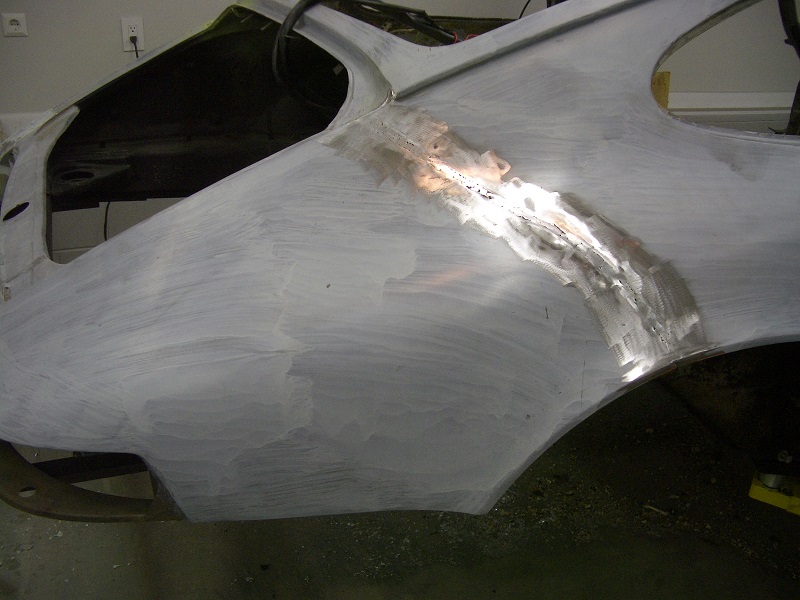
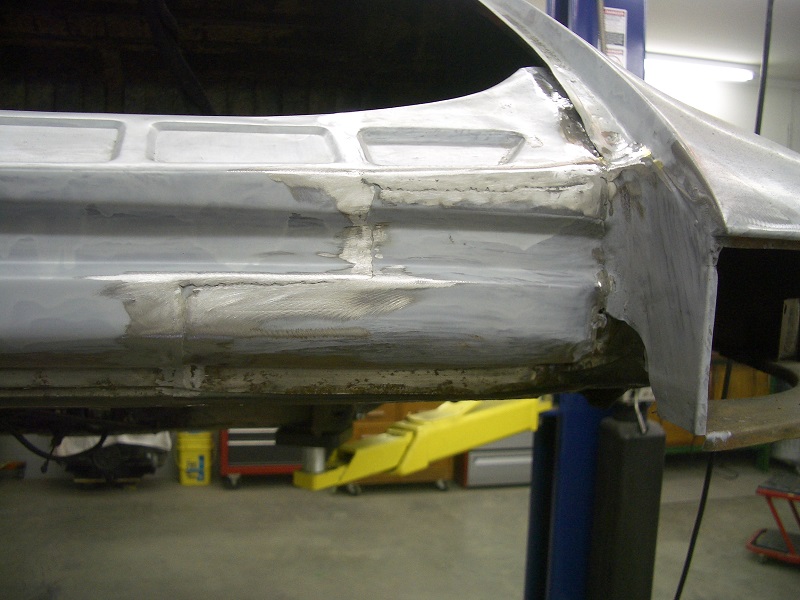
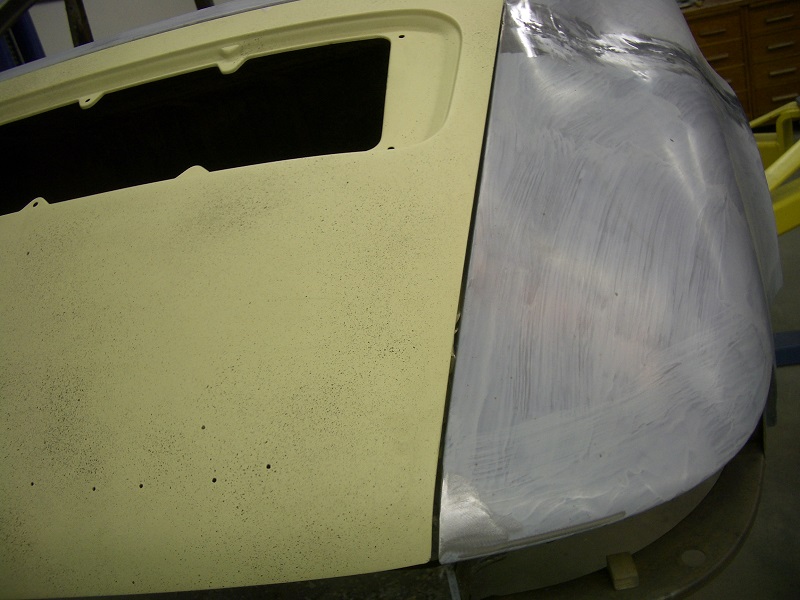
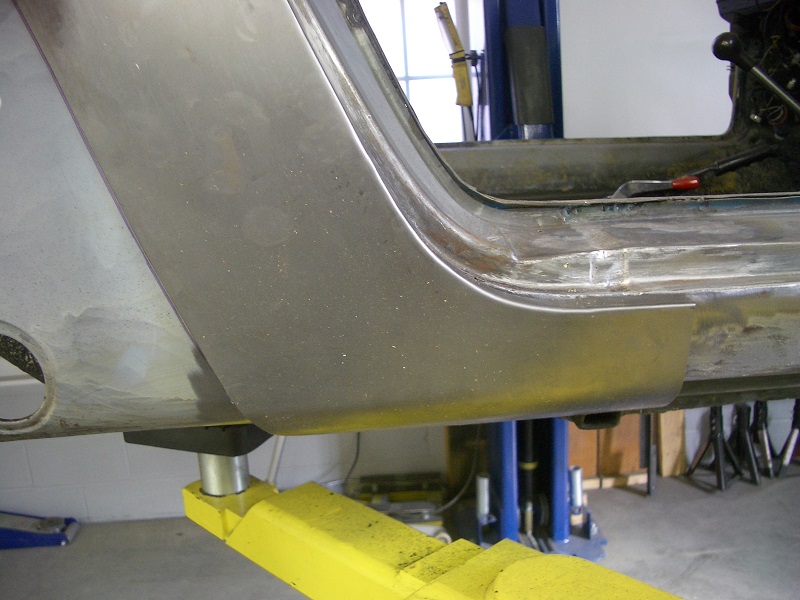
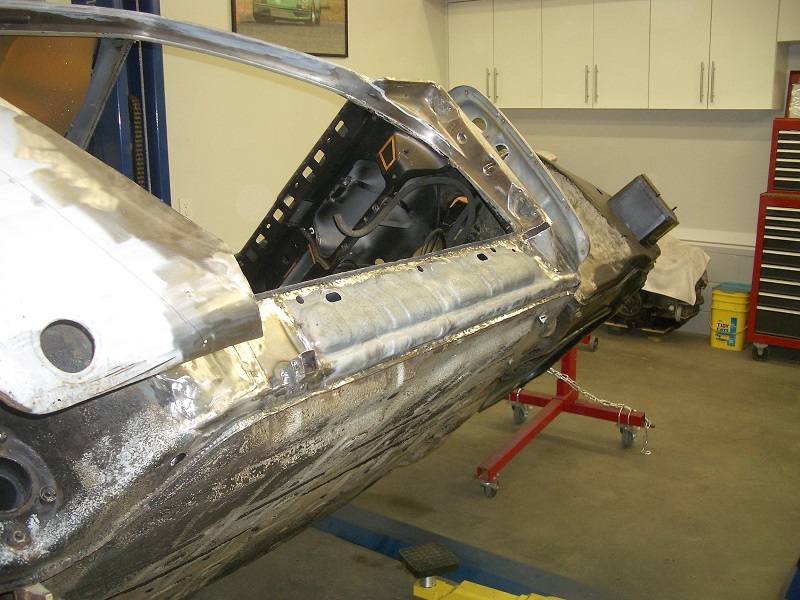
So now I move to the rear end of the car, and see what damage I can do. The back section of the right quarter panel was replace replaced. And I being told that that was done, when the original owner picked up the car new in Stuttgart, and had an accident.
The section is already pulled in a bit, and I will need some lead to fill it, but I also re-welded and cleaned it up a bit.
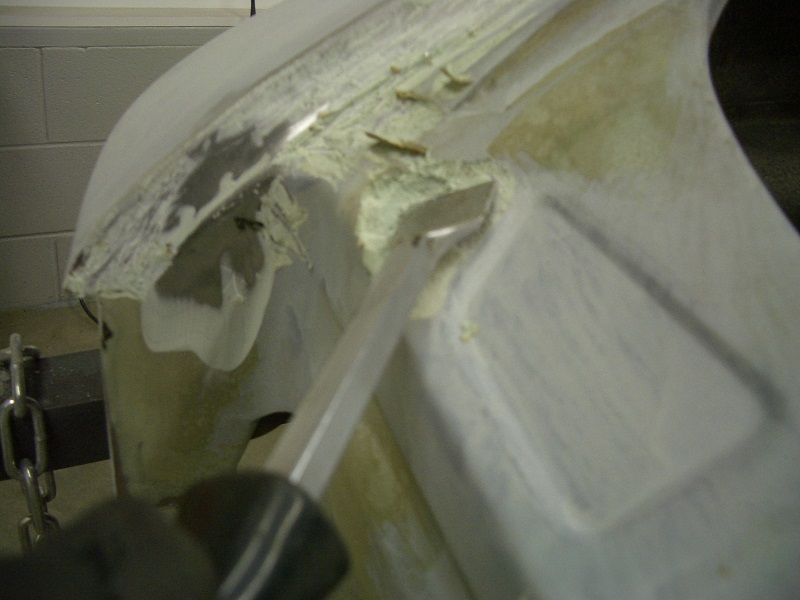
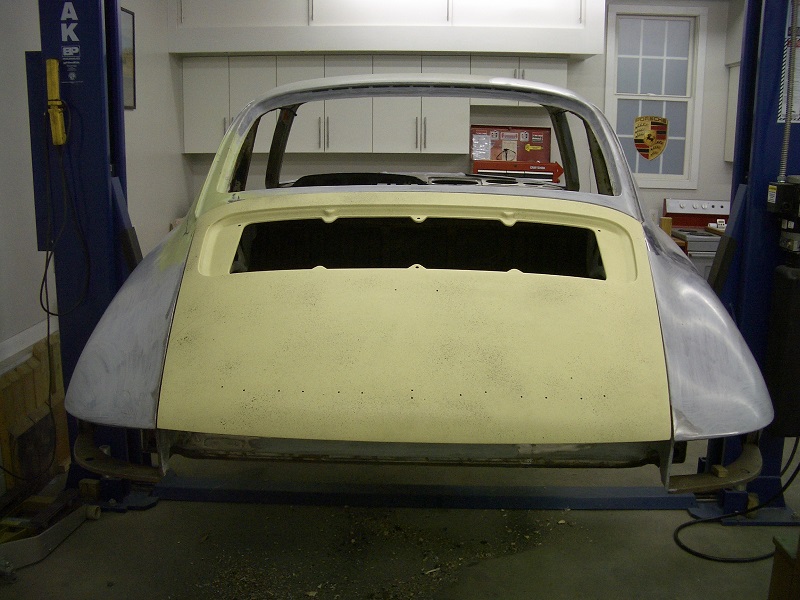
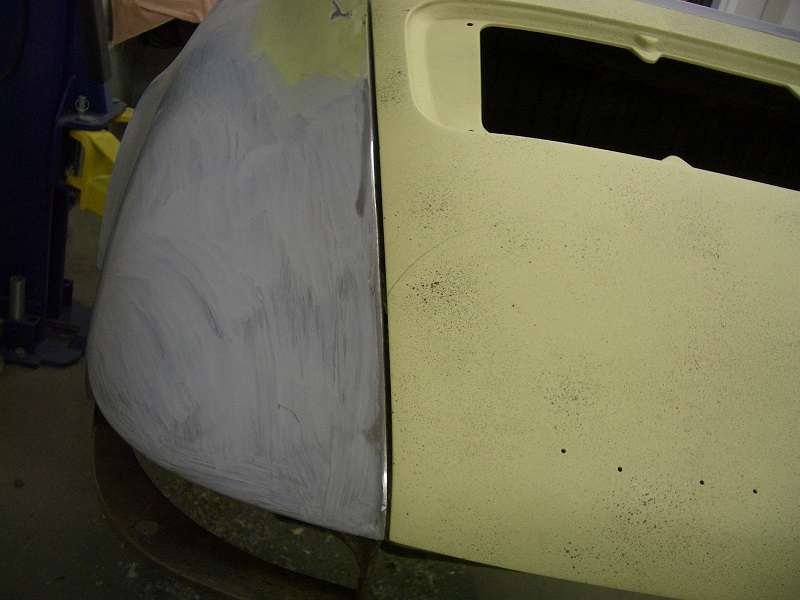
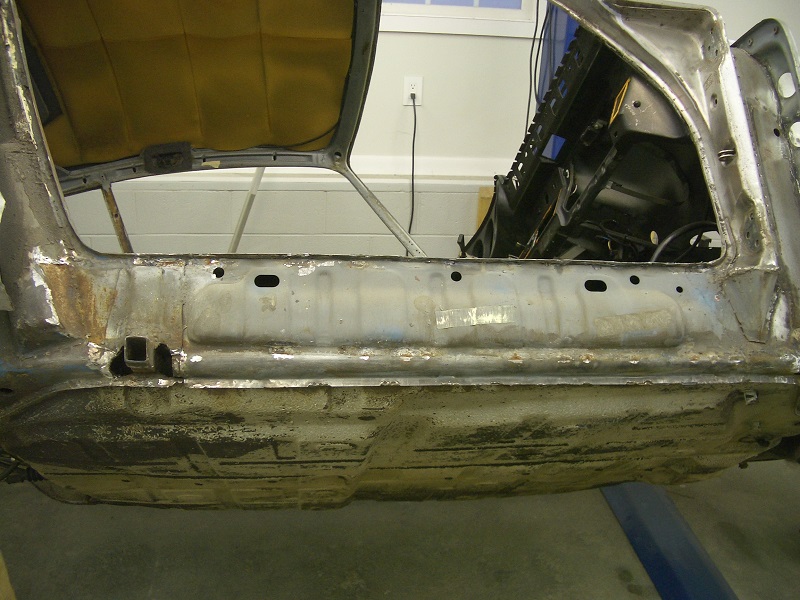
More good news. I started to poke around at the left section where the quarter panel meets the back section, and found quite some body filler.
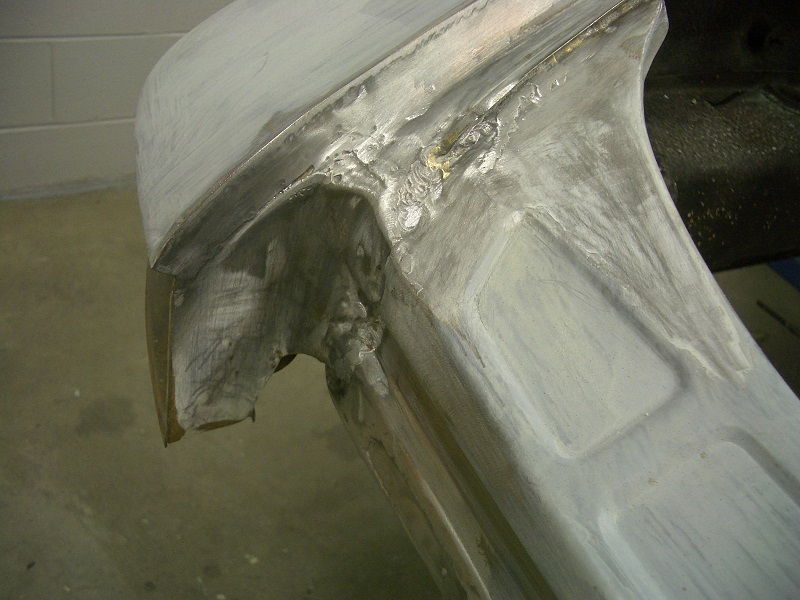
After getting rid of all the body filler, I was surprised that it was in good shape, no rust, just ugly. But if don't remove the filler, you don't know what's under it.
The other side looks pretty good.
I'm now a bit more behind as I wish, I was hoping to get soon to the point for Painting, but now this may will not happen before the end of this year.
November 2015
I got the 2 pieces for the front of the rear quarter panels, and the rocker support pieces. In the meantime I did a few small things.
Since I removed some body filler at the right side of the quarter panel is welded by the engine compartment, I thought it would be good to see how the rear lid fits.
Not too bad at the left
And here at the right.
Still, need some fine tuning.
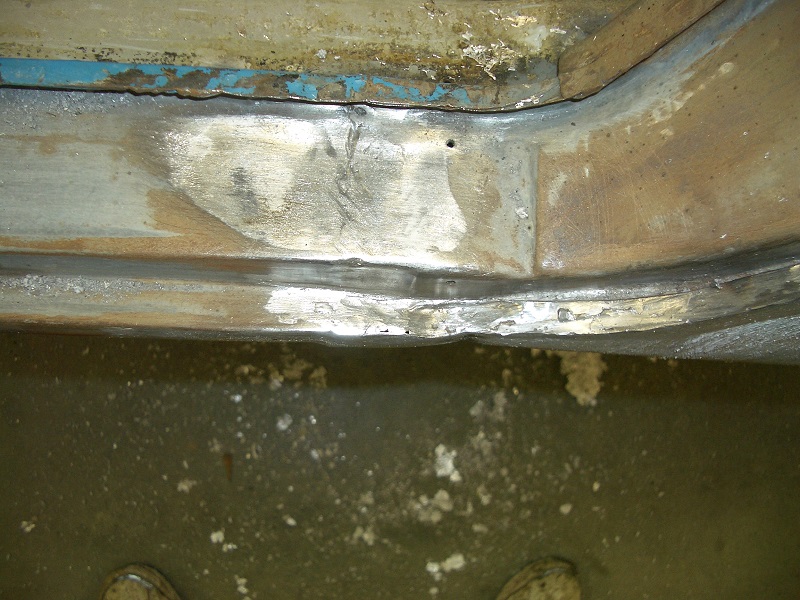
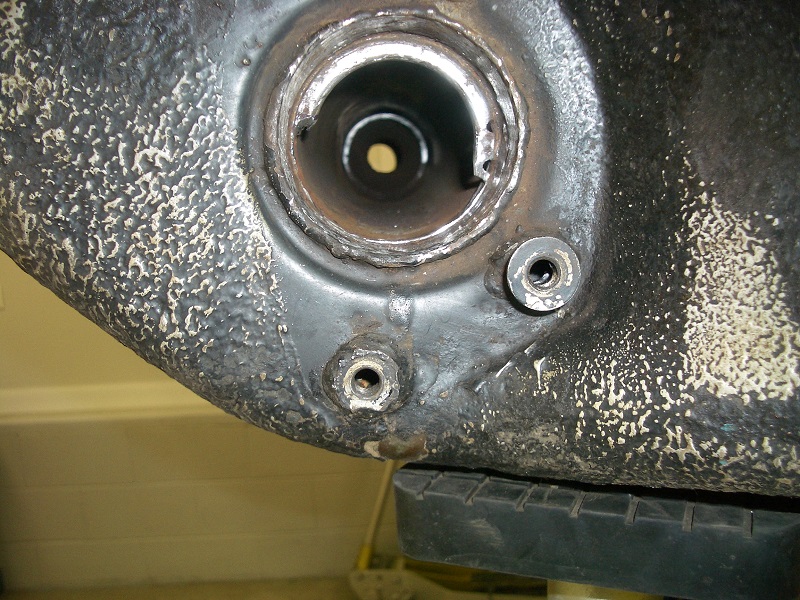
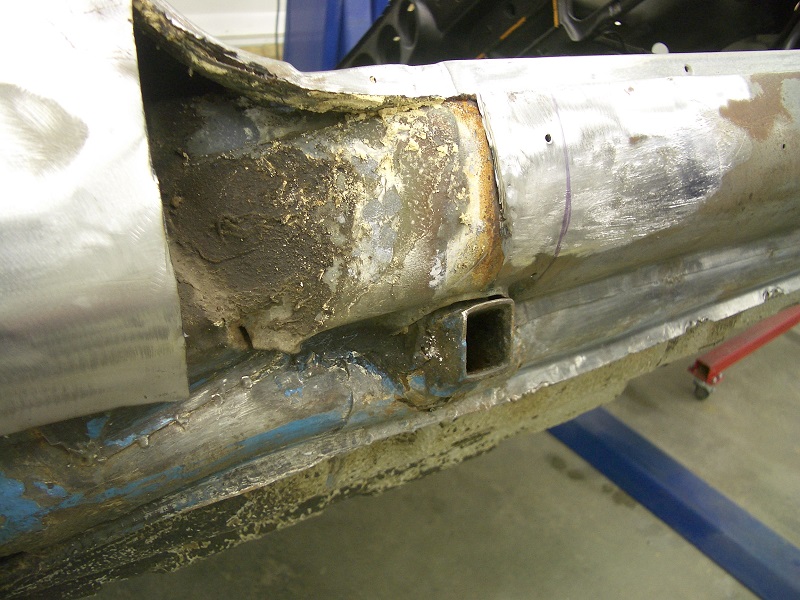
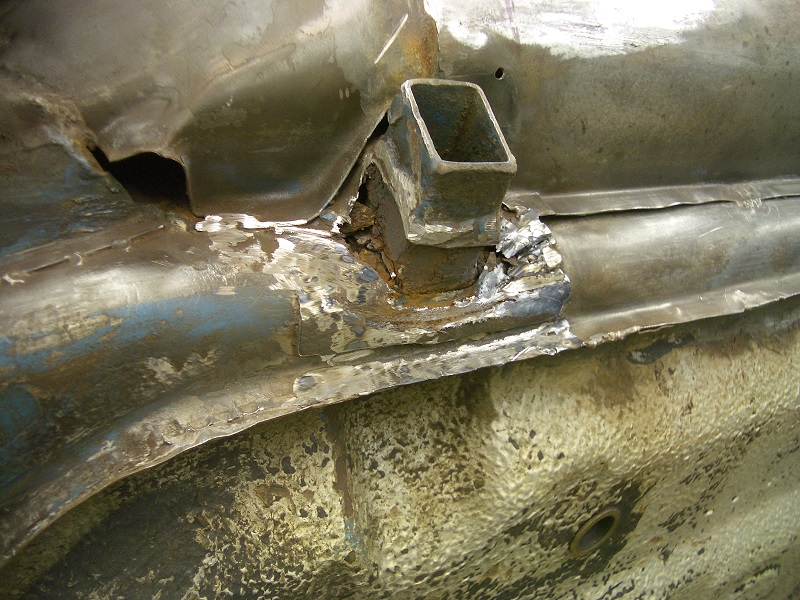
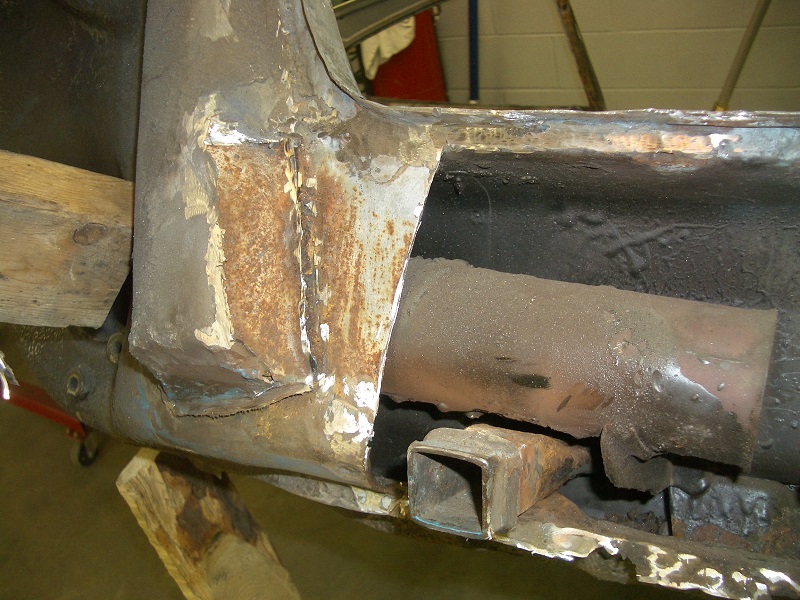
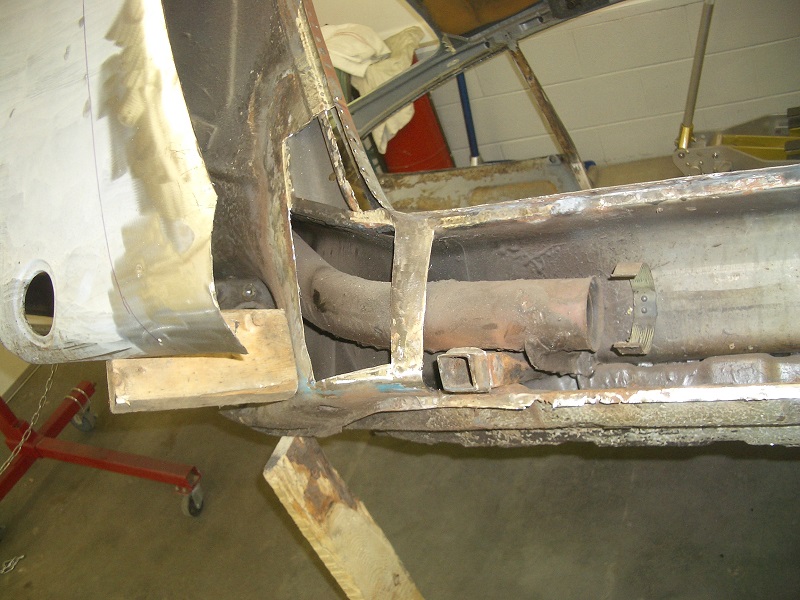
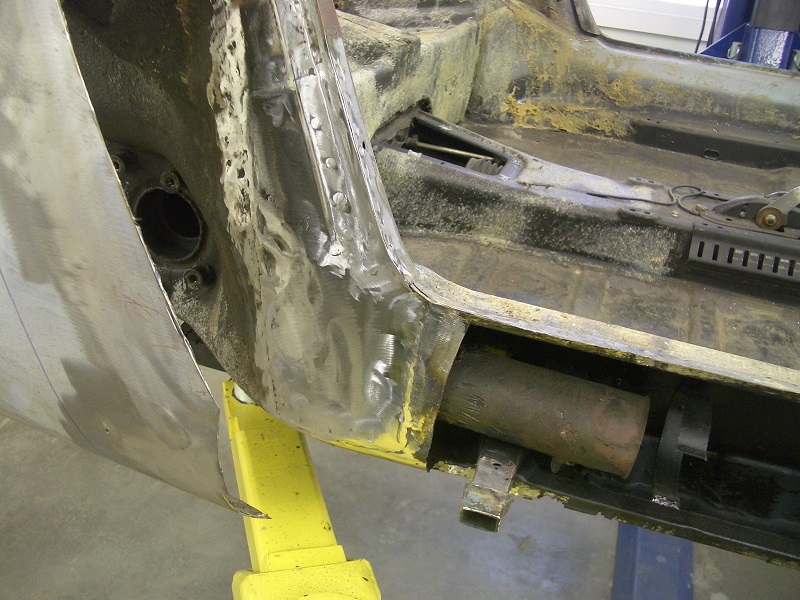
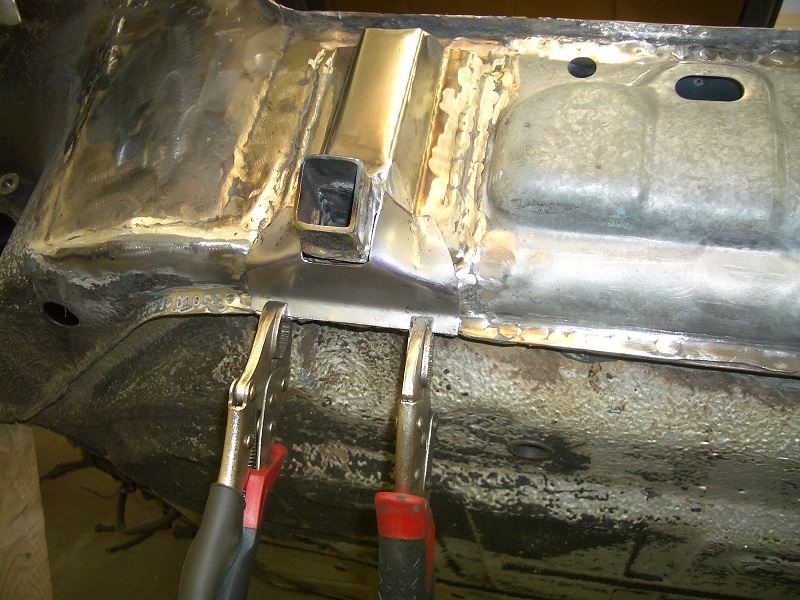
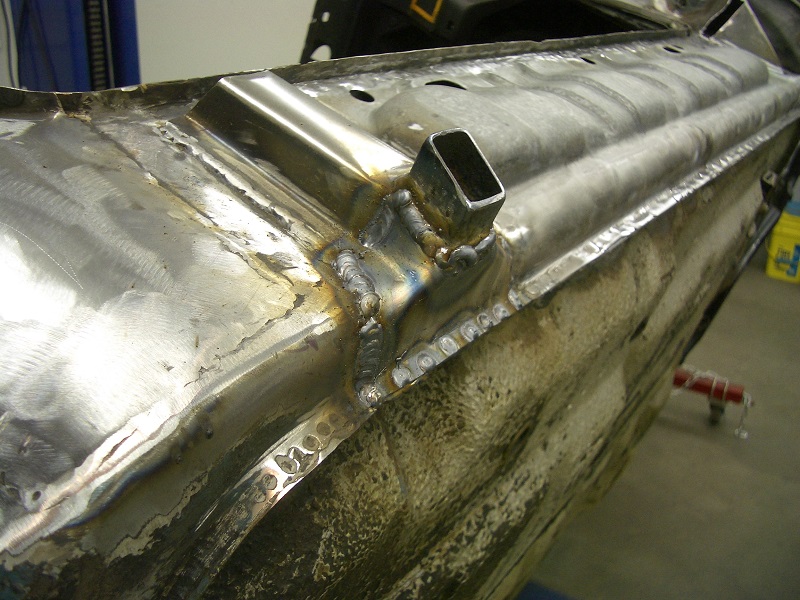
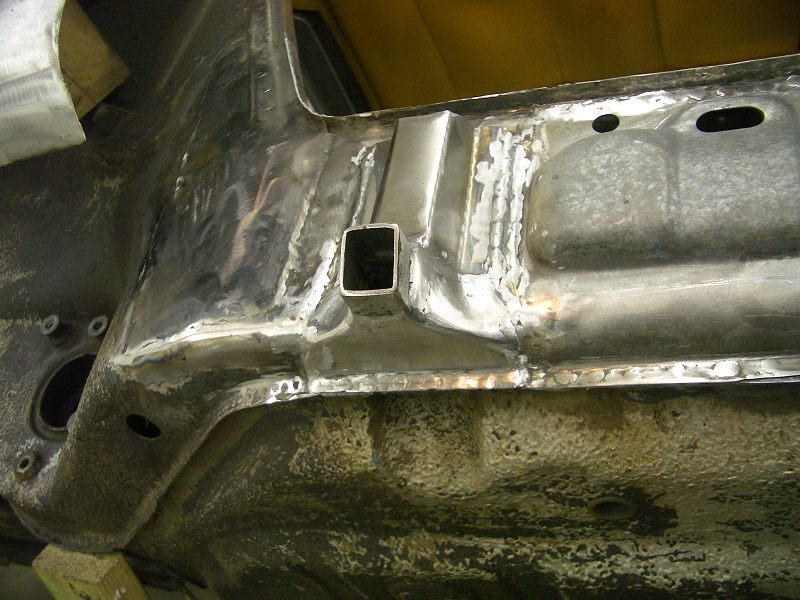
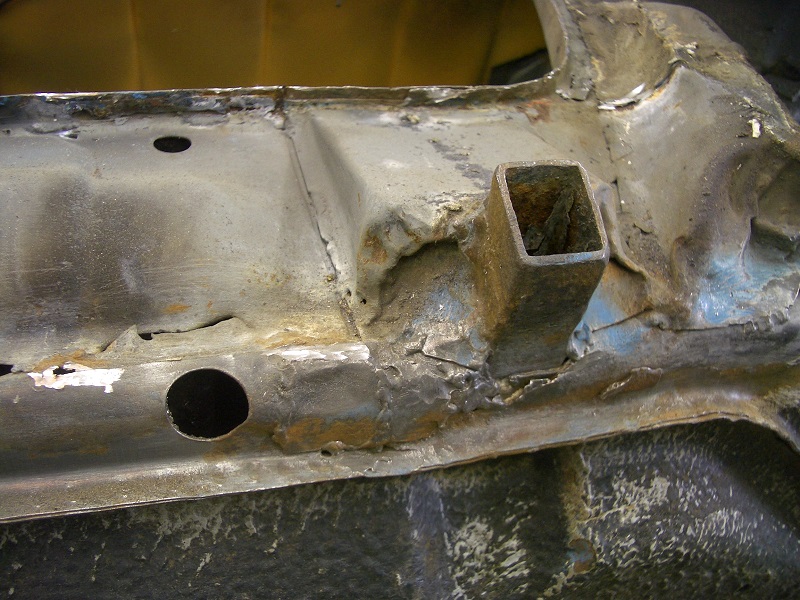
Next I attacked the section in the trosion bar hole. I decided not to cut out the sleeve, since it's pretty solid.
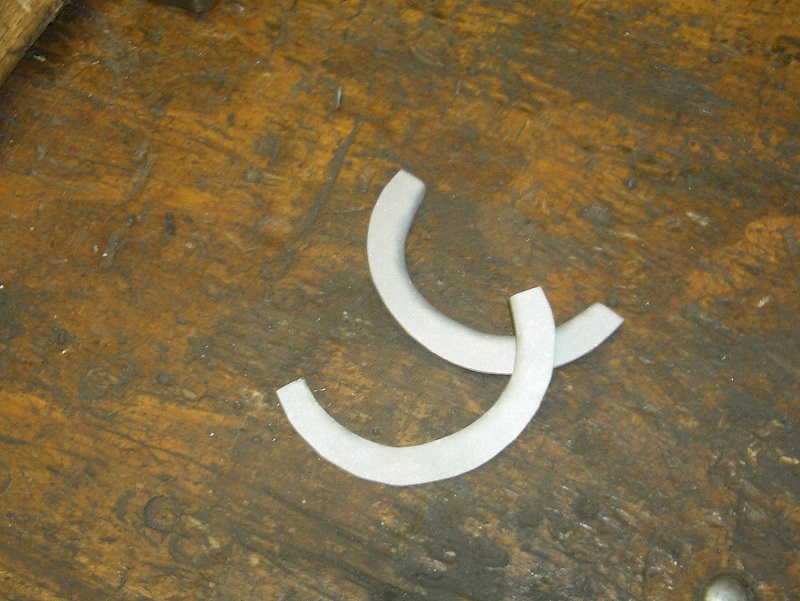
I made some pieces to weld in..
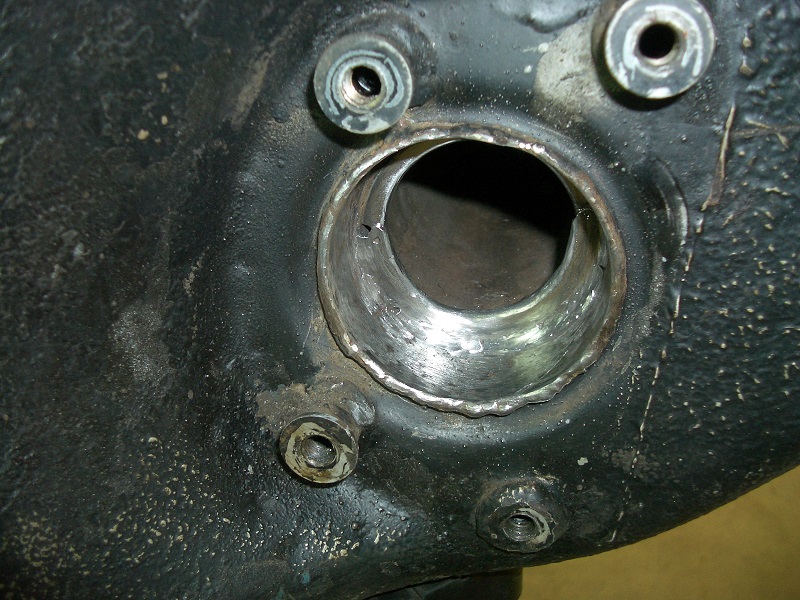
And here it is after welding and cleaning up a bit.
December 2015
OK, I made some progress.
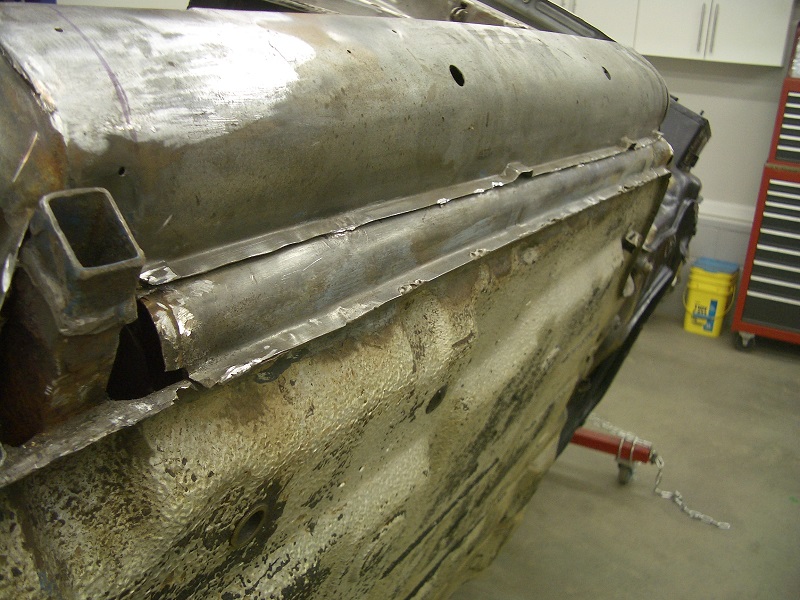
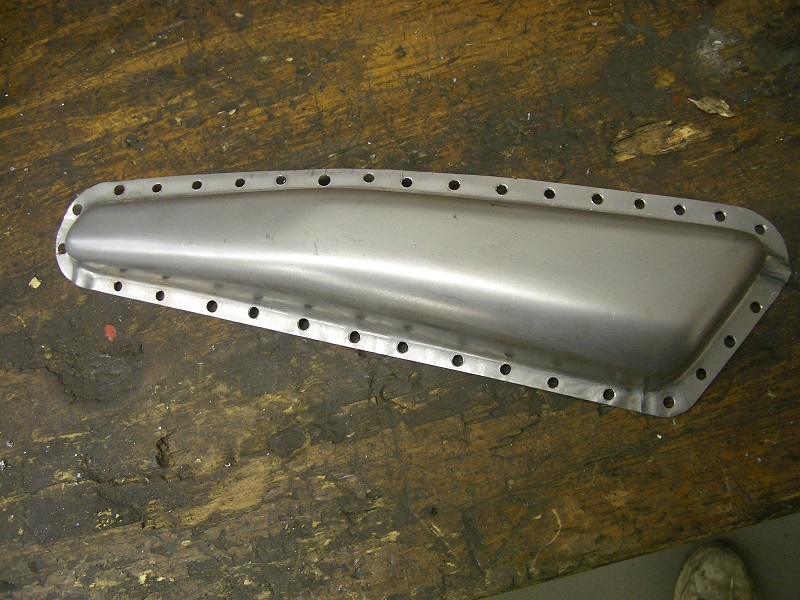
Here is a picture of the new sheet metal piece.
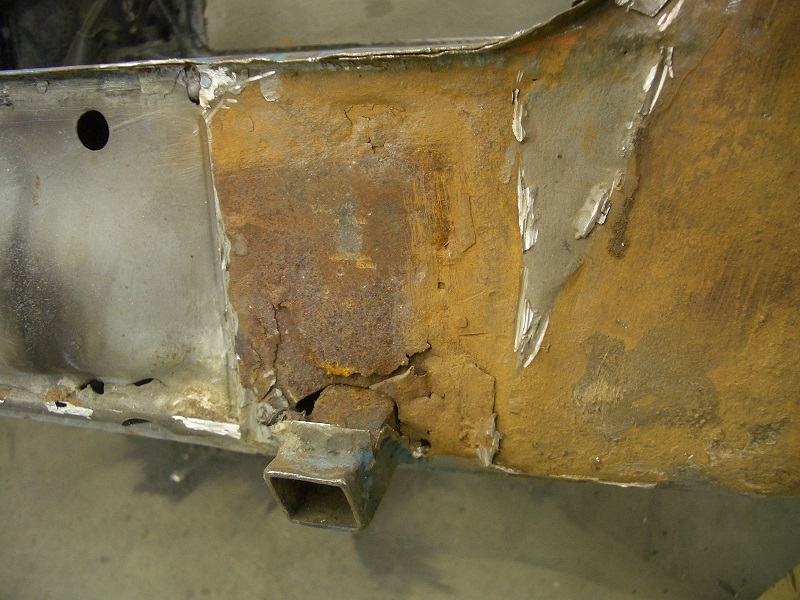
I cut out a piece which will be replaced anyway, to see what's under it.
A lot of caulking in there. Also there was some rust in the area of the jack support.
Once I had removed the caulking where the rockers are welded, or should I say "where they supposed to be welded on". It looks like they were put on for decoration.
OK, lets cut out some pieces, and make it right.
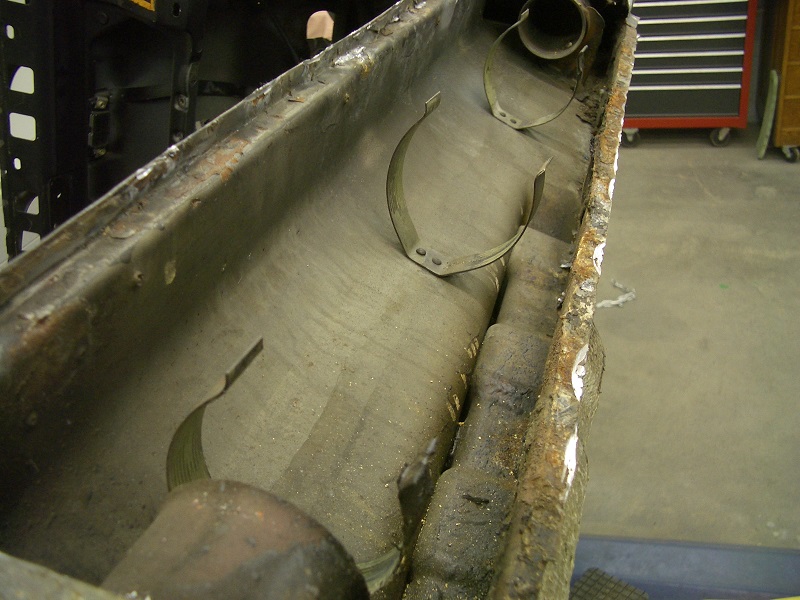
Once the rocker was off, it dind't look that bad.
The same thing with the inner rocker panel.
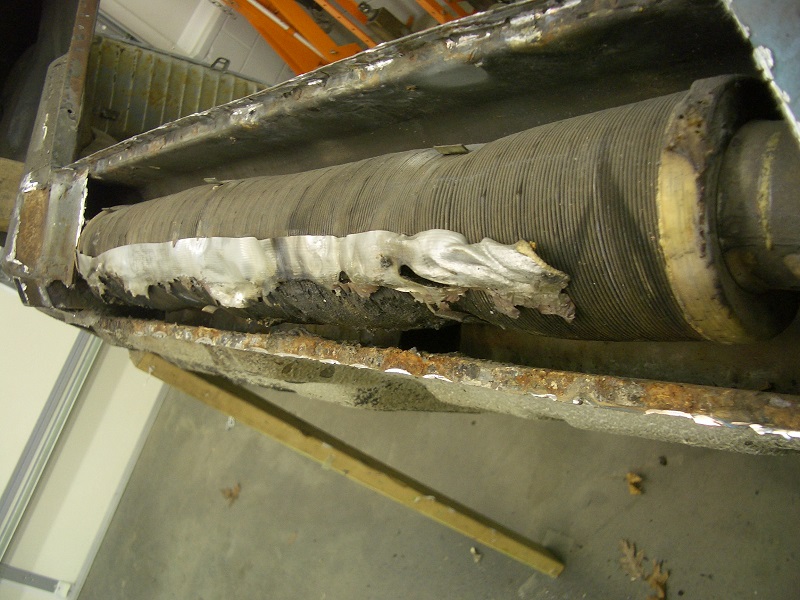
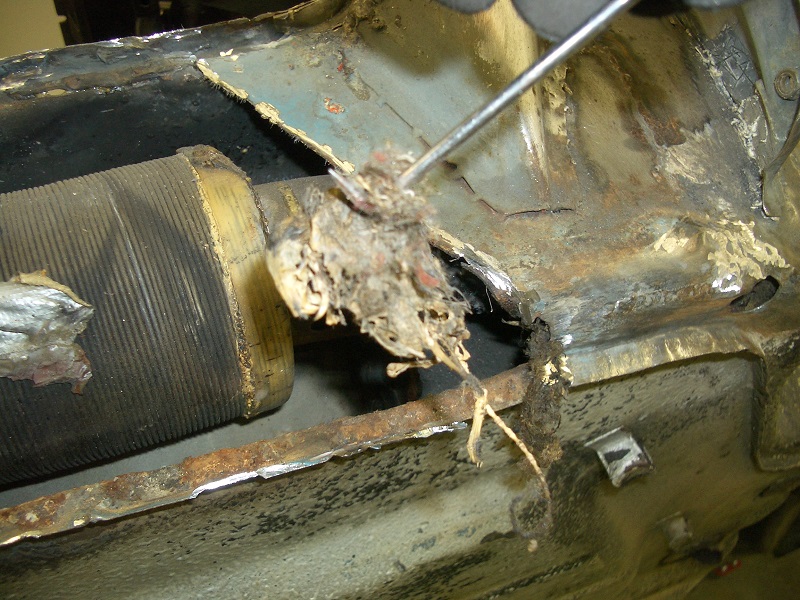
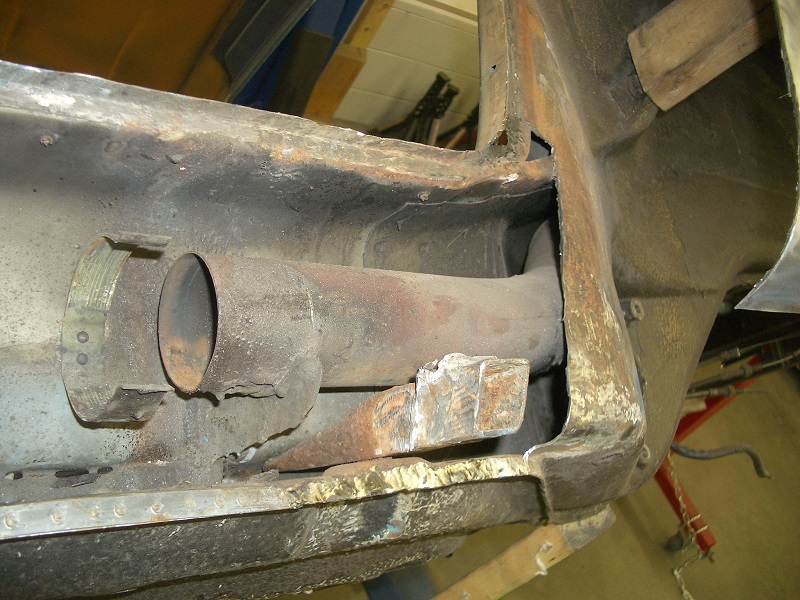
After removing the inner rocker panel, I found that the heat tube was a bit damaged, but not bad. they must have cut in a bit when the old sheet metal was removed. And then fixed it wit good old duck tape.
It's just amazing what you can find. This little mouse must have moved it years ago and could not found any food, and died.
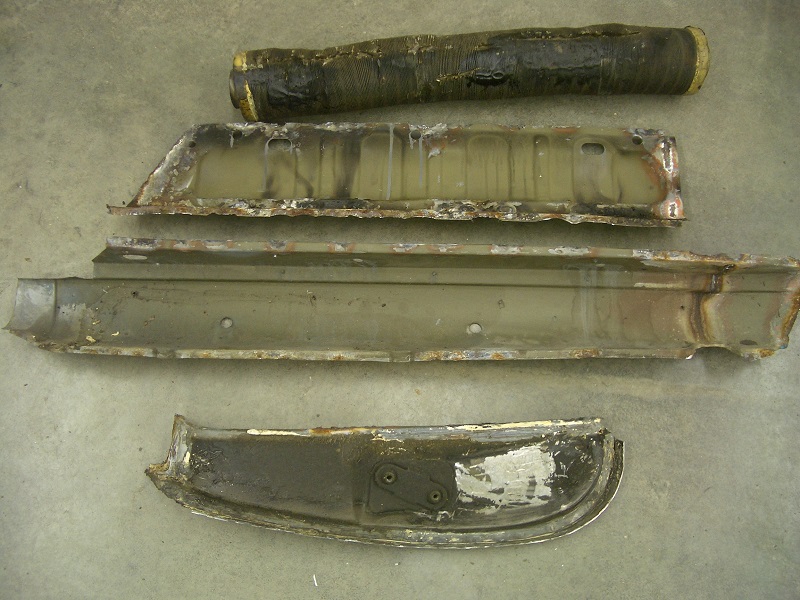
So here are the removed pieces. I will clean them up and reuse.
After all it doesn't look that bad.
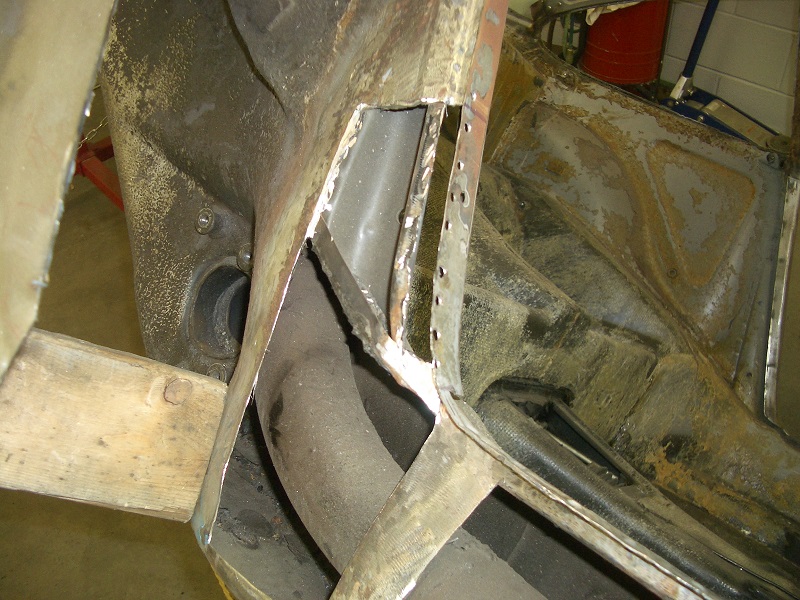
Now I have to attack the areas which need some metal replaced.
Cutting out the bad.
I'm glad I also ordered new rocket support pieces.
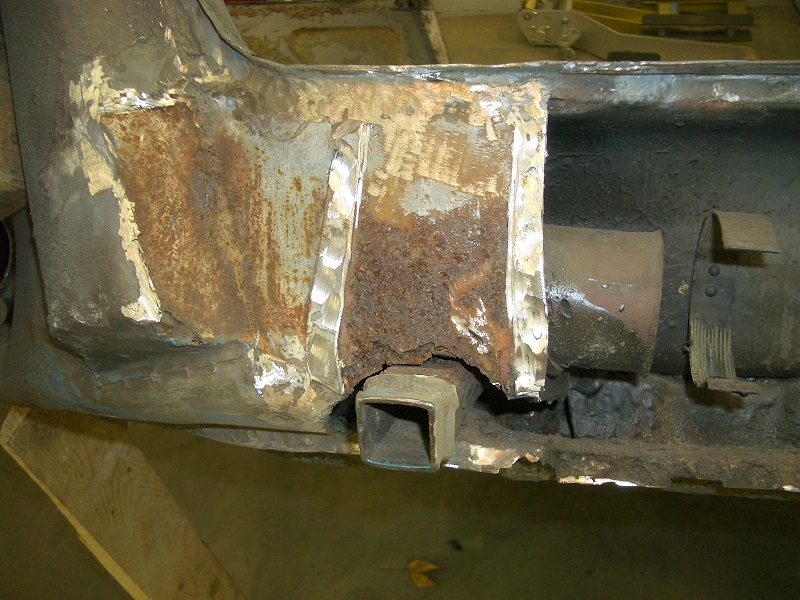
After cutting out the supports which were welded in like the rockers, I found some morerust under it. OK, more to cut out and weld.
Prepped for the new fabricated piece.
I put everywhere I could POR15.
Now welding in the new piece I made.
There it is welded and cleaned up.
Now the inner rocker panel.
Also replacing the section for the jack support.
Here the support section.
And here all cleaned up.
I pained the complete blank section with POR15, and next will be the rocker support and panel.
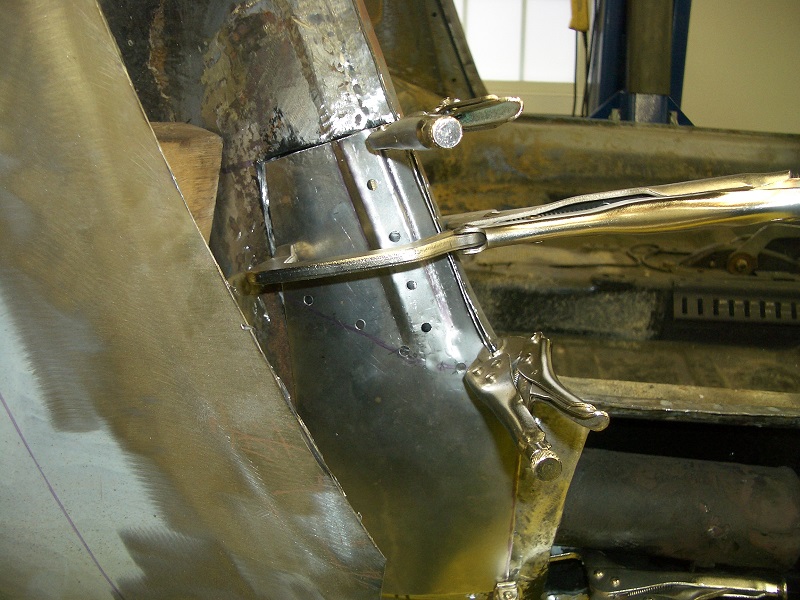
Prepped the rocker support for welding at the right side.
Here is it welded in.
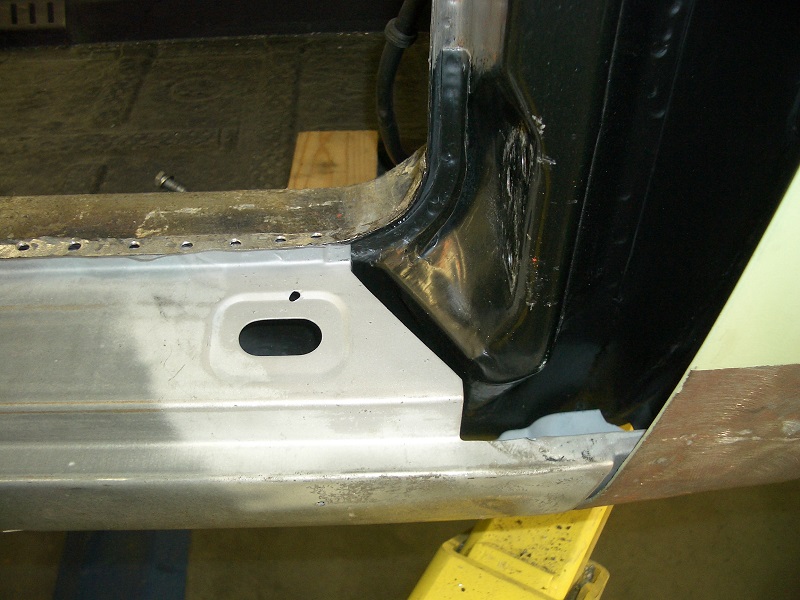
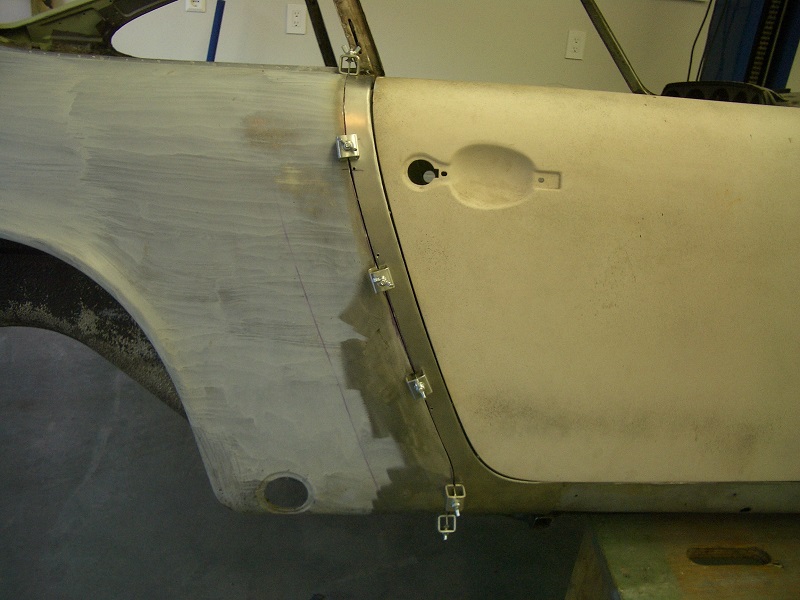
Next mounting the fender and the door to make sure the outer rocker fits, and to fit the door post.
Looks like there is something missing.
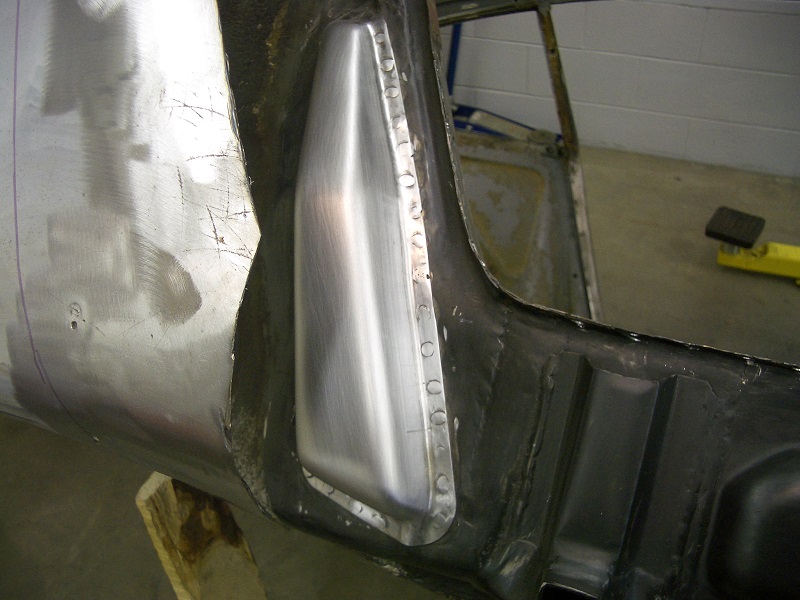
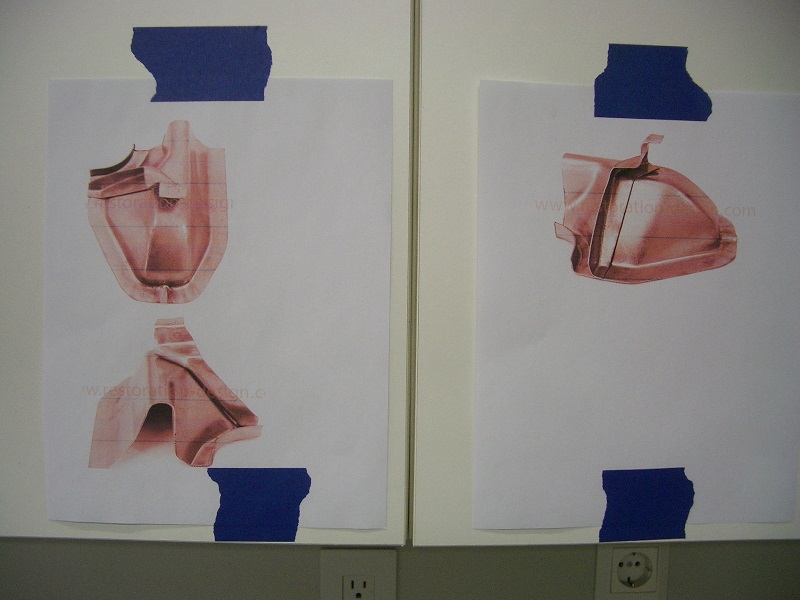
I found some pictures to see what the piece looks like.
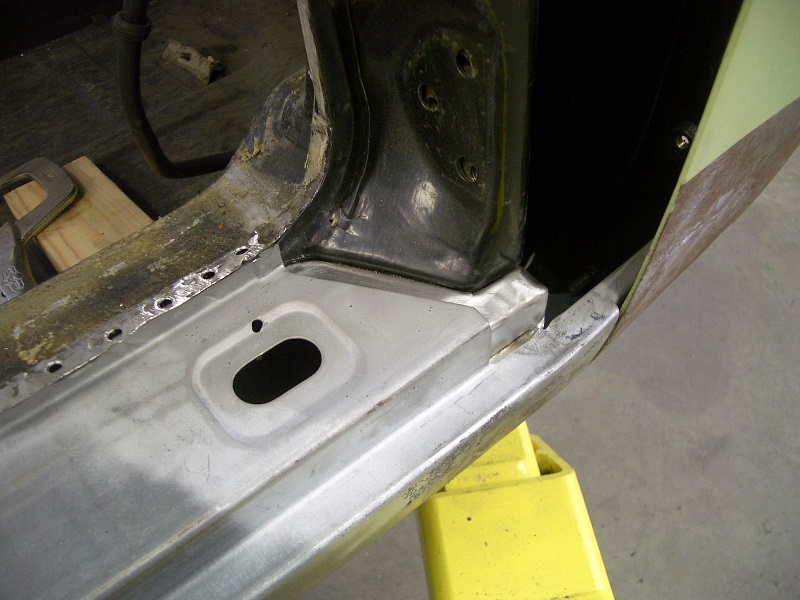
So I made that piece and welded it in.
Test fit for all the pieces.
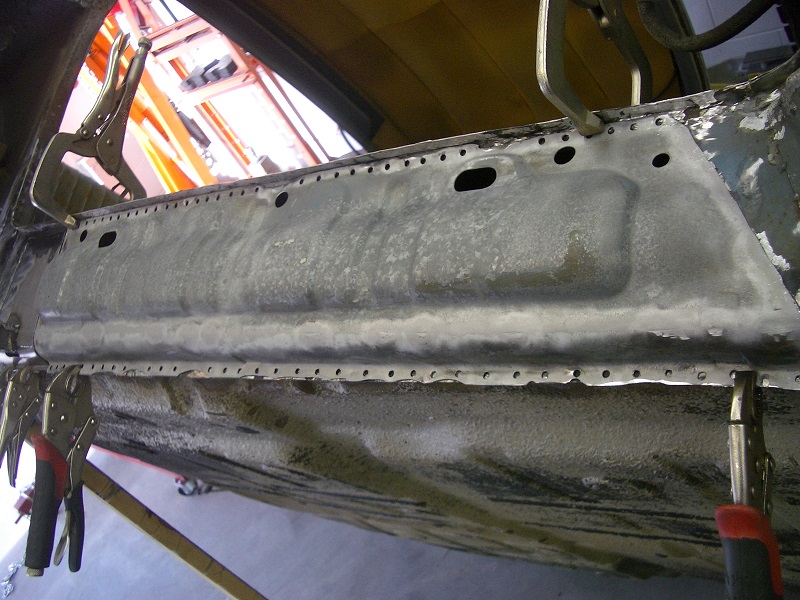
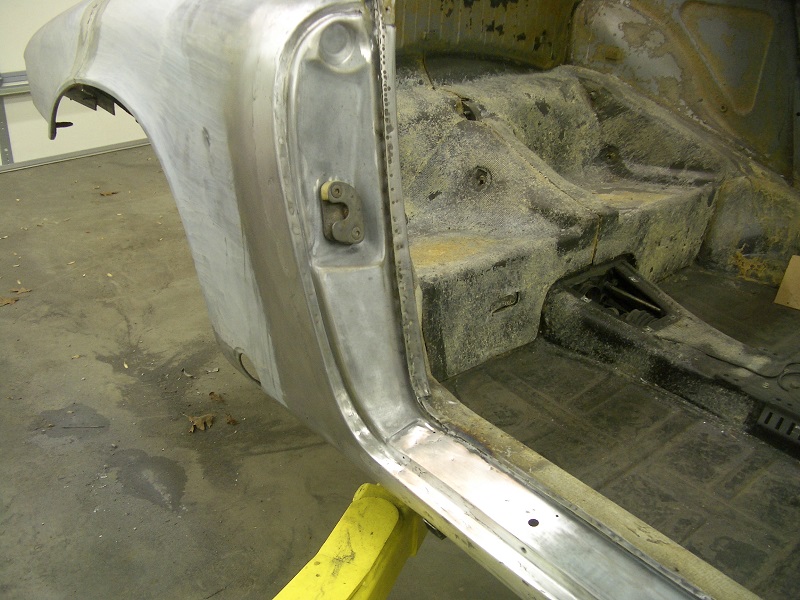
Got the outer rocker welded in.
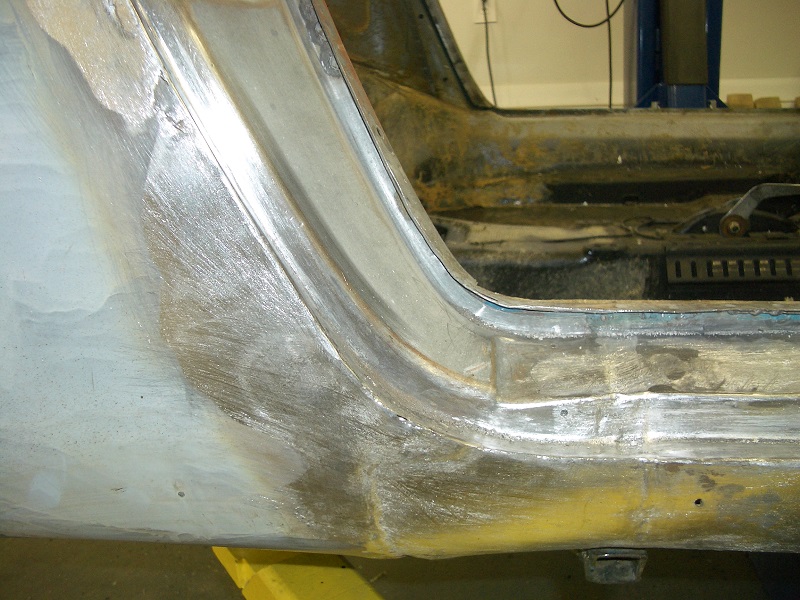
After the rocker is welded I fitted the piece of the quarter panel section.
And here is the piece complete welded it and cleaned up.
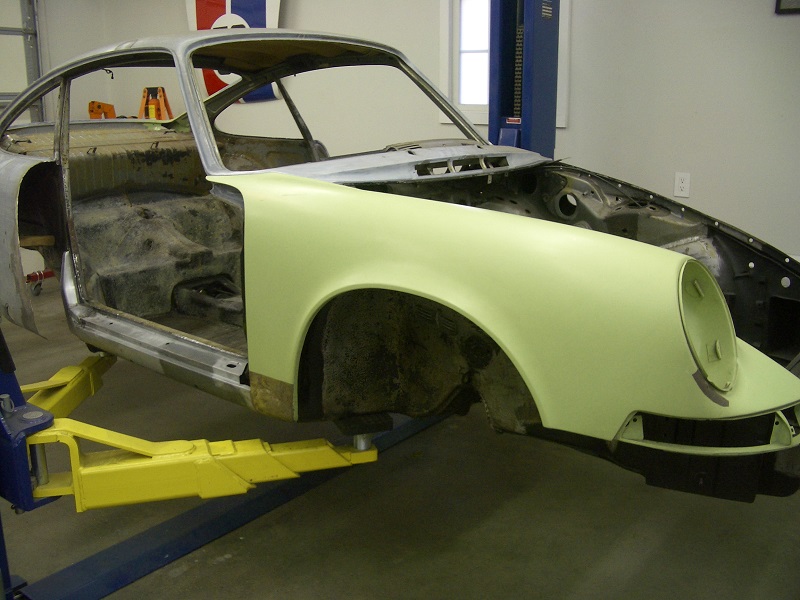
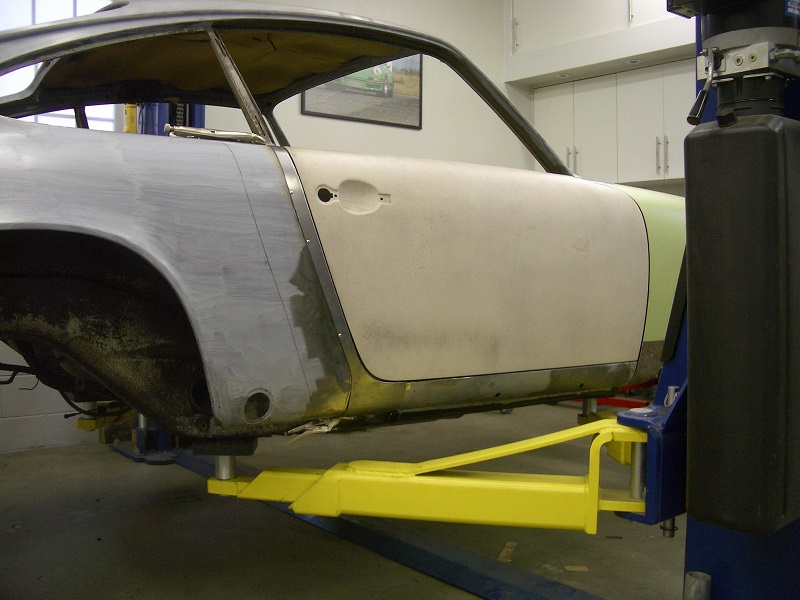
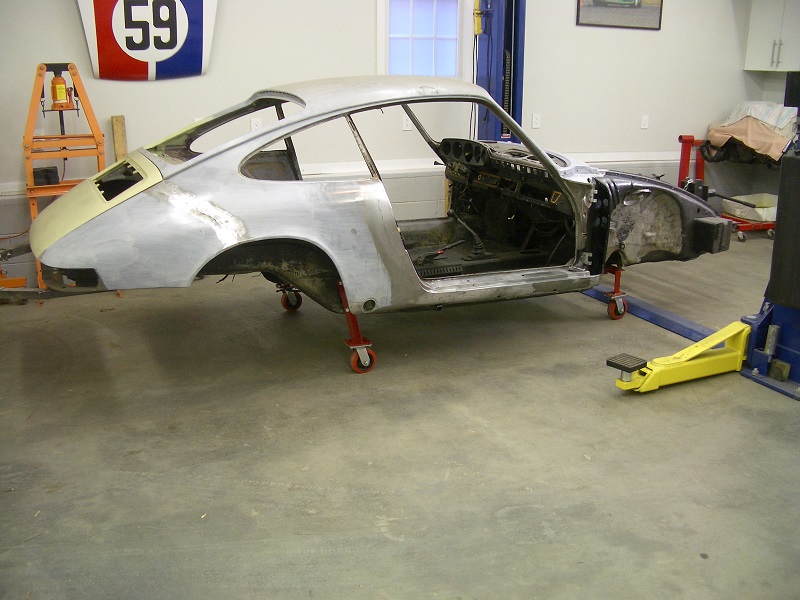
Now it's time to turn that car and move to the left side.
The outer rocker came after the few tack welds are ground off.
After I did the right side this didn't surprise me.
All these great designed pieces are history now.
After all the bad pieces are removed, it didn't look that bad on the inside. So much for the metal work for 2015. I will continue in 2016.