1970 Porsche 911T - Disassembly
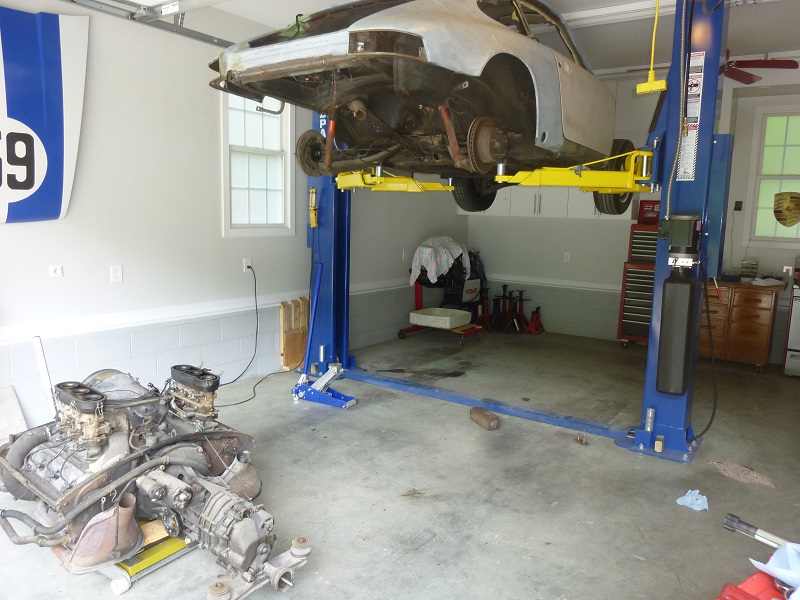
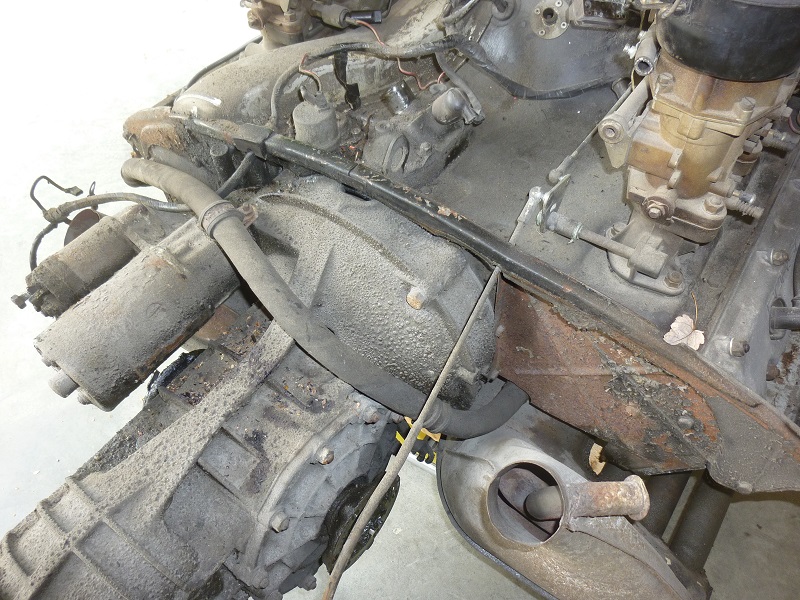
Finally made a start, Car is on the lift and the engine is removed
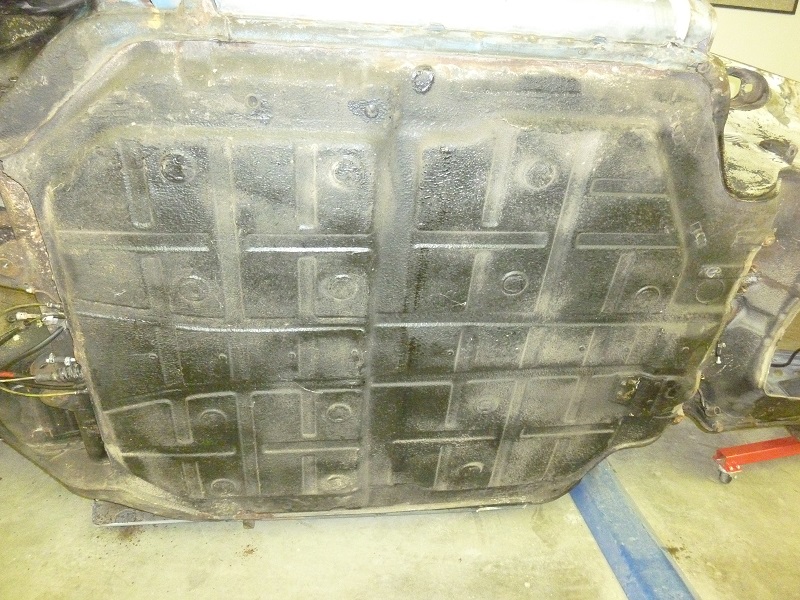
Looks like 45 years of dirt
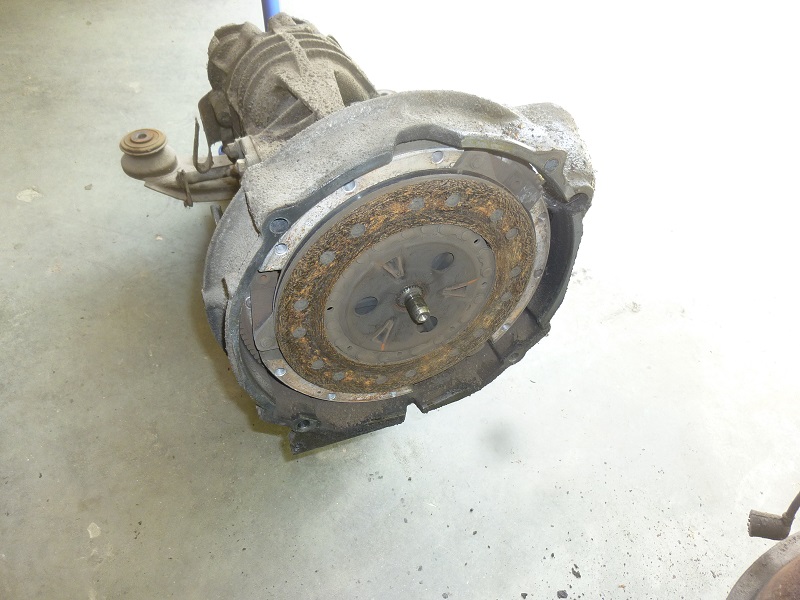
I had some issues with the clutch fork to get out. One of the 3 pins to release the clutch just snapped off.
OK, plan "B", just loosen all bolts which hold the clutch to the flywheel, and take out the transmission with the clutch included. Damn, one of the 12 point socket head bolts just turned round.
OK, now plan "C" Hammer and chisel. Finally got it out. .
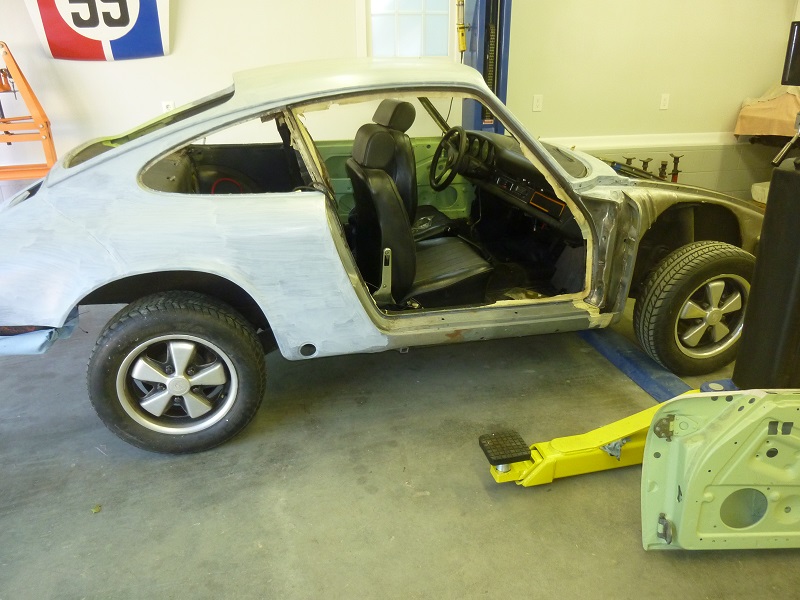
Next in line, the body parts and interior.
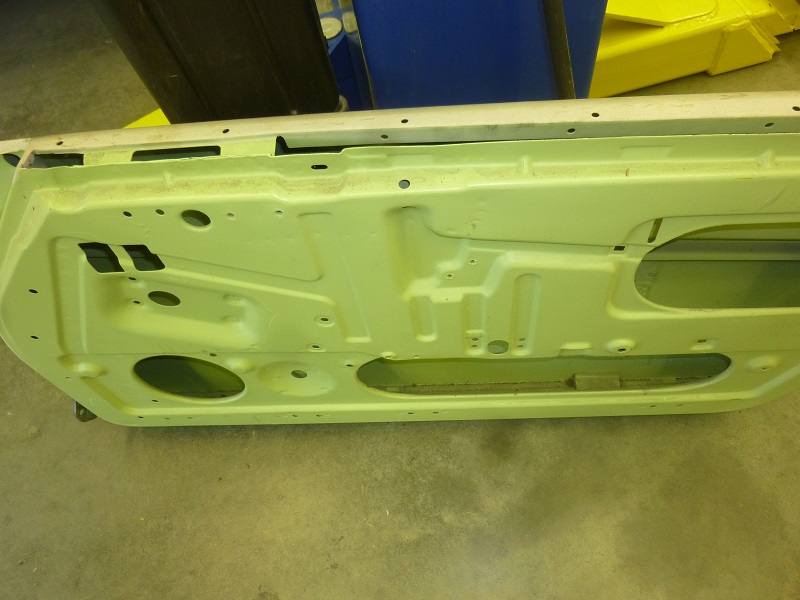
The Doors are in great shape.
On the left door one of the bolts was already round, OK, hammer and chisel out again, and out it comes.
Removed the seats, and the right seat gave me some issued. one of the bolts that holds the slider to the seat was sticking out. It was the one at the rear left, the place you really can't get to. However, I was able to knock it off with a punch, and pull it out.
Next: the carpet, which turned out to in good shape, and I may reuse it after a good cleaning.
The original owner must have really taken good care to the car, the floor boards looked like new.
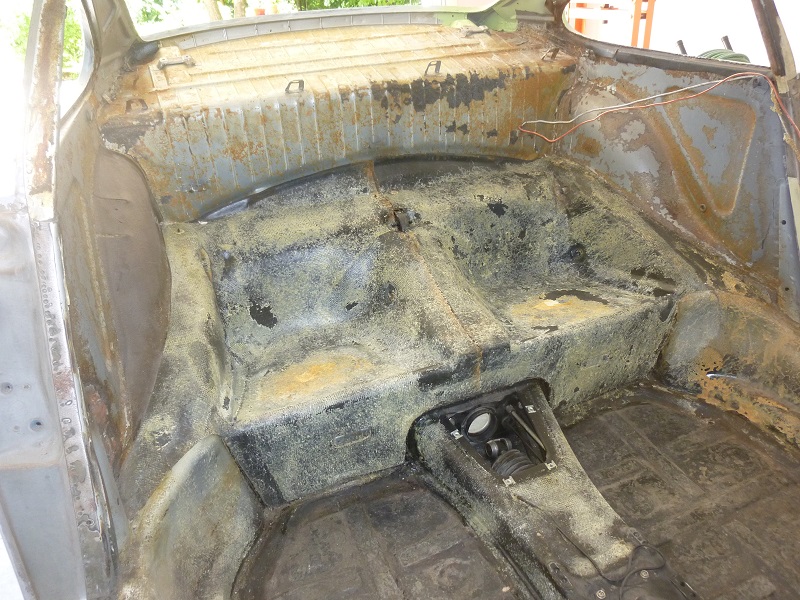
Now, that I have removed all the interior, and the rear shelf sound dampening, I'm wondering if I should remove the section where the rear seats are. There are no signs of any rust from the bottom, and the inside looks really great. I think I will just destroy the pad by removing it, and it will be a waste.
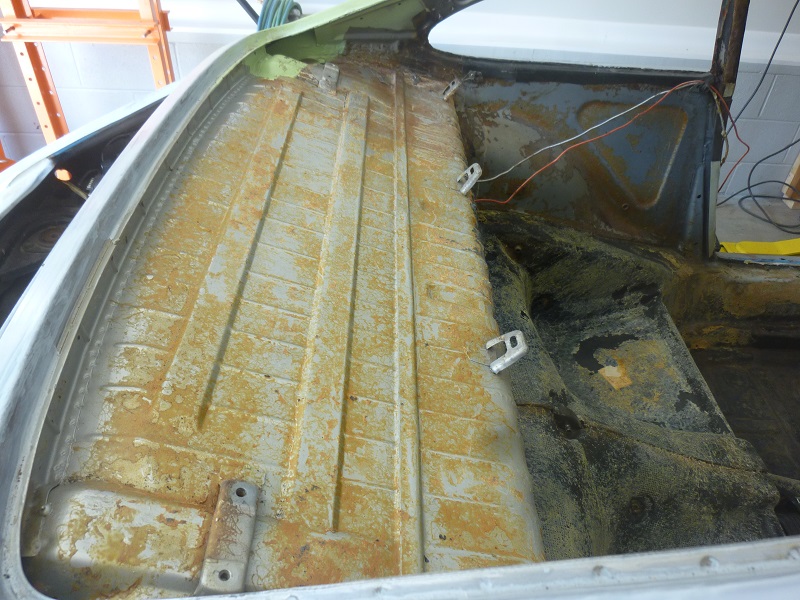
Here is a picture of the rear shelf after removing the sound pad
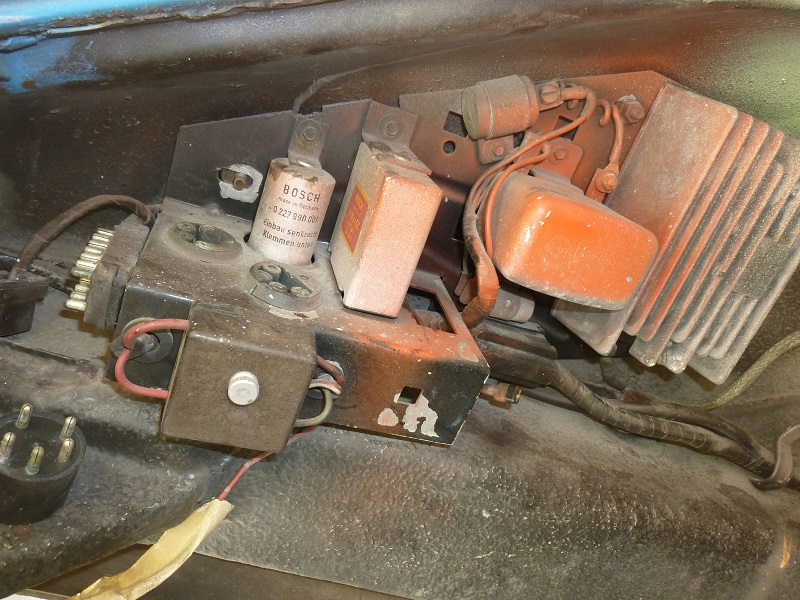
Moving to the engine compartment. Wonder why somebody sprayed some red paint there. I will be able to clean it.
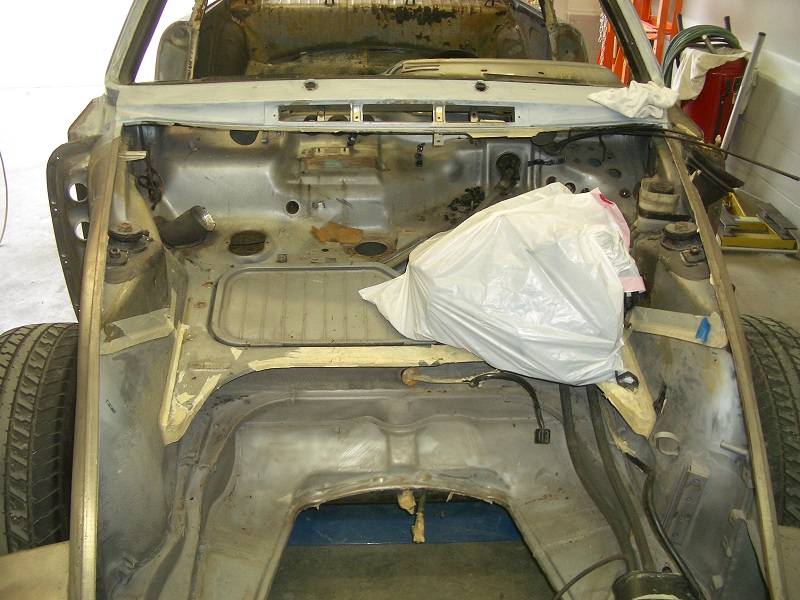
After removal of all the High tech stuff, I moved to the front.
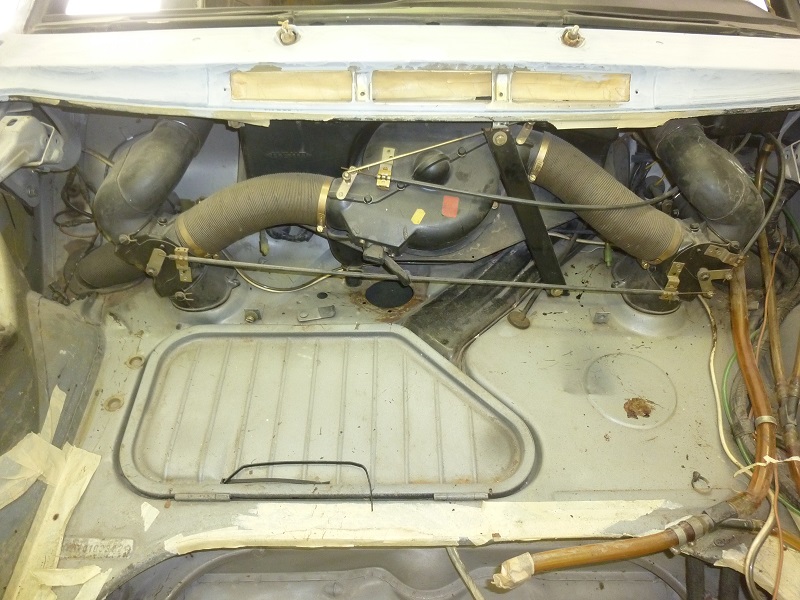
All the ventilation system is now gone. The orriginal silver paint is still there.
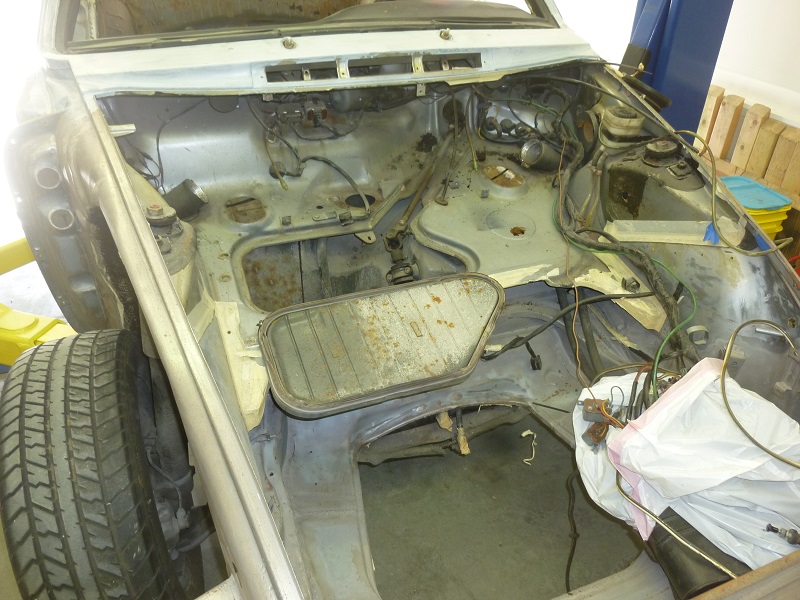
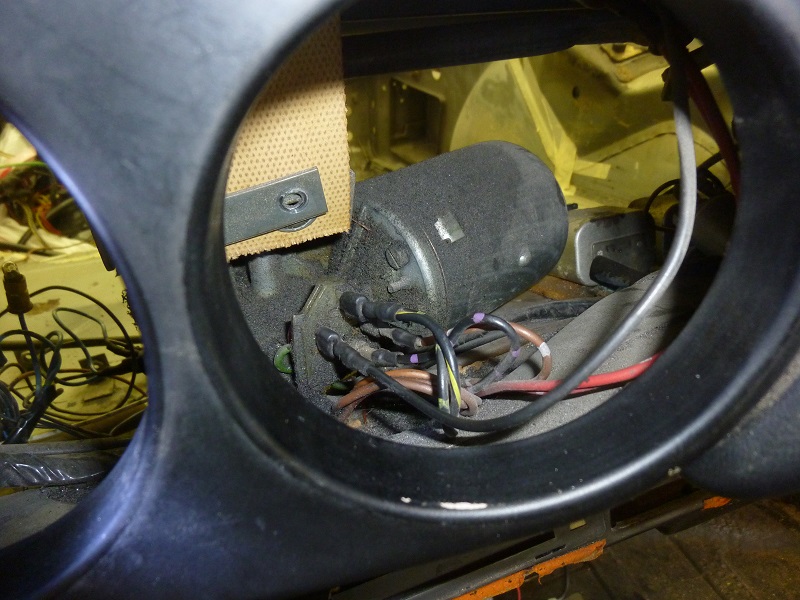
All the instruments and the electrical is removed.
The car was blasted and that stuff is every where, good I take it all apart.
It looks a lot cleaner with all the parts removed.
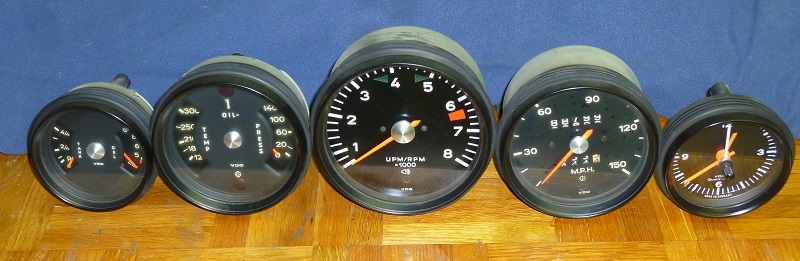
The gauges look pretty good, need to test them to make sure they all work correct.
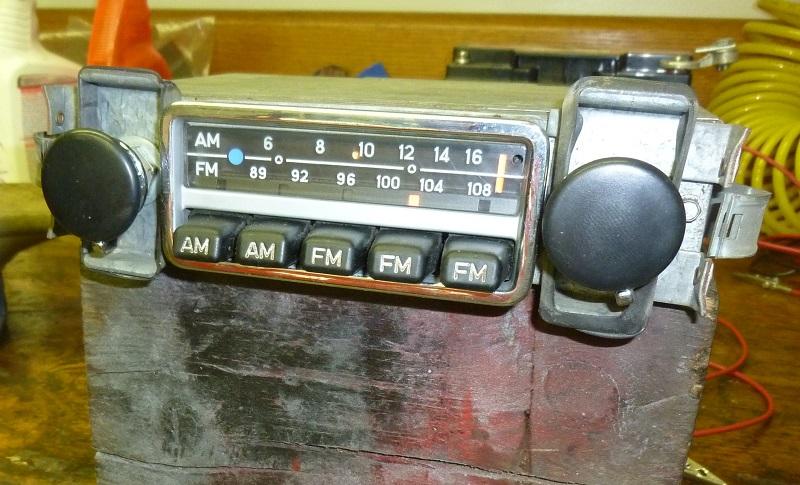
I tested the radio, and it's actually working.
Just one issue is the indicator needle is not moving with the dial.
Need to find somebody who does repairs on these old radios.
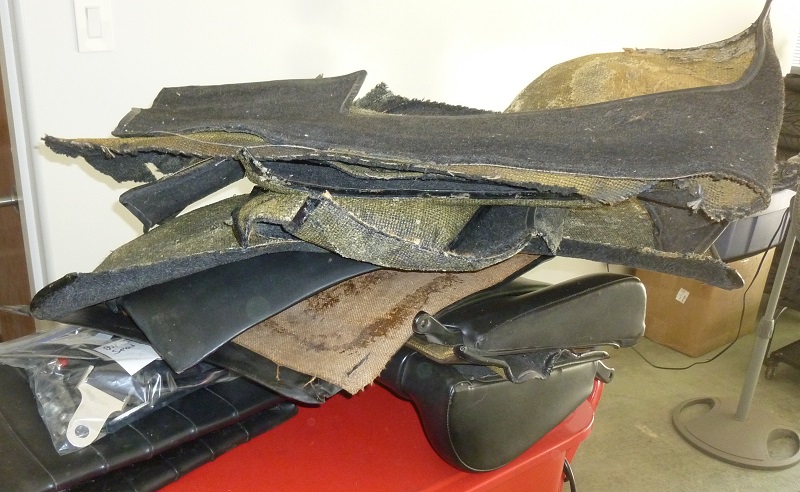
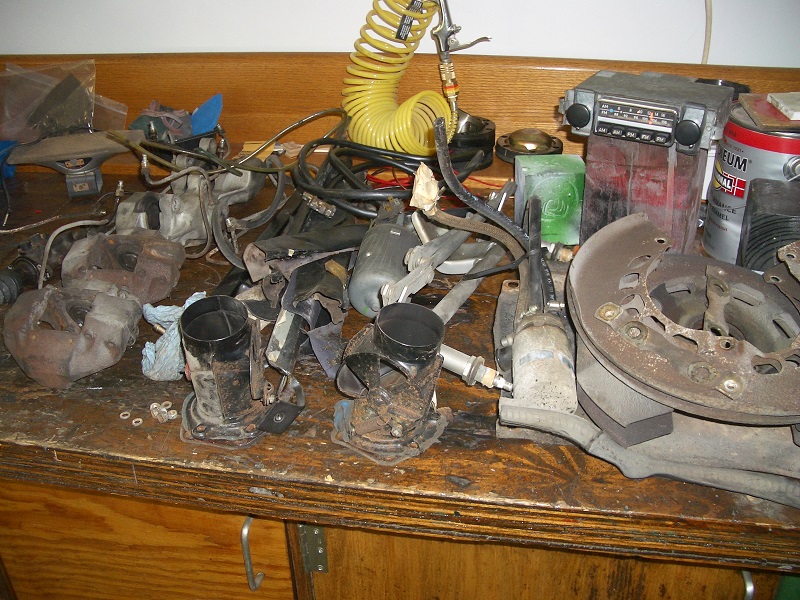
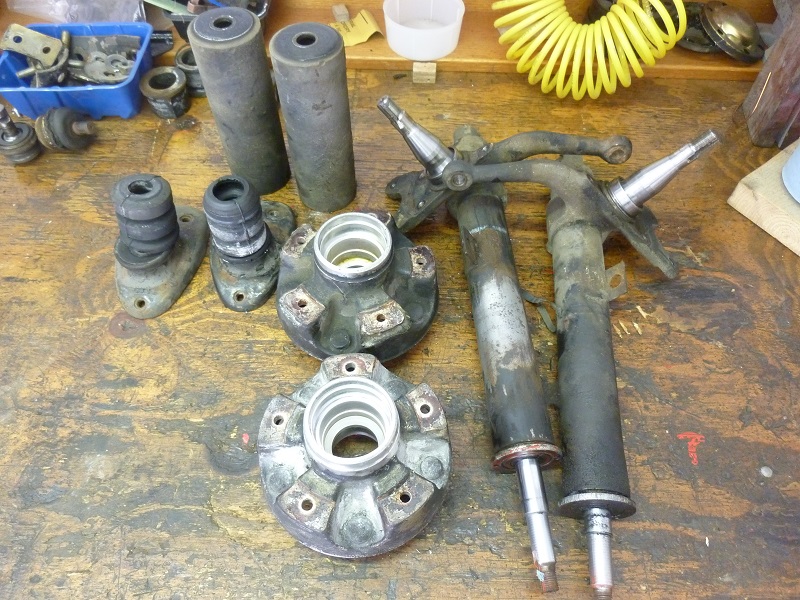
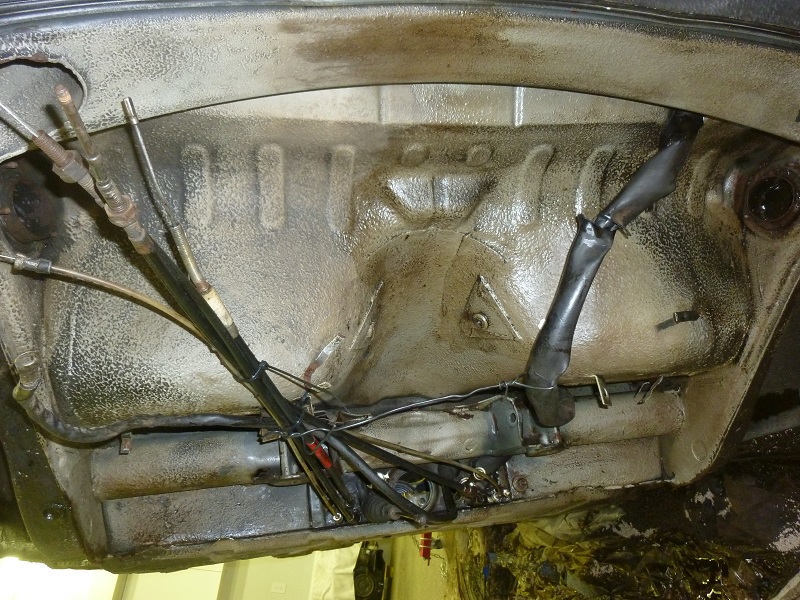
Here is some material that need to be sorted out and cleaned, and repaired or restored.
Here the struts and hubs.
The hubs have quite some corrosion, and I think I need to find some good once.
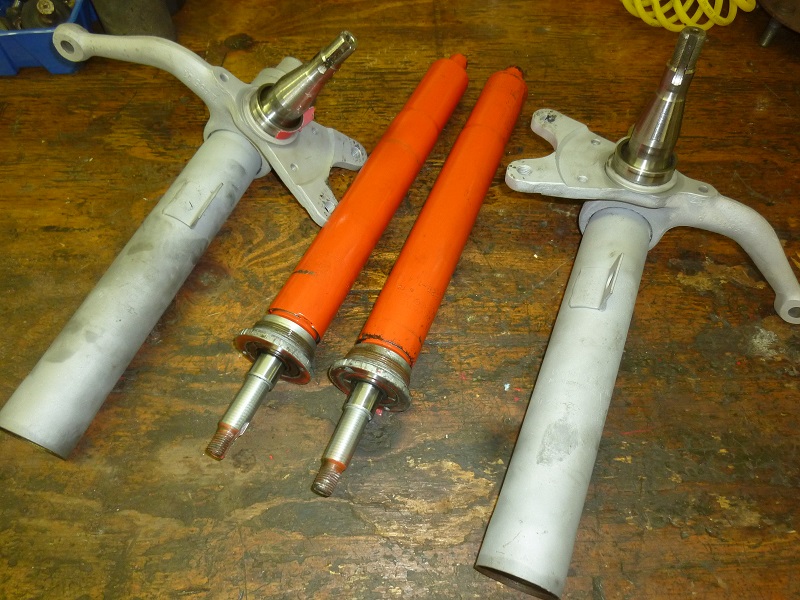
Here are the struts after blasting. There were Koni insetrts installed. I need to see if it would make sense to rebuild them, or just put a set of Bilstein HD in.
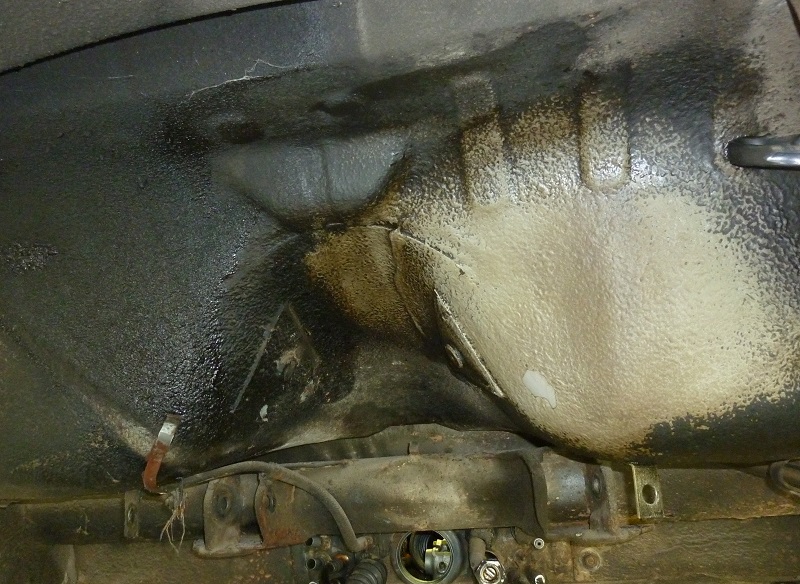
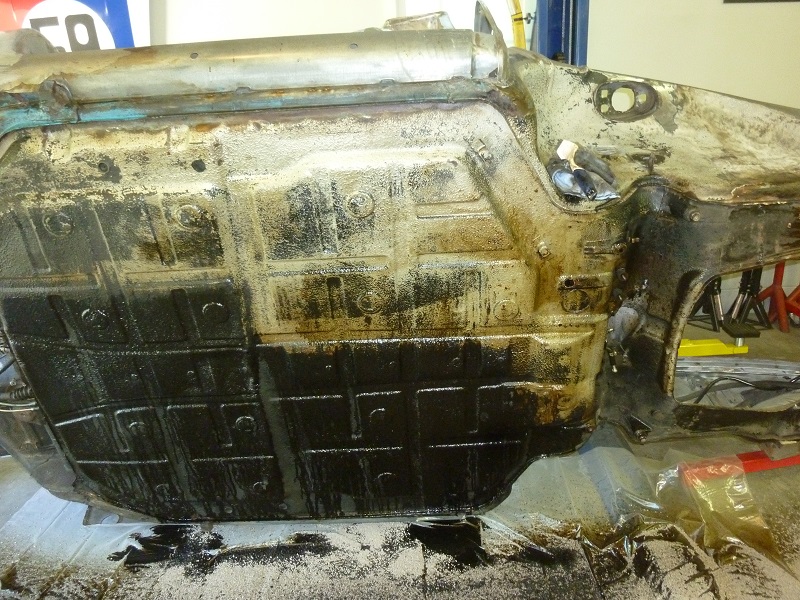
I started to get the undercoat off which was sprayed on the car, what a mess. I got a good tip about using Kerosine. It works but slow, however, that's better than anything else I have tried.
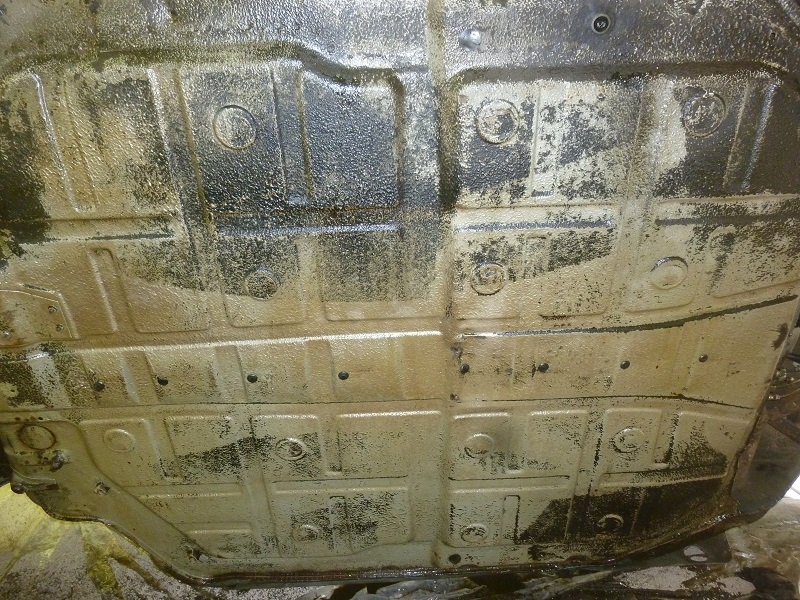
Here are a few sections I cleaned up. I sprayed it on with a spray bottle, and then used a brush to loosen it up, and wiped it off with rags. I put a plastic on the floor and some oil try on it.
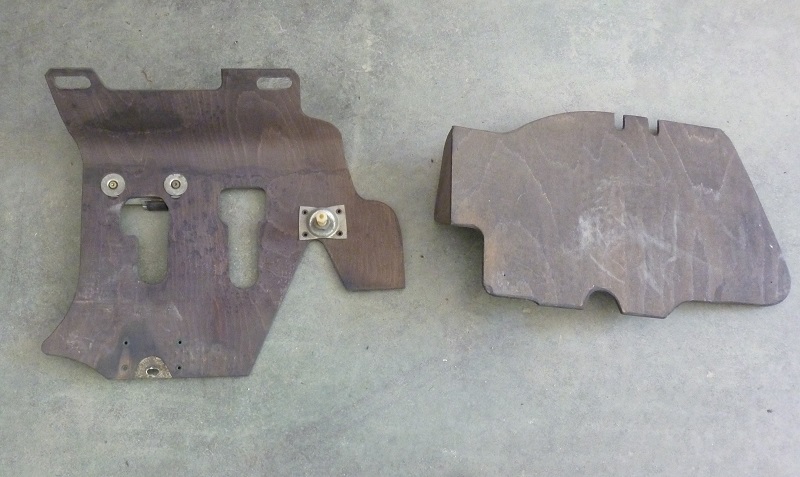
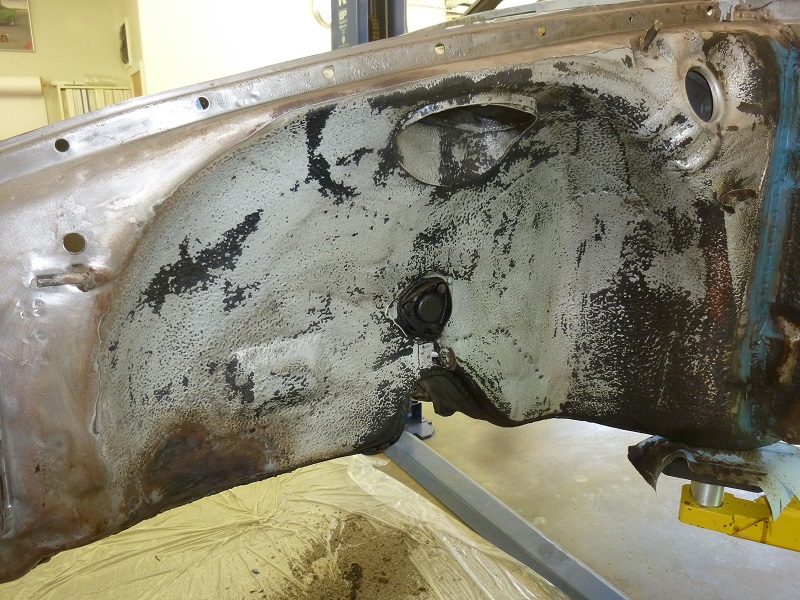
It looks like the factory chip guard is light gray.
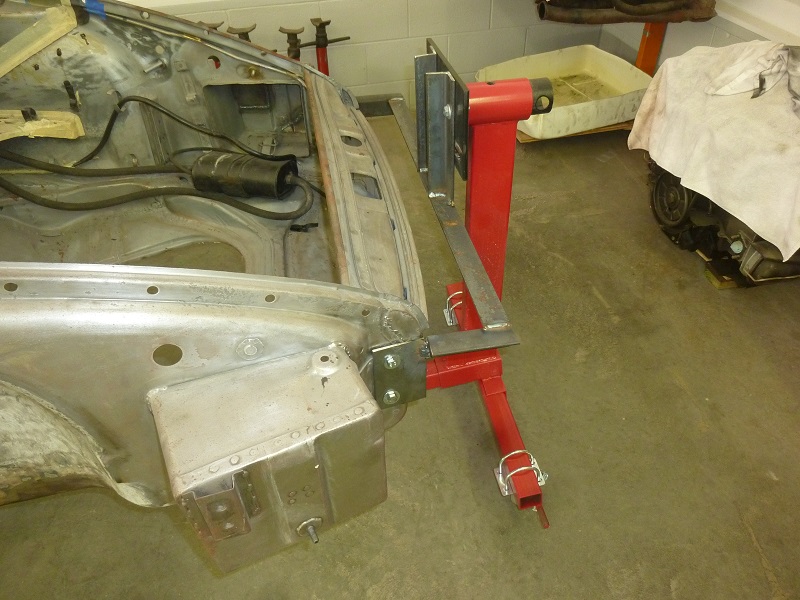
I made the supports for the rotisserie. I'm using the engine stands I used for the beetle.
Here is the front
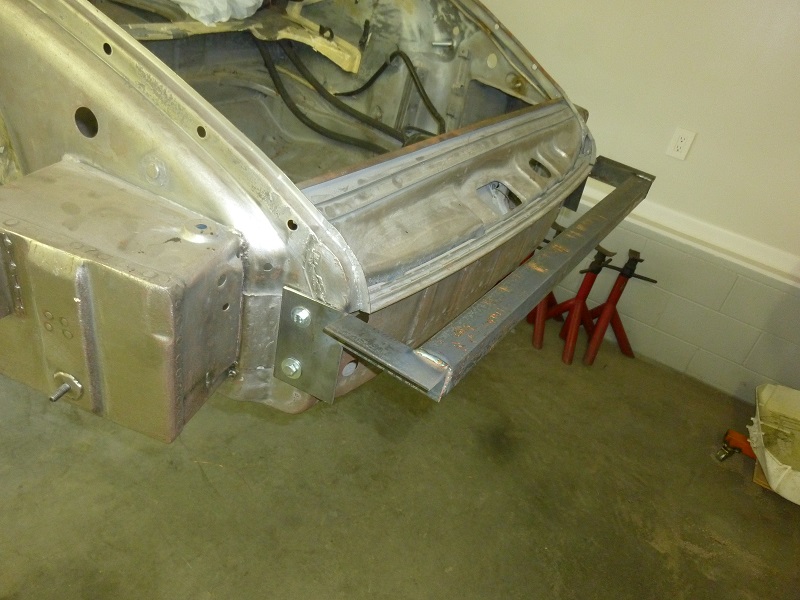
Here is the Rear.
Here is connected to the stand at front.
Here is connected to the stand at the rear end.
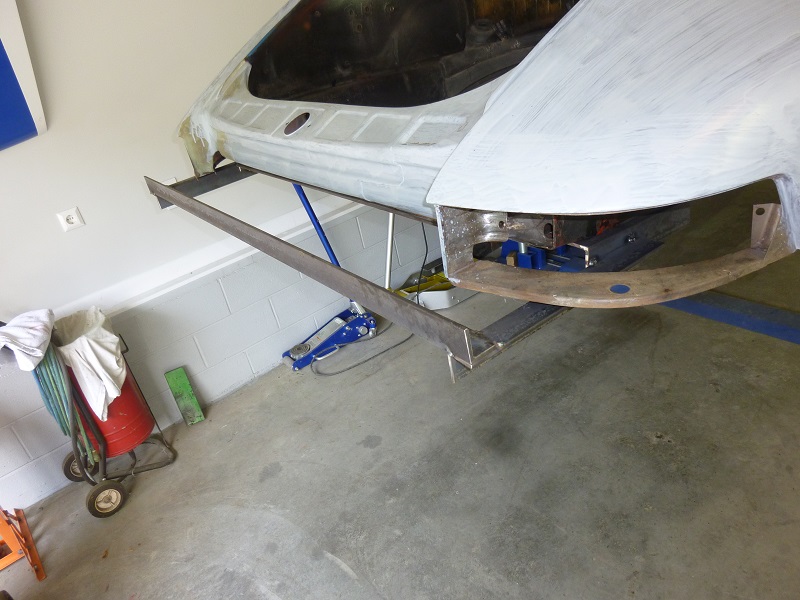
Here is it up on the Grill.
Here is it flipped to the side. That makes it so much easier to work on it.
And here you can see that crap I still have to remove, but having the car in this position will make it a bit easier, if that is even possible.
Here is partial success.
I got the stuff off. This is like some paint over spray.
Here the rear end.
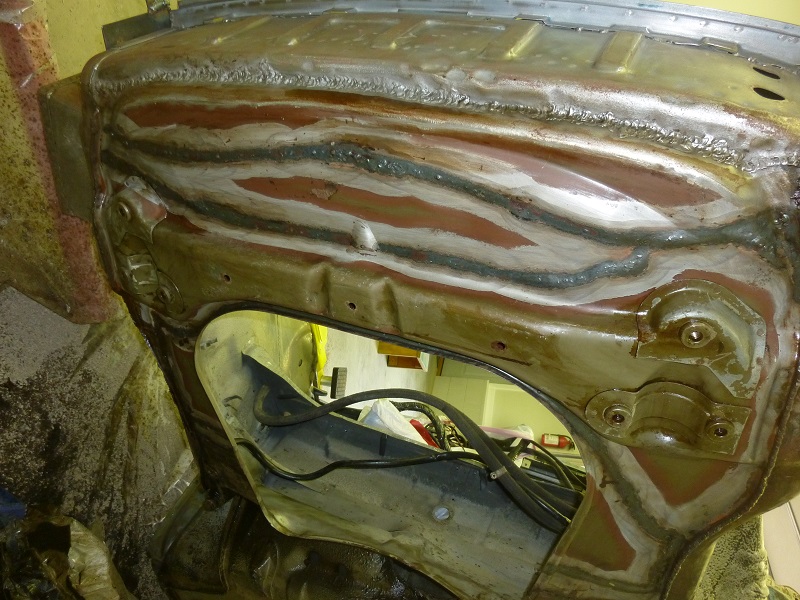
It's amazing what can be found once the black crap is removed, the blank metal.
There is a lot of grinding and re-welding needed to get this right.
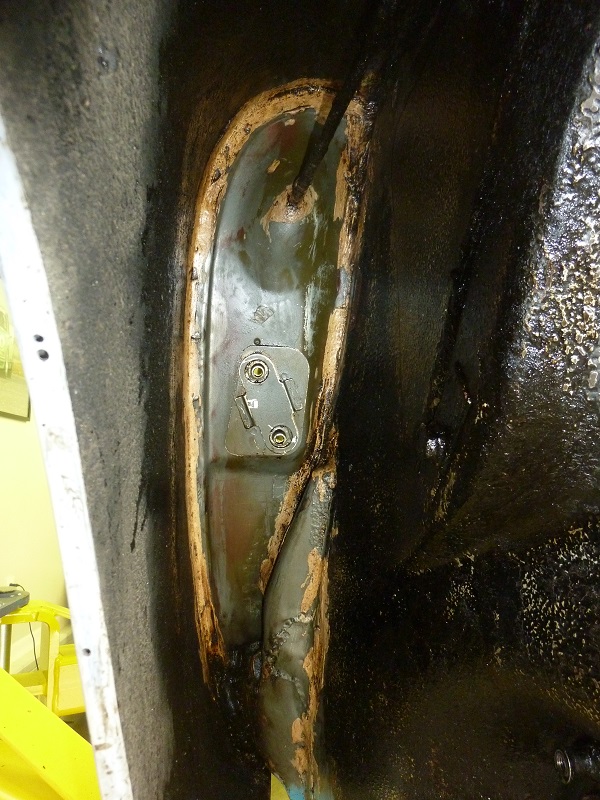
This is what I found after cleaning off the black stuff. This is the inside of the left side of the door lock post.
So much for that.
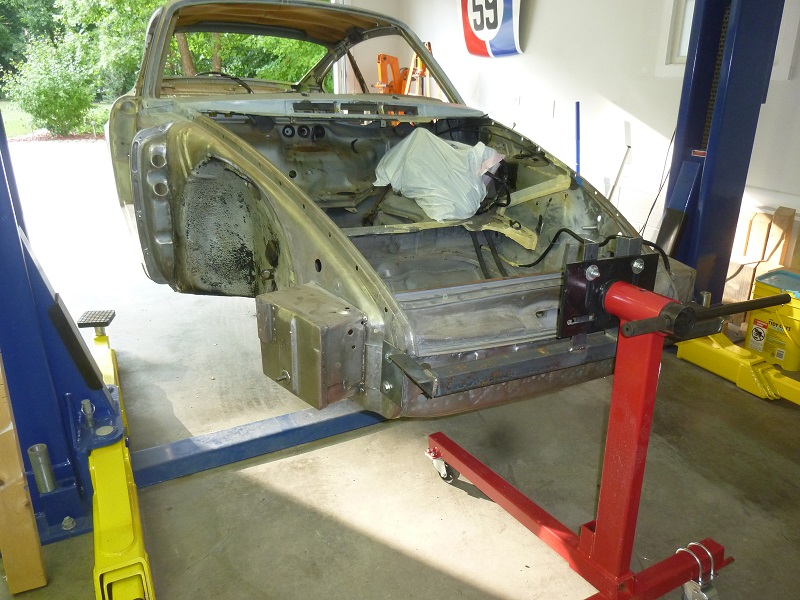
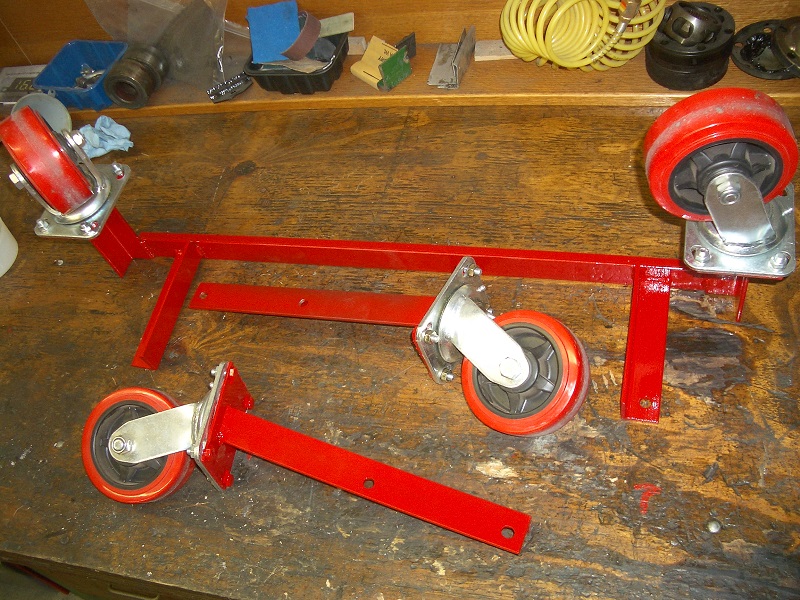
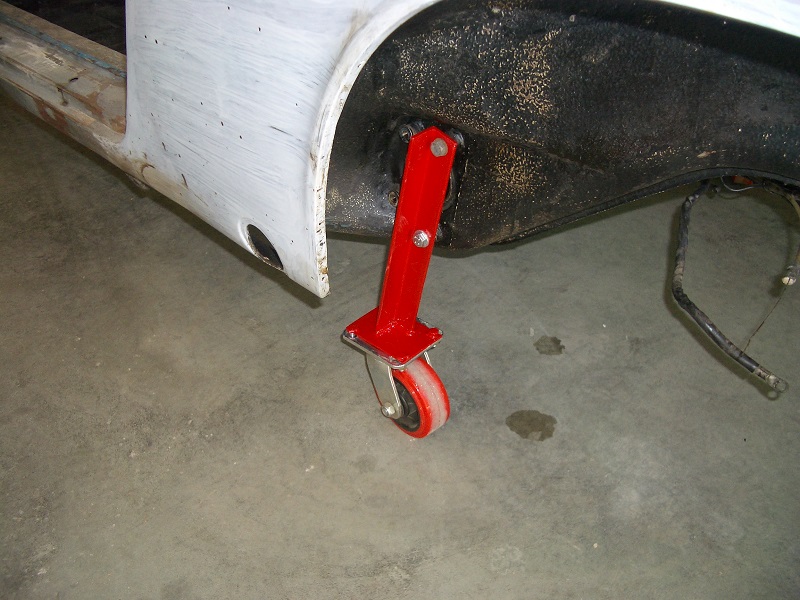
In order to roll the chassis around, I made some dollies, which can be bolted on to the chassis.
Here is the front section.
Here is the rear section.
One more shot of the chassis mounted on the dollies. So much for the disassembly. There are a few more things to come off, and the next step is to fix all the welds and a few sections which have some rust.